 by Ecrin Labs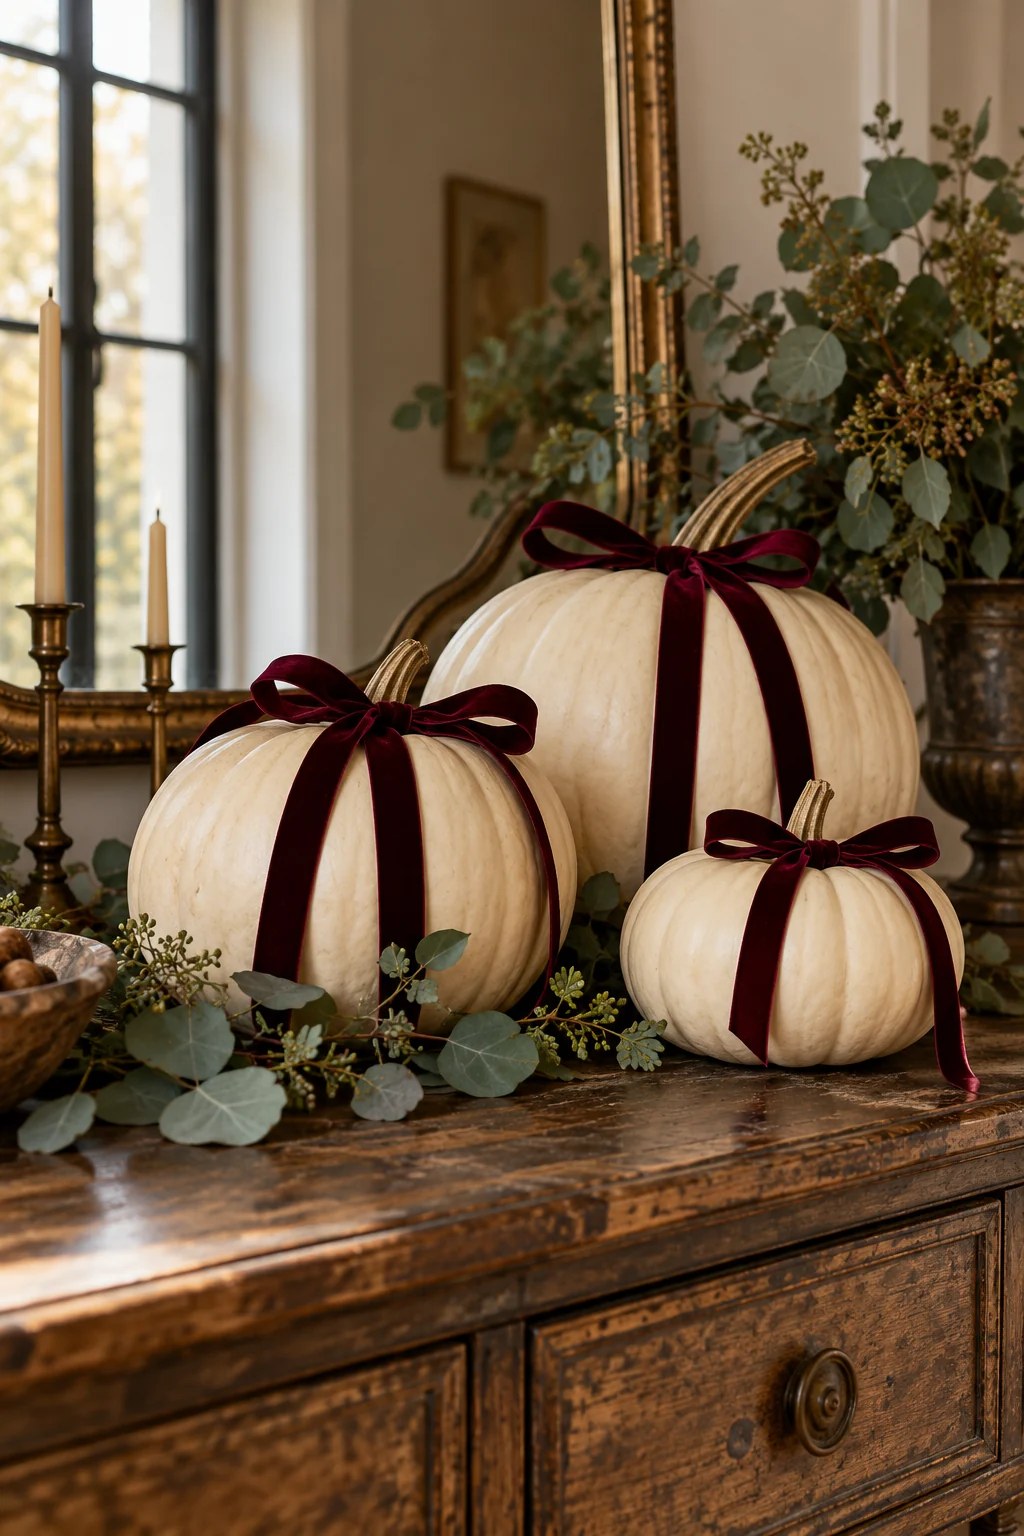
No-carve pumpkin decorating starts with a sound, dry surface and one clear idea. Choose firm pumpkins without soft spots, wipe off dirt and let them dry fully. Reusable faux pumpkins suit designs you want to keep for another year.
The first three ideas are illustrated; the remaining suggestions offer different materials and finishes. Paint, glue and sealers turn a pumpkin into decoration: keep decorated pumpkins out of food preparation and follow your local disposal guidance.
1. Burgundy velvet bows
Tie narrow velvet ribbon around the stem and let the tails fall along the ribs. Use cream pumpkins for a gentle contrast. Keep the knot loose enough to remove later, and group three different sizes without crowding the console.
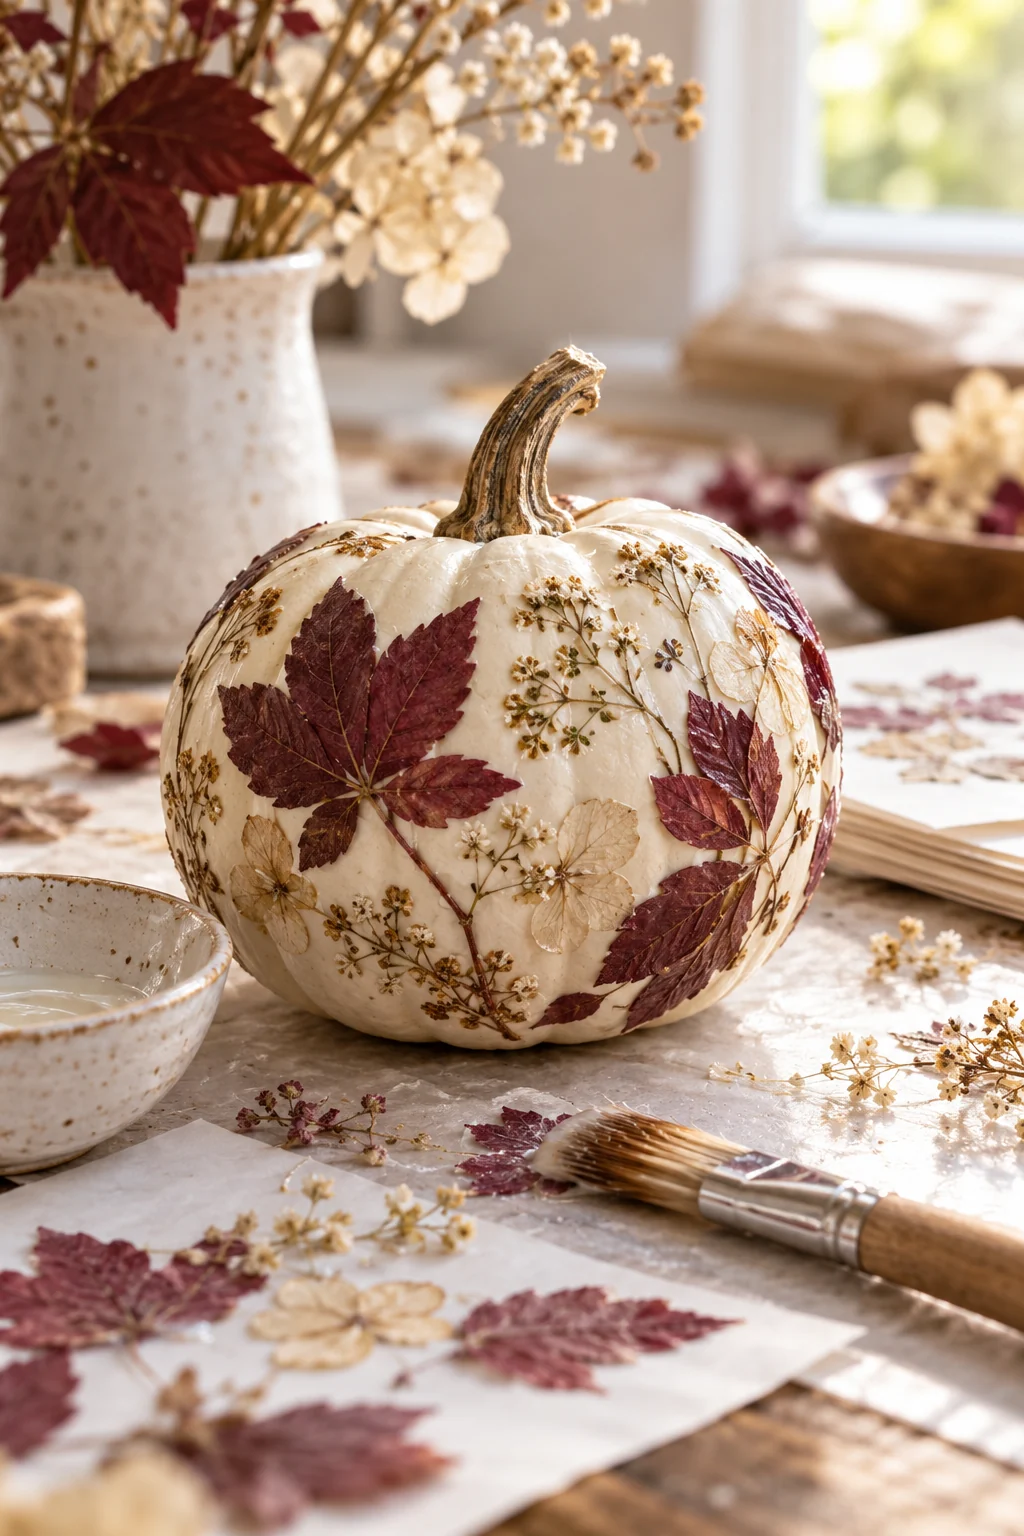
2. Pressed-leaf decoupage
Arrange dry, flat leaves before applying a thin layer of craft decoupage medium to a faux pumpkin. Work from the center of each leaf outward to reduce lifting. Let the finish cure according to its label and keep paper decorations indoors.
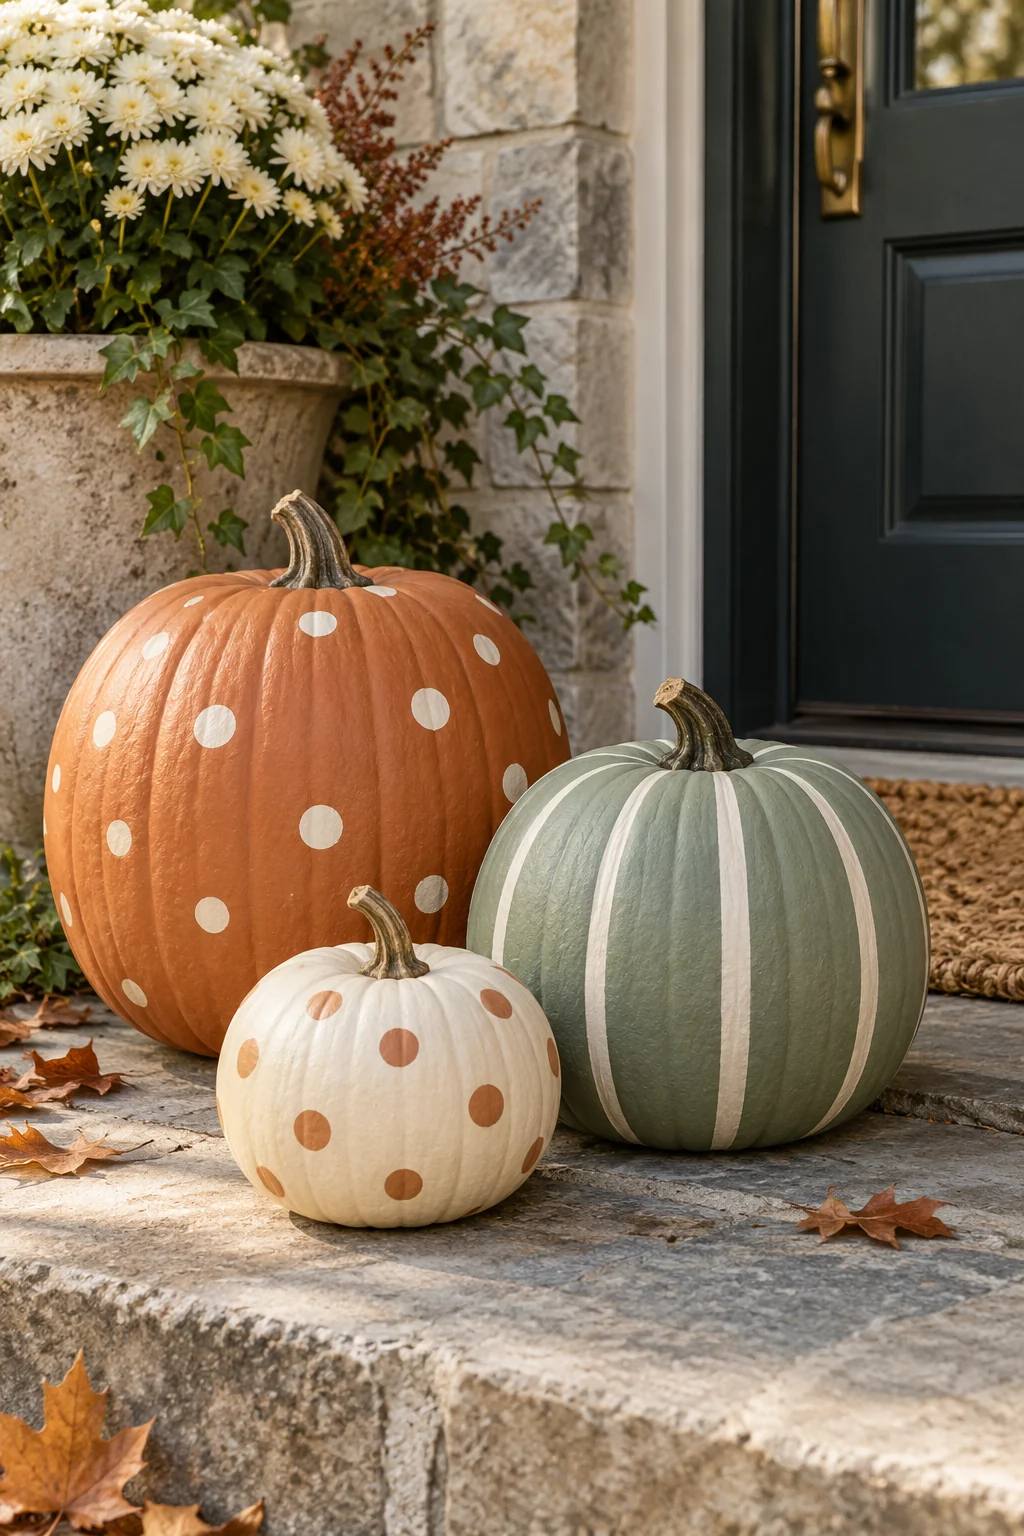
3. Muted painted stripes and dots
Use sage, terracotta and cream craft paint on reusable pumpkins. Follow the ribs for stripes or use the end of a brush for dots. Apply thin coats and allow drying between colors; thicker paint can pool around the grooves.
4. A single painted monogram
Choose one large letter rather than covering the pumpkin in wording. Lightly pencil its position on a painted faux surface and fill with a small brush. Turn the pumpkin on the shelf until the letter sits upright.
5. Removable paper bats
Fold small black paper bats along their centers for a little dimension. Attach with a removable adhesive suitable for the surface. Keep the number low and cluster them diagonally so the arrangement looks like movement rather than a scattered pattern.
6. A fabric-wrapped faux pumpkin
Set a small faux pumpkin in the center of a fabric square. Gather the corners toward the stem and tuck them under a ribbon tie. Thin cotton follows the shape more easily than heavy upholstery fabric.
7. Pearl-style adhesive accents
Apply small flat-backed faux pearls in short arcs along alternating ribs. Test the adhesive on an inconspicuous spot first. Use a reusable pumpkin and keep loose decorative pieces away from young children and pets.
8. A gingham ribbon band
Wrap a wide gingham ribbon around the middle and finish with a simple knot at the back. This suits a low shelf where the full circumference is visible. Repeat the ribbon color in a nearby napkin or small cushion.
9. Painted wildflower stems
Paint three slim stems with tiny dots for flowers on a pale faux pumpkin. Give each stem a different height. Leaving half the surface blank makes the miniature painting easier to read from across the room.
10. A two-tone dipped effect
Mask a horizontal line on a faux pumpkin and paint only the lower portion. Peel the tape according to the paint instructions for a clean edge. A cream upper half with a warm clay base works with neutral entryway furniture.
11. A twine stem bow
Wrap a short piece of natural twine around the stem and tie a loose bow. Keep the body undecorated. The rough texture is enough to distinguish this from the velvet version without adding more craft supplies.
12. A paper-leaf name tag
Cut a leaf from thick paper, write a guest name and tie it to a mini pumpkin stem. Use these as table place markers. Remove paper and string before disposal, and keep the tag clear of plates and serving dishes.
Frequently Asked Questions
Should I use real or faux pumpkins?
Real pumpkins suit removable ribbon and tags. Faux pumpkins are easier to reuse and are a better base for paint, decoupage and glued decorations.
Can these go outside?
Plain ribbon and painted decorations are not automatically weatherproof. Use only products rated for the exposure, secure lightweight pieces and bring delicate displays indoors in wet weather.
How long will a real pumpkin last?
Condition, temperature and moisture matter, so there is no guaranteed duration. Keep it cool and dry, inspect regularly and remove it when soft spots or mold appear.
 Essential Garden Tools for a Small Fall Garden: A Practical Starter Kit
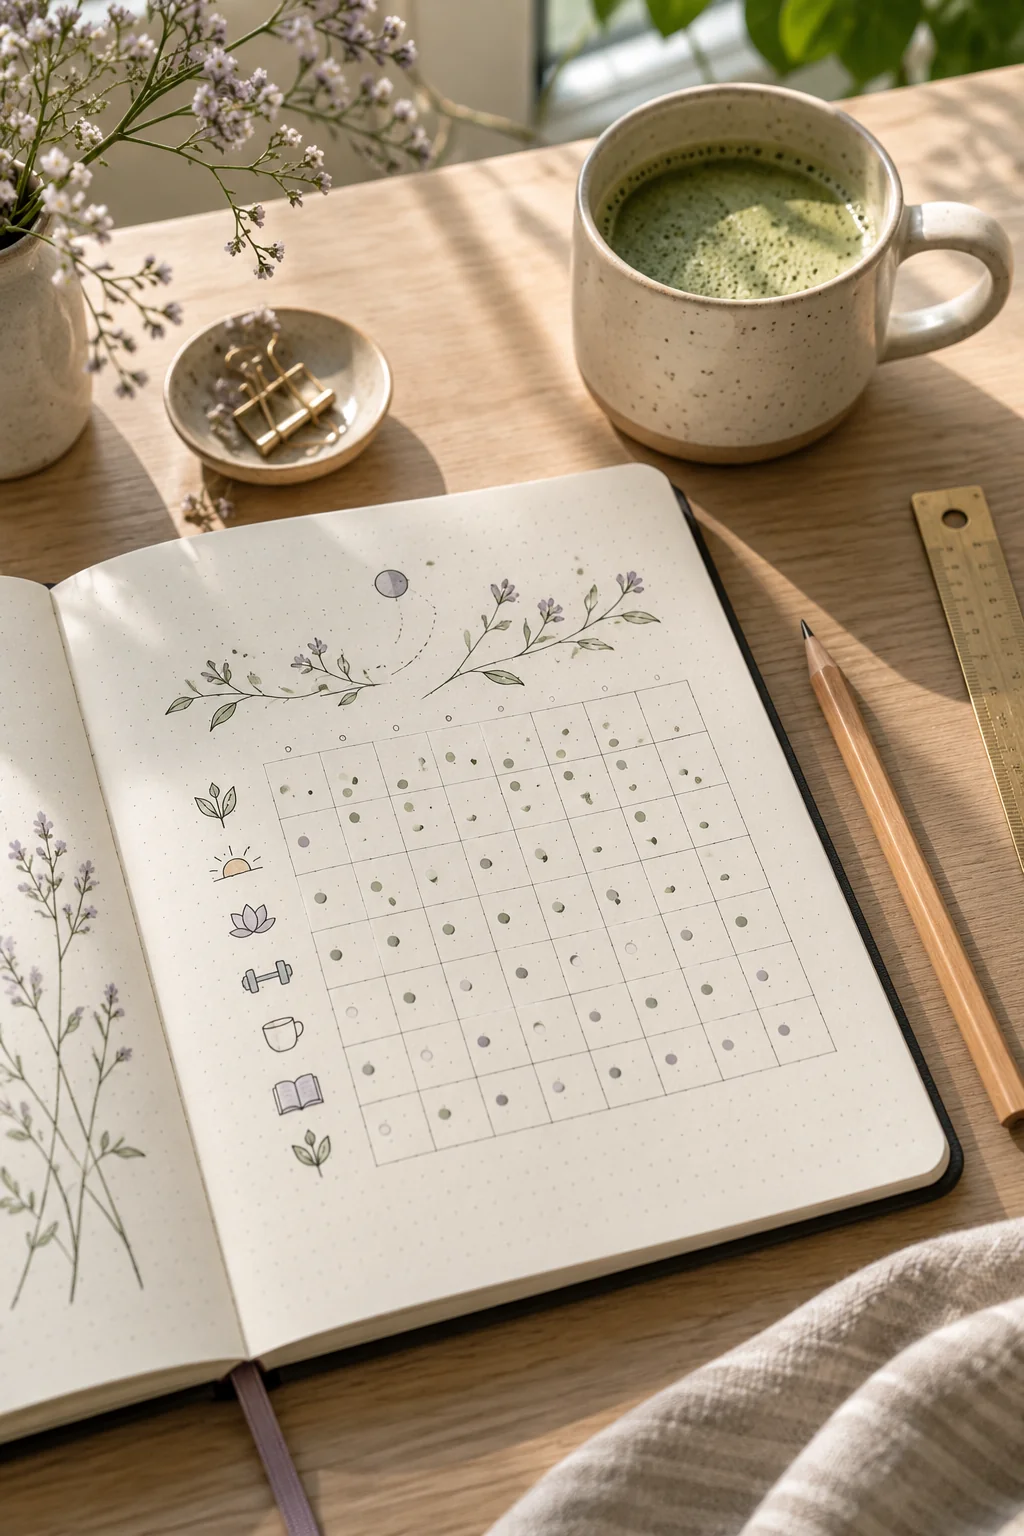 12 Minimal Habit Tracker Ideas for a Bullet Journal
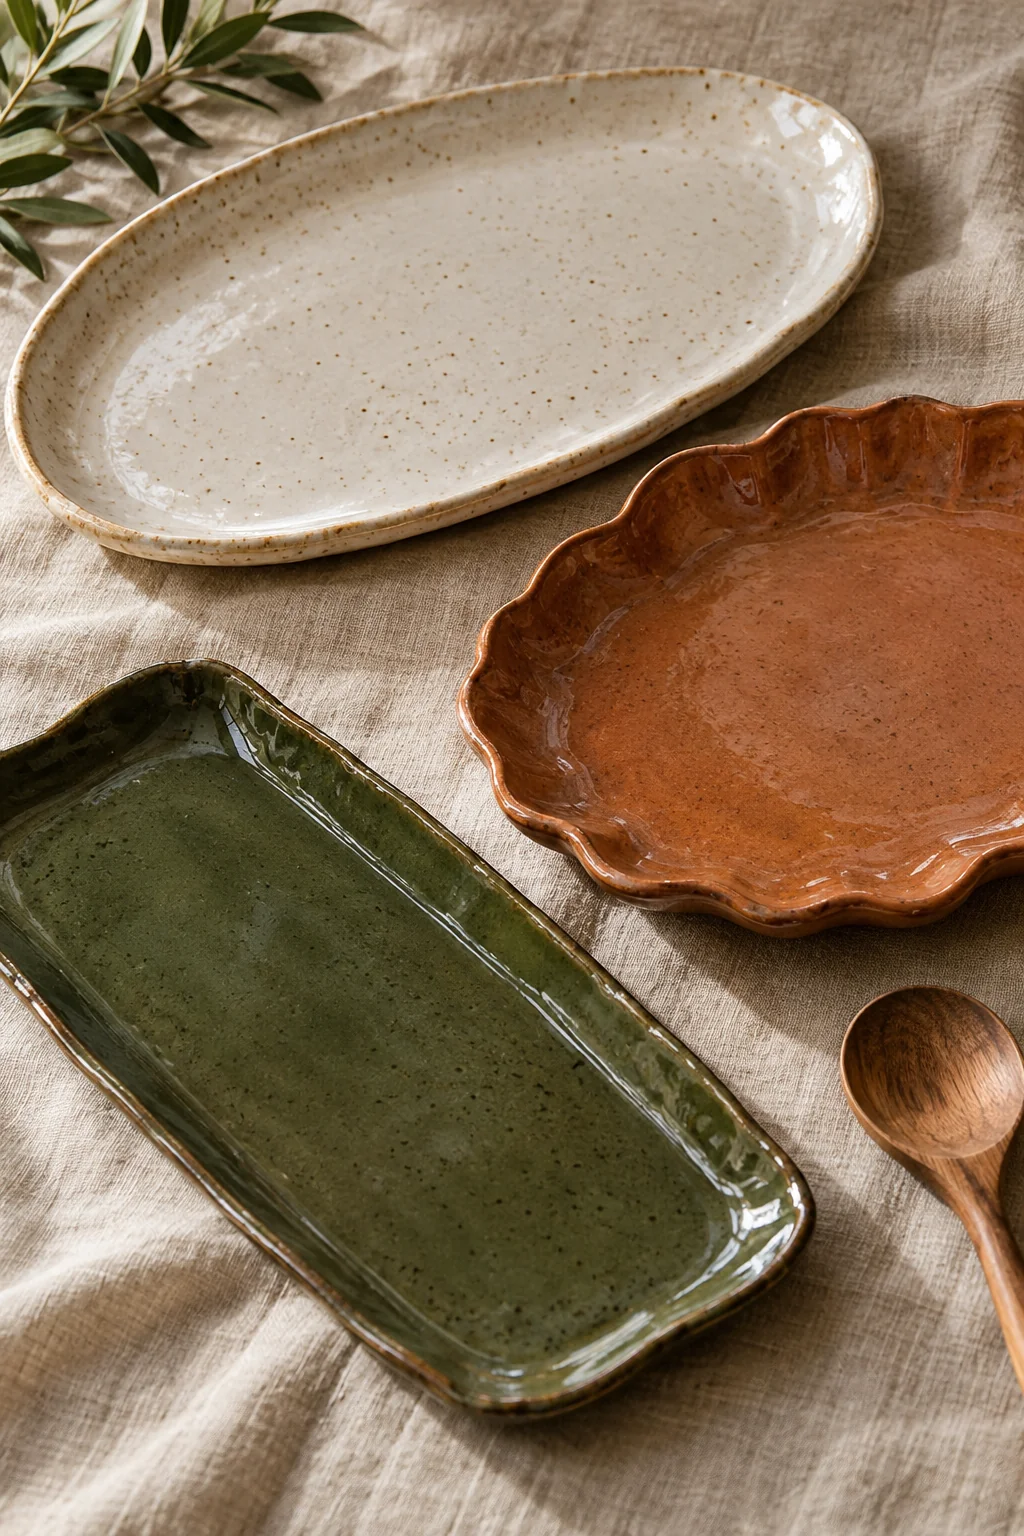 9 Handmade Ceramic Serving Platter Ideas