 by Ecrin Labs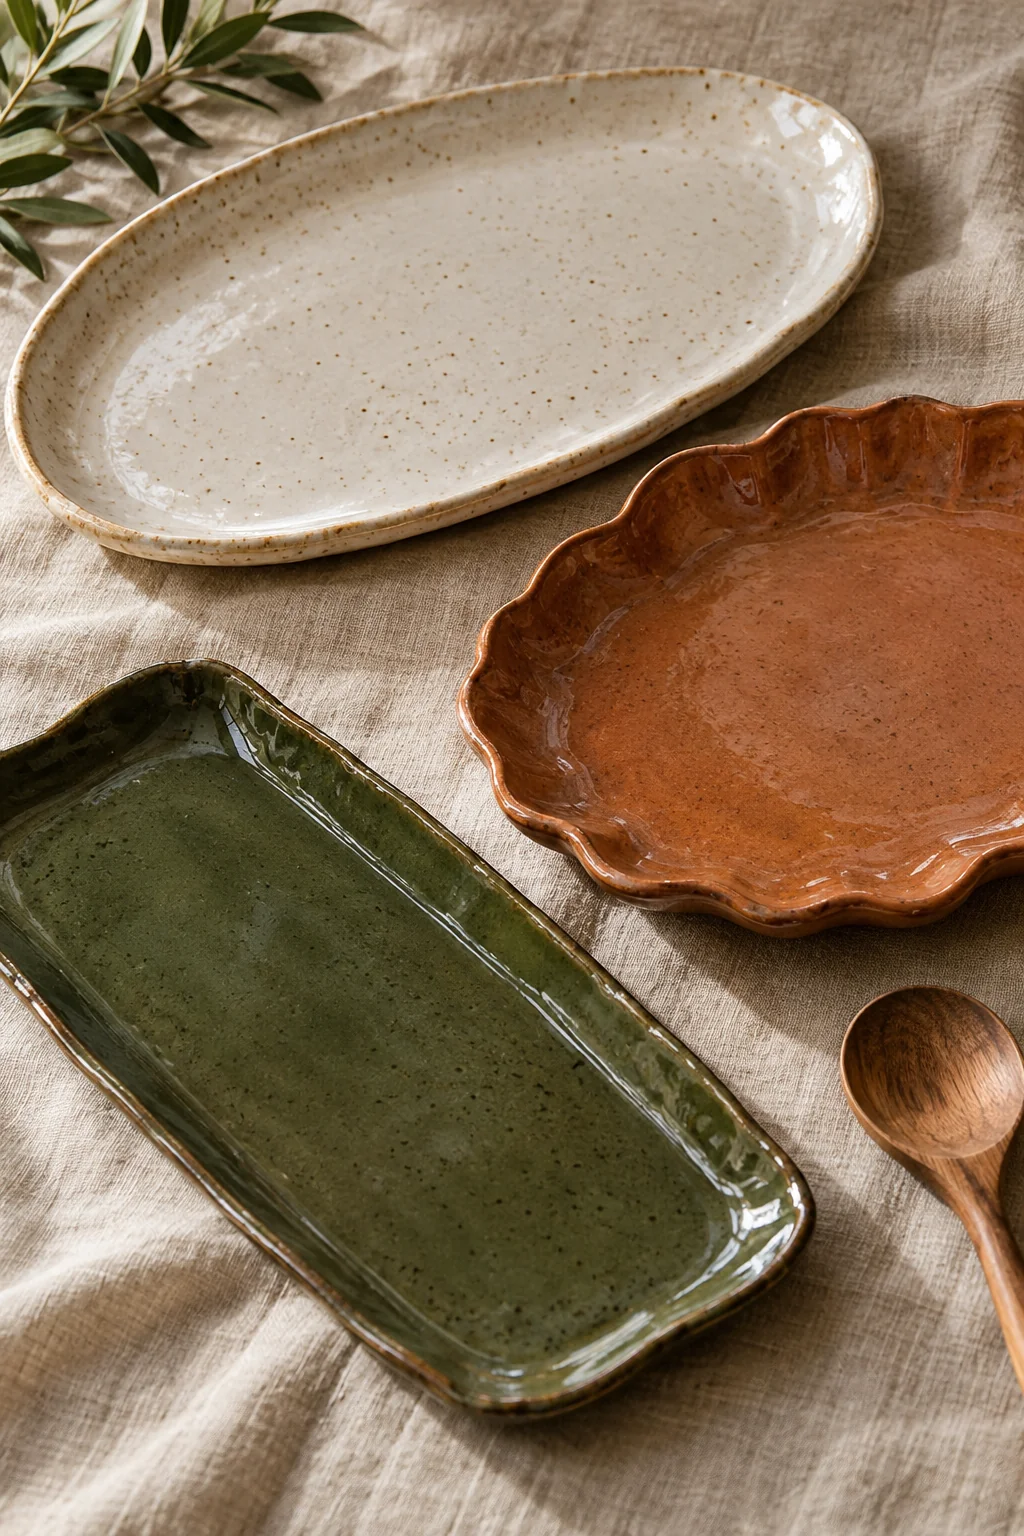
A handmade platter can become the quiet center of a table. Start with the way it will be carried and used, then choose a rim and surface that make sense for that job. A subtle shape often shows handmade texture more clearly than several decorations competing at once.
These are design briefs for a pottery studio, not a home-oven clay recipe. Air-dry clay and decorative sealers should not be treated as food-contact pottery.
Bring a clear brief to the studio
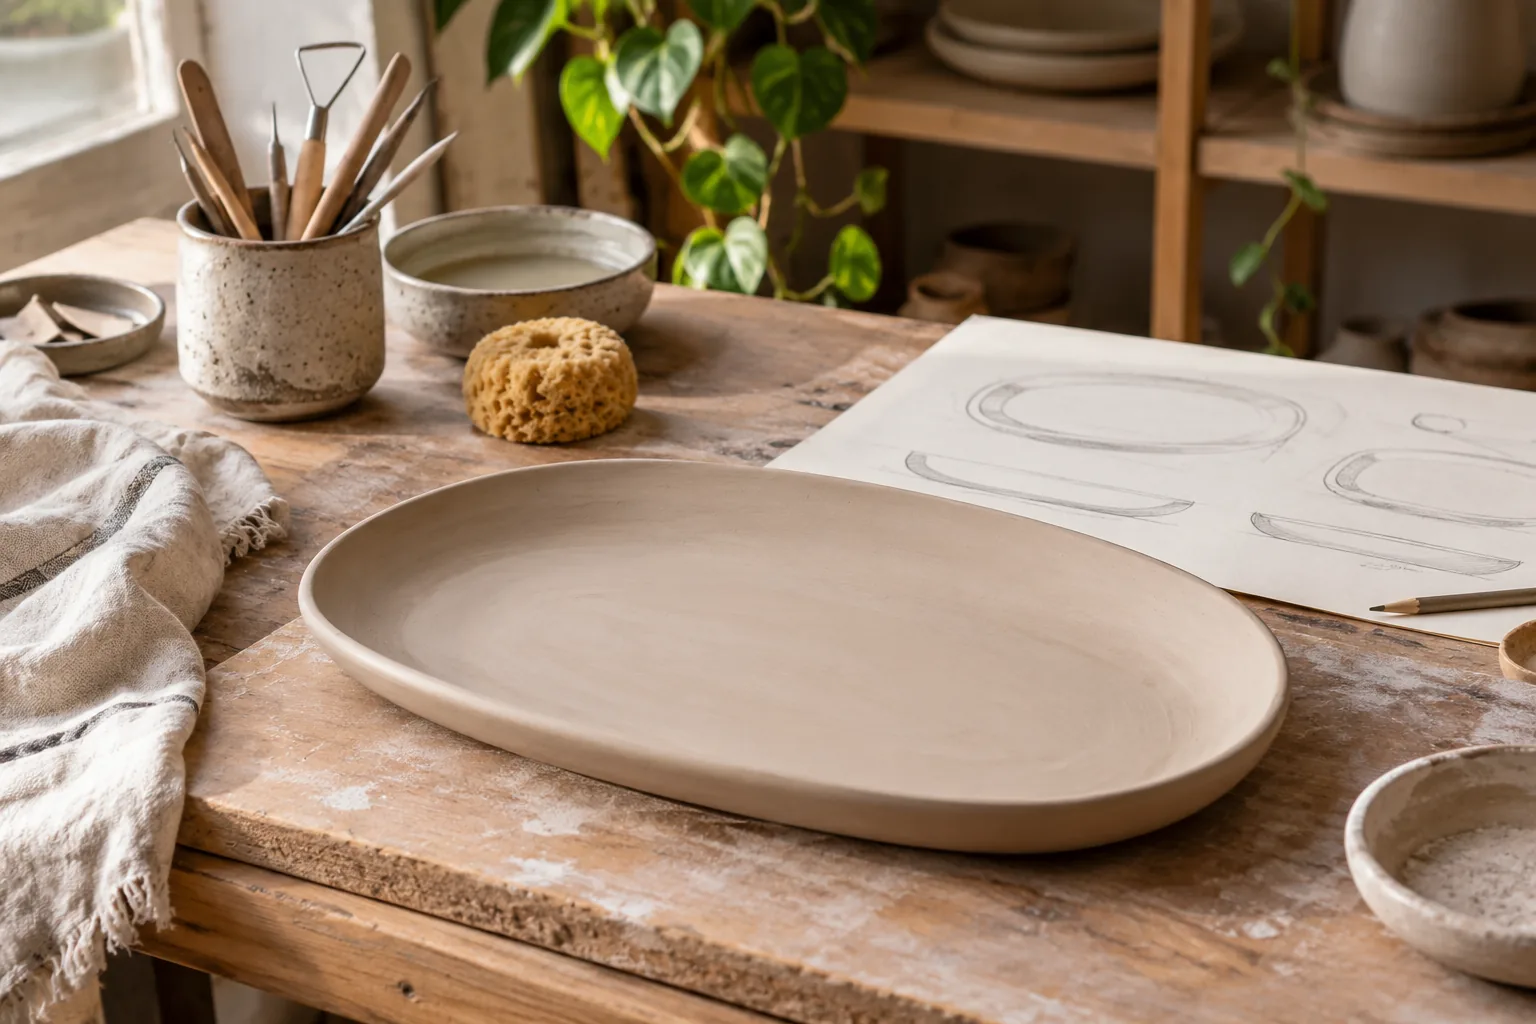
Write down what you want to serve and the approximate finished size. A platter for sliced bread needs different space from a small cheese plate. Make a paper shape and hold it as if carrying it; keep the edges broad enough to grip without reaching into the food area.
Ask the studio about the clay body, compatible glaze, firing schedule and suitability of the finished combination for food contact. A glaze label alone does not establish that every finished piece is suitable. Let the studio choose the technical process for its materials.
Nine shapes to sketch first
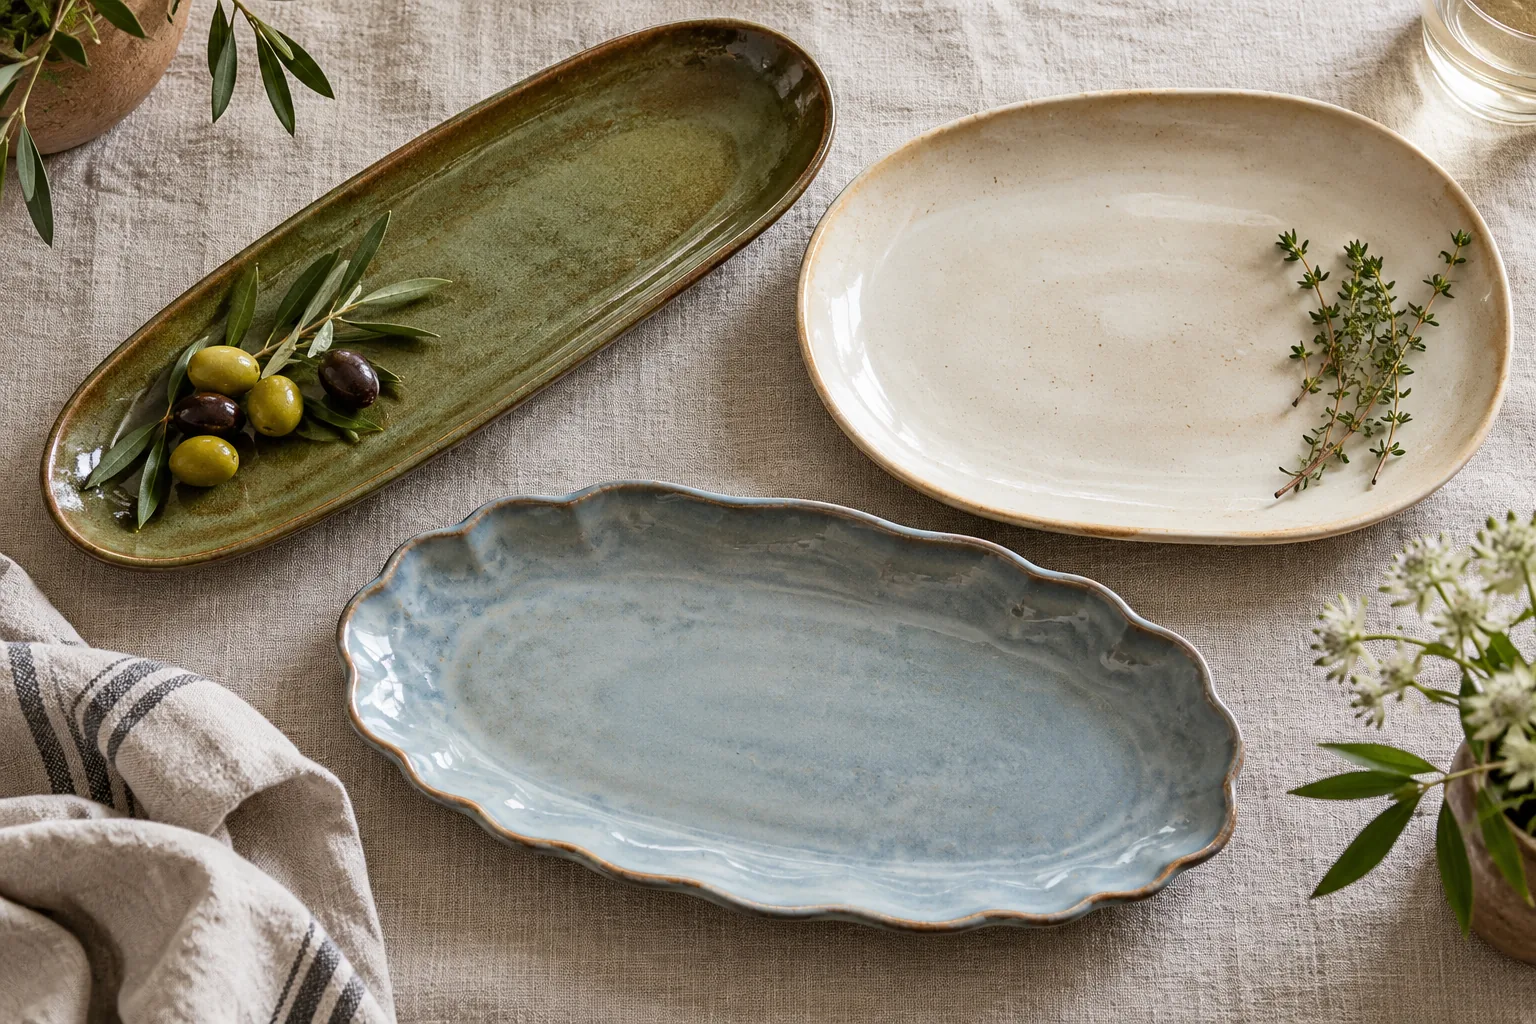
1. Long oval: a gently raised rim and a clear central surface. It is a versatile first sketch for bread or a row of small dishes.
2. Soft rectangle: round the corners and keep the base flat. Leave space at both ends for your hands when carrying it.
3. Scalloped circle: use a shallow, evenly spaced wave around the edge. Keep the inside smooth so the silhouette carries the detail.
4. Small dipping platter: plan room for a separate removable bowl. Avoid a narrow built-in recess that is awkward to clean.
5. Leaf outline: simplify the leaf into a broad shape. Add vein decoration outside the central serving surface rather than deep channels.
6. Three-piece nesting set: sketch three independent platters that store together. Allow clearance so glazed surfaces do not scrape tightly.
7. Quiet speckled oval: use a neutral glaze with a restrained rim. Leave visible hand-shaped character without making the piece unstable.
8. Two-tone edge: contrast a pale serving surface with a darker rim. Discuss how both finishes behave at the chosen firing temperature.
9. Small handled tray: place broad integral handles at opposite ends. Ask the studio to assess strength before committing to the form.
Use and care are part of the design
Examine the finished piece with the studio for cracks, sharp edges or glaze defects. Confirm whether it is intended for food, dishwasher use or heating; do not assume that one approval covers the others. A decorative prototype can still be useful for jewelry or stationery.
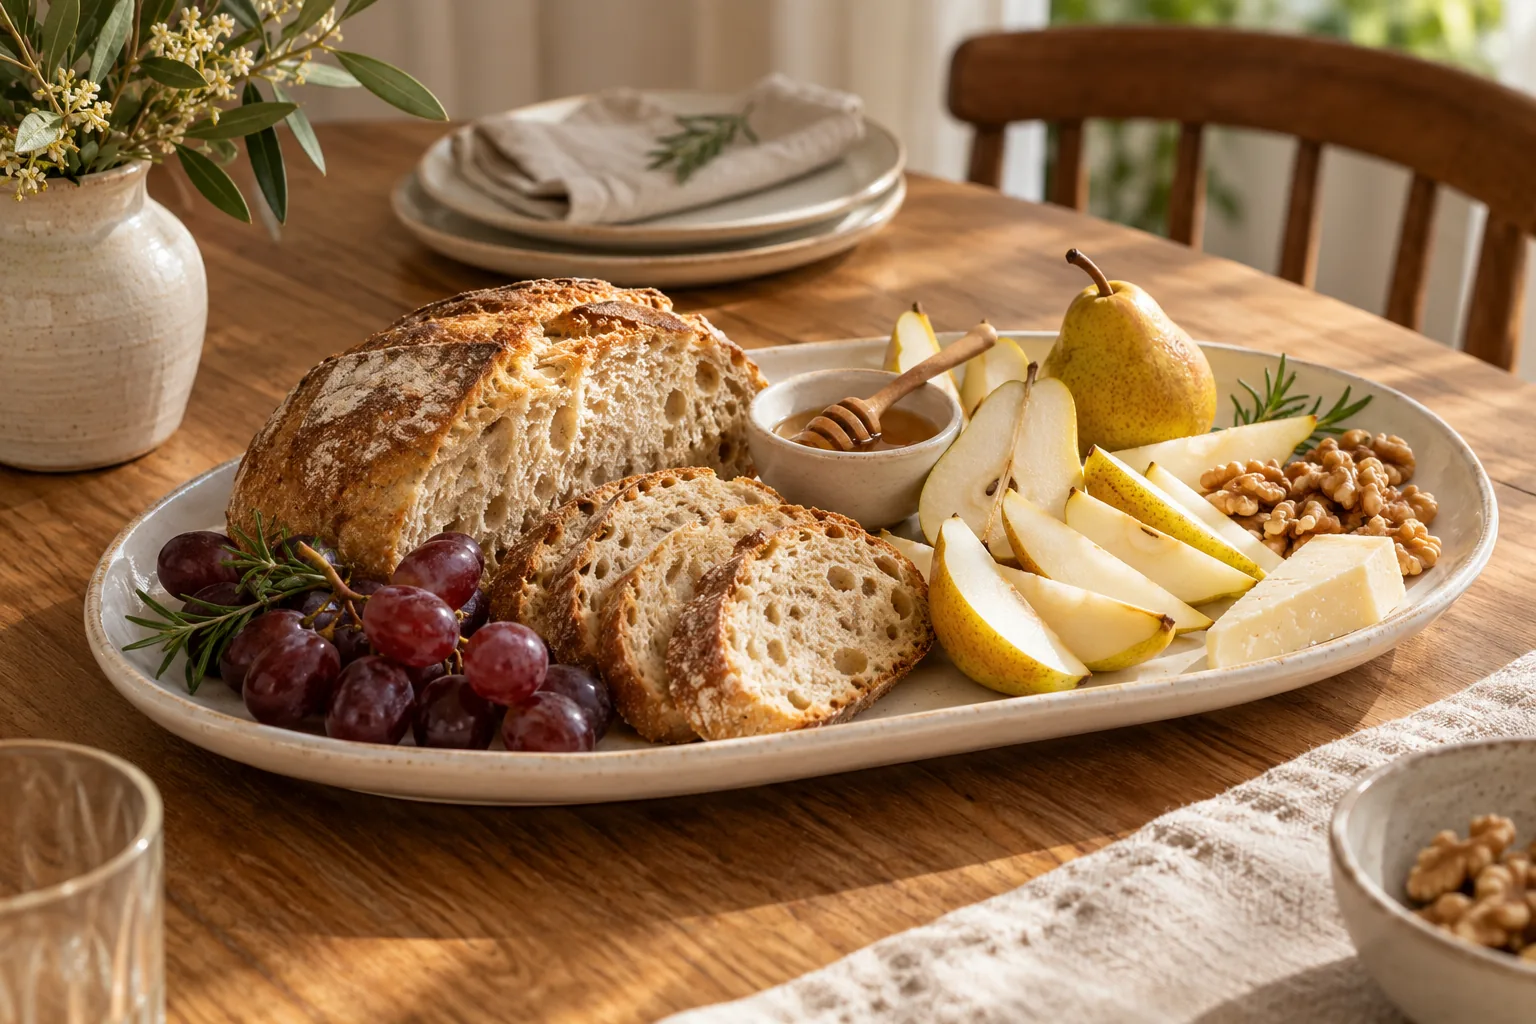
For photographs, style the platter with a few clean props rather than concealing its rim. Keep a record of the clay and glaze combination if you want a matching second piece. The original illustration represents design possibilities, not a certification of a particular product.
Frequently Asked Questions
Can I make a food platter from air-dry clay?
Use air-dry clay for decorative projects; this guide’s food-serving designs should be discussed with a pottery studio.
Can a beginner attempt these shapes?
Simple oval and rounded rectangle briefs are useful starting points in a supervised studio.
Are the illustrated pieces available to buy?
No. They are original styling illustrations rather than product listings.
 12 Minimal Habit Tracker Ideas for a Bullet Journal
 10 Paper Blind Bag Ideas to Make at Home
 15 Reading Journal Layout Ideas for a Personal Book Log