 by Ecrin Labs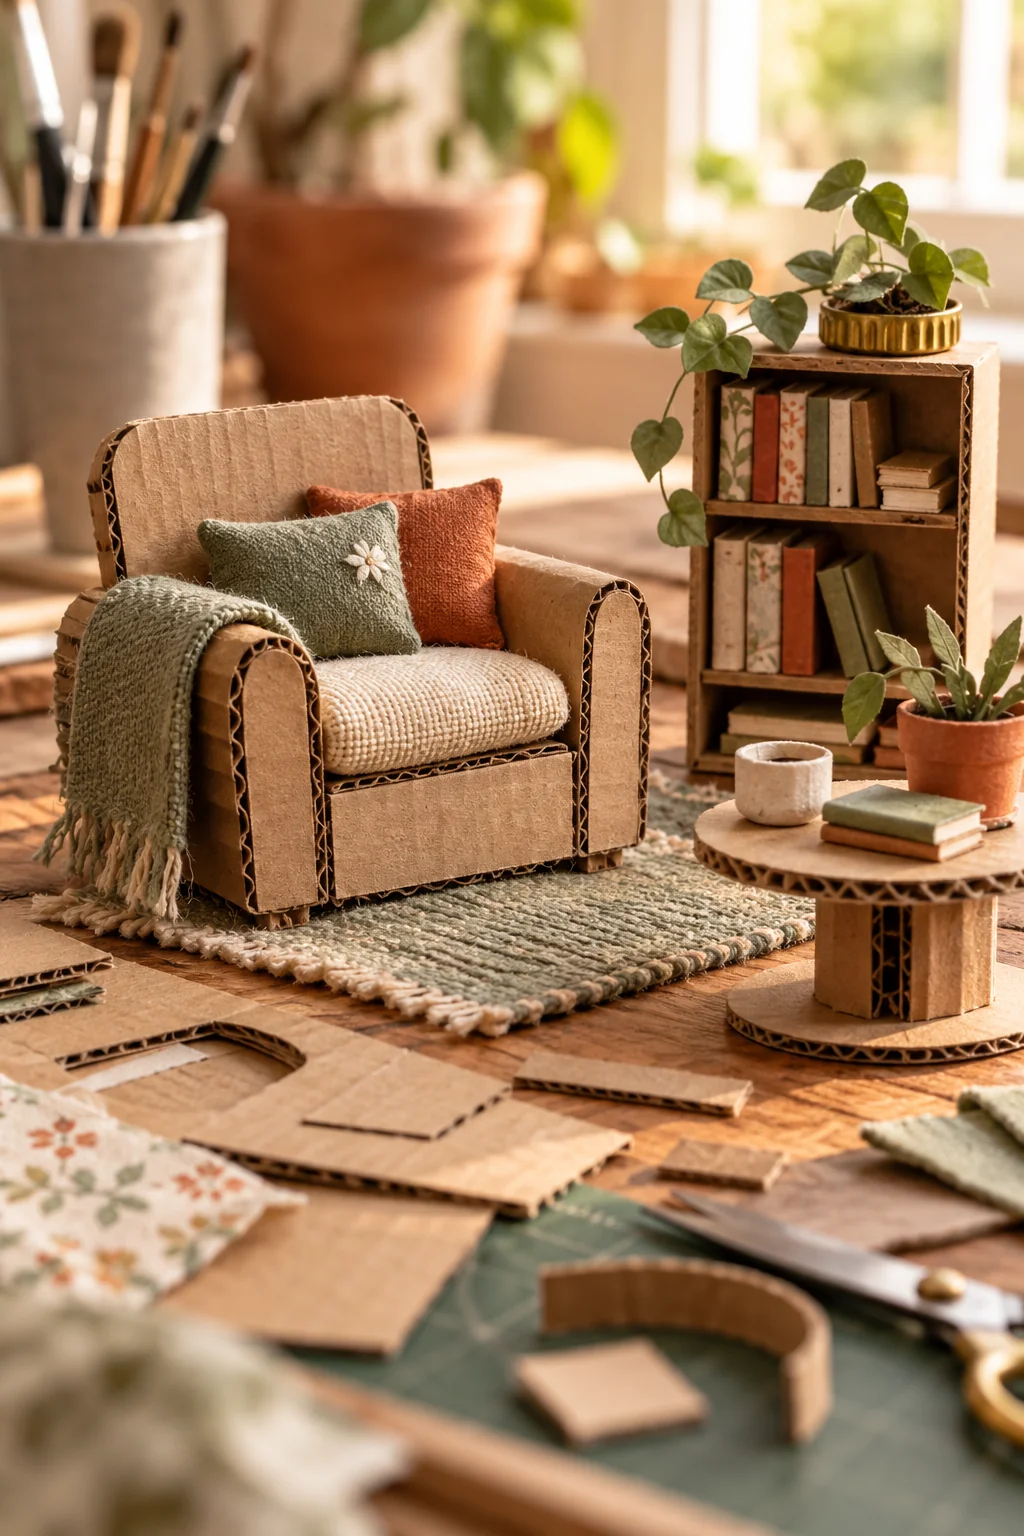
A miniature project turns an ordinary package into something you can look at differently. A cereal-box panel can become a tiny shelf; a clean cap can become the base of a pretend plant. Choose materials for the shape they already have, rather than forcing every piece into one plan.
These are decorative models, not toys for young children. Clean and dry your materials first, and skip packaging with sharp edges, unknown residue or fragile glass.
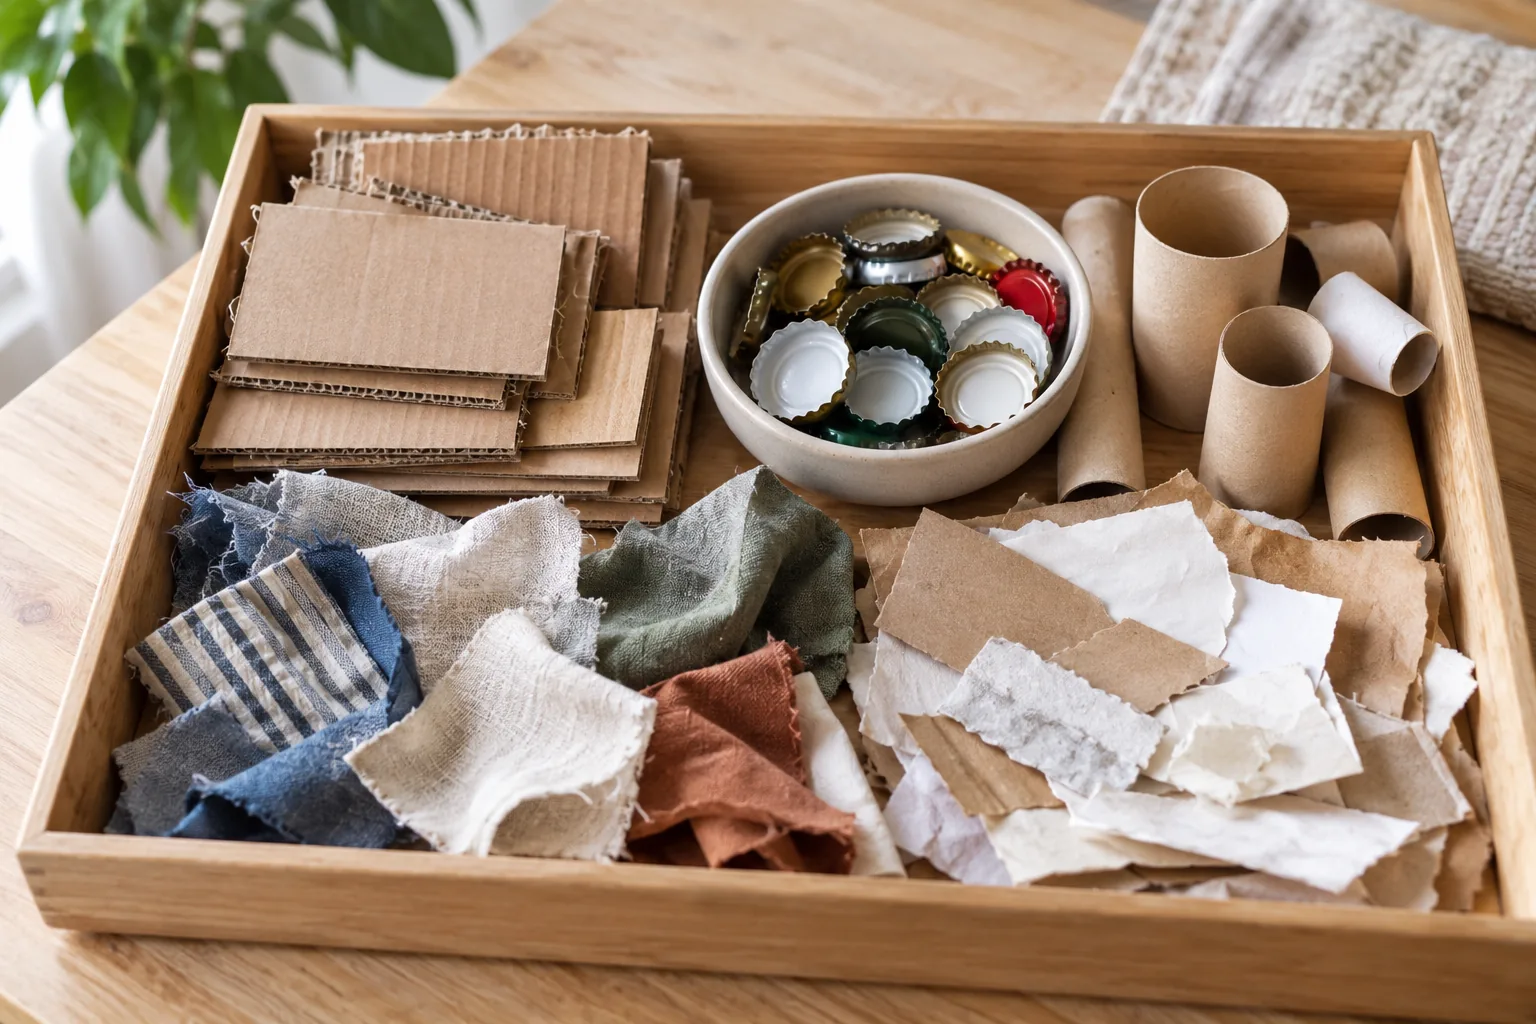
Sort a small material tray
Collect flat cardboard, small paper boxes, fabric scraps and clean plastic caps. Keep only a few useful pieces, then choose one reference size for the whole scene, such as a chair seat. The goal is consistent proportions, not a precise architectural scale.
Use paper-compatible glue and a ruler. Test how the glue behaves on a scrap before attaching fabric or plastic. Avoid dismantling electrical equipment or cutting metal containers just to obtain a small part.
Ten projects from simple forms
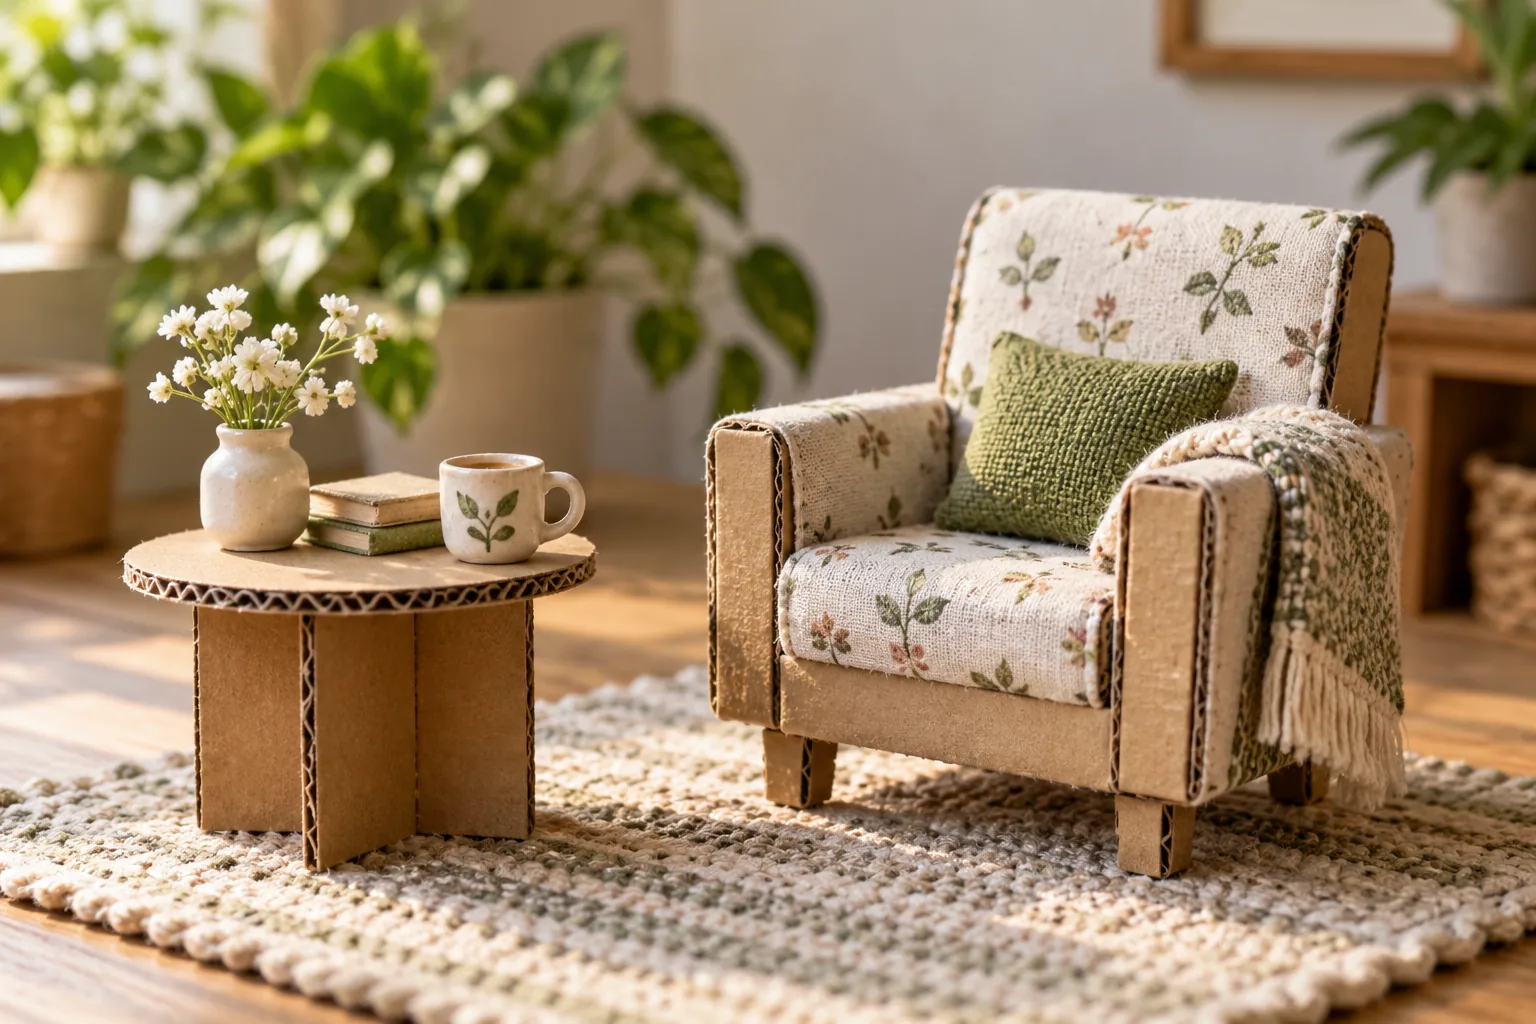
1. Cardboard reading chair: layer flat card for the seat and back. Fold a fabric scrap around a small card pad for a cushion.
2. Paper bookcase: divide a shallow box with card strips. Make miniature book spines from folded colored paper, not tiny readable copies.
3. Cap planter: use a clean cap with folded paper leaves. It is a pretend plant, so no soil or water is needed.
4. Small desk: join a rectangular card top to two folded supports. Glue the supports first and let them set before adding details.
5. Mini rug: cut a fabric scrap with a firm weave. Frayed edges can suggest fringe when secured with suitable adhesive.
6. Card picture frame: stack two rectangles, with an opening in the top one. Use an original drawing for the picture.
7. Drawer unit: place small matching boxes inside a larger card frame. Leave enough space that the drawers slide without crushing.
8. Paper window: layer a frame over a painted daylight scene. It gives depth without requiring a real hole in the room wall.
9. Tiny storage basket: fold a small card box and cover it with paper strips. Keep the strips broad enough to attach reliably.
10. Round coffee table: use two card circles and a short wide support. A broad base helps it stay upright on a fabric rug.
Assemble the scene from large to small
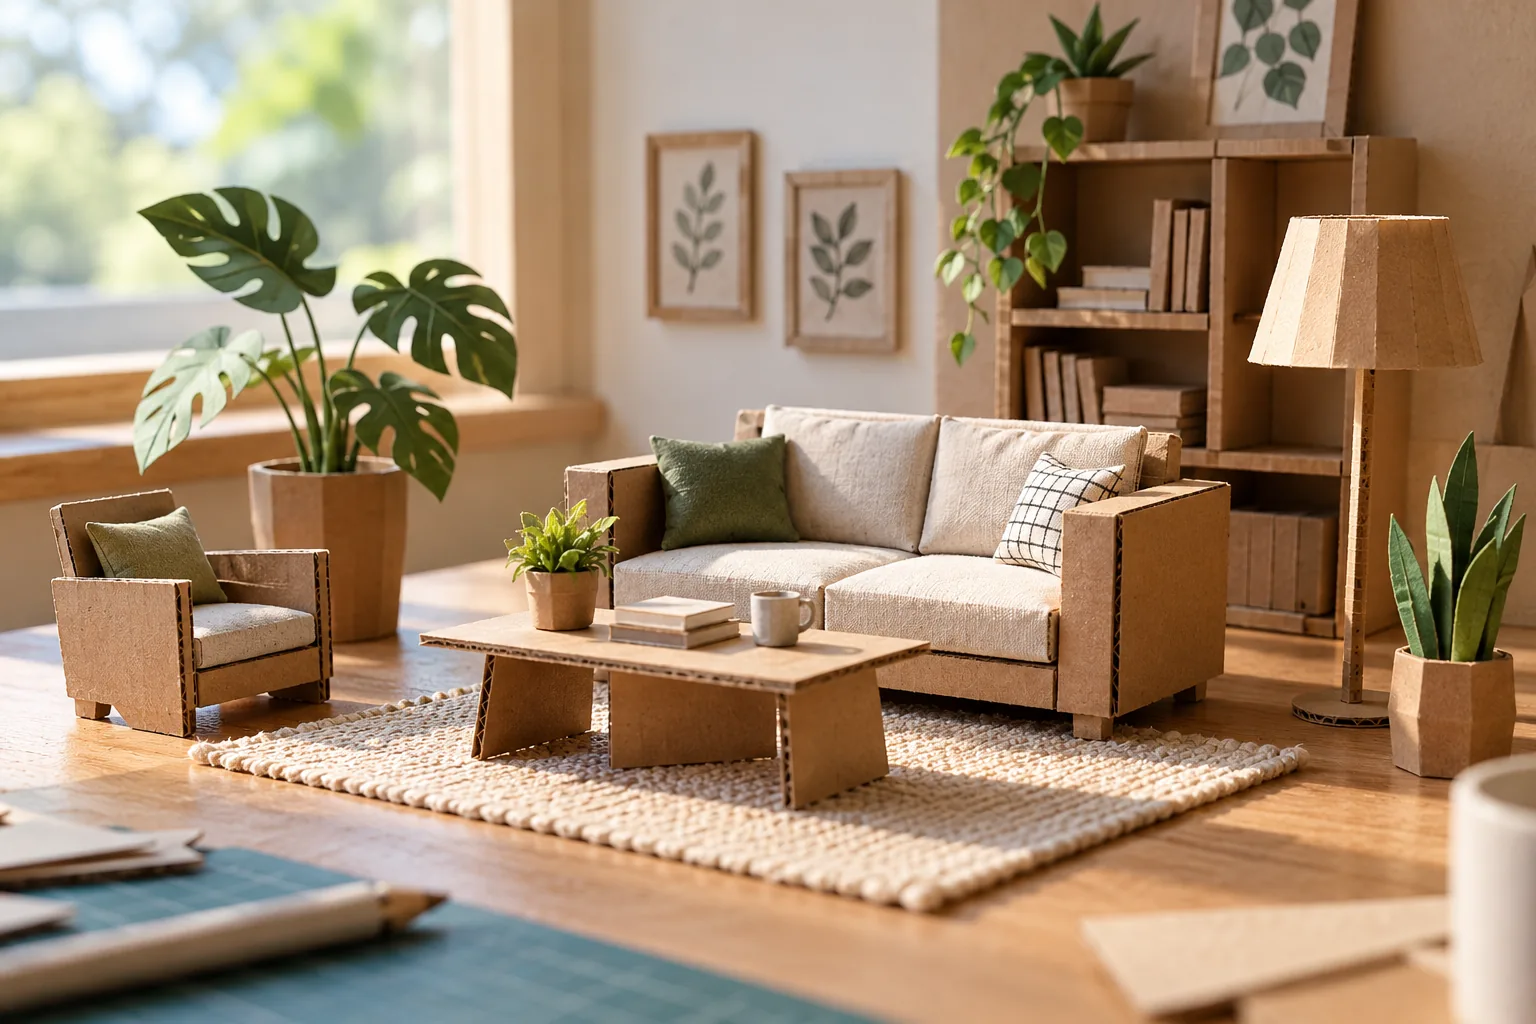
Build the floor and main furniture first. Move them around before gluing them down, then add the accessories only after the layout feels clear. Leave a path through the model rather than filling every corner with a different object.
If a piece leans, adjust the base before hiding it with decoration. Photograph the raw packaging beside the finished model to show the transformation. Keep the completed project out of reach of pets and children who might mouth the small parts.
Frequently Asked Questions
Do all materials need to be recyclable?
Use clean available materials; avoid adding unnecessary waste just to match a look.
Do I need a craft knife?
Many forms can be planned around scissors and folded card. If a knife is needed, an adult should use an appropriate cutting surface.
Can I use real plants in a tiny cap?
The cap planter in this guide uses paper leaves and is a decorative model.
 12 Minimal Habit Tracker Ideas for a Bullet Journal
 9 Handmade Ceramic Serving Platter Ideas
 10 Paper Blind Bag Ideas to Make at Home