 by Ecrin Labs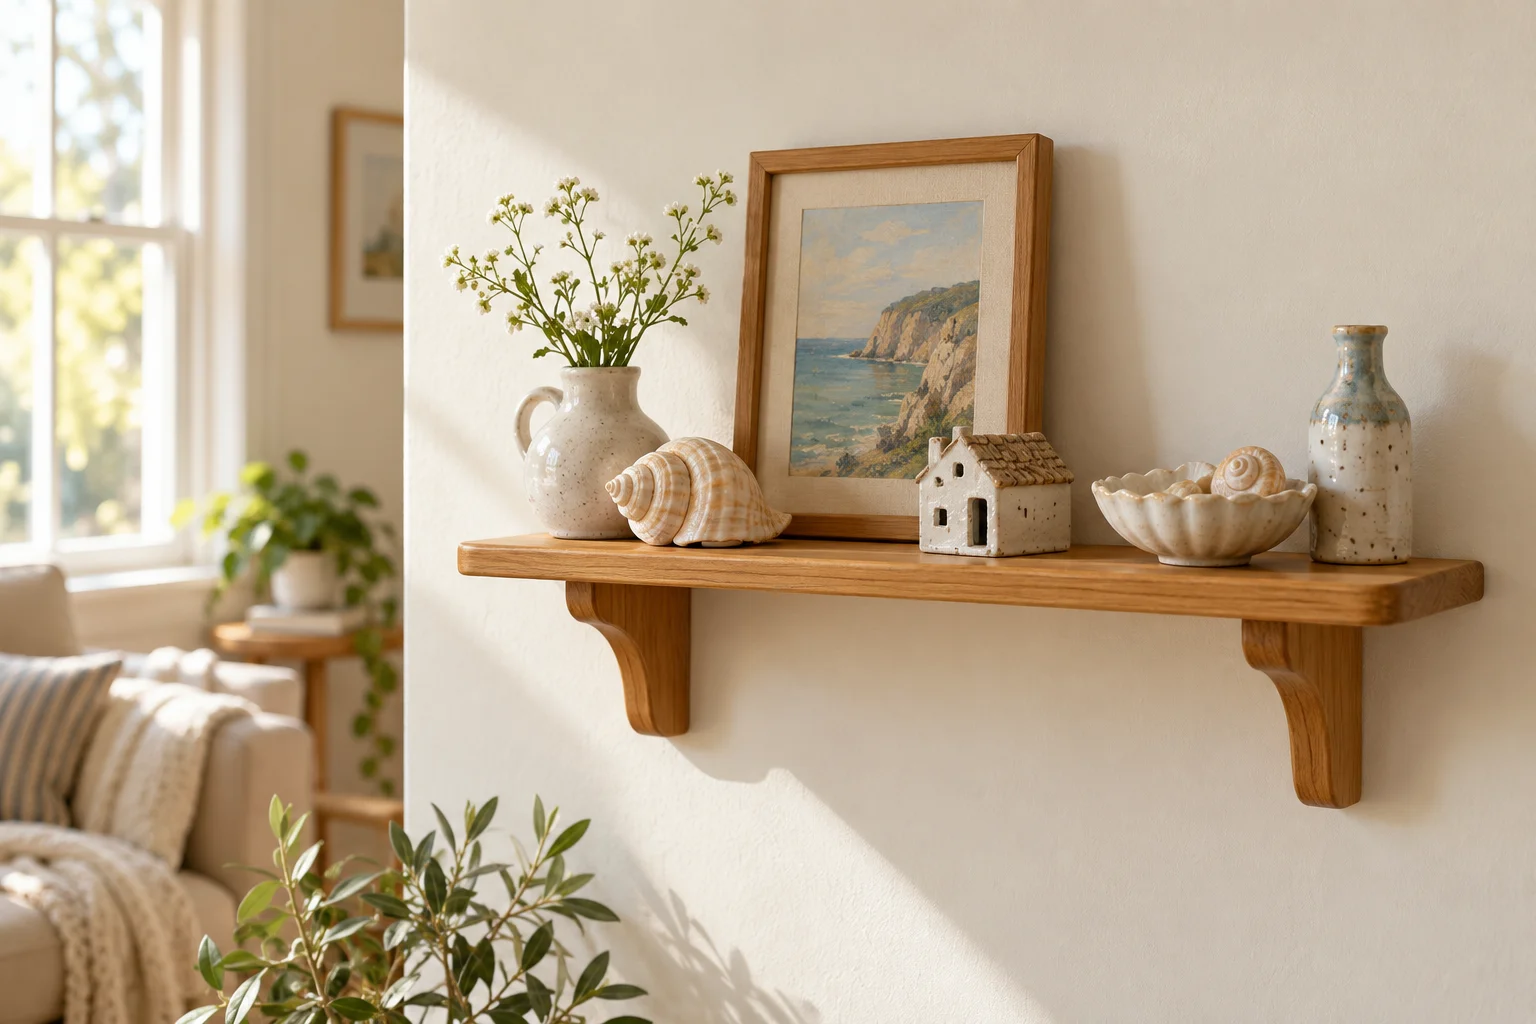
A trinket shelf gives small objects a visible place without spreading them across every surface. The goal is to make a collection readable: a few groups, some breathing room and a clear balance between taller pieces and tiny details. Start by editing what you already own.
Sort before placing
Gather the objects you want to display and group them by size, material or story. A few beach finds, miniature ceramics or souvenirs from one trip often look more connected than everything mixed together. Put fragile or valuable pieces aside until you know the shelf is secure.
Choose a smaller display than the total collection. Rotate items every few weeks or seasonally rather than squeezing every object onto the same shelf. Empty space makes the remaining pieces easier to notice and easier to dust.
Use three loose groups
Place a slightly taller object near one side, a lower group in the middle and a small accent on the other side. The arrangement does not have to be symmetrical. A tiny framed print can act as a background while a shell or ceramic sits in front.
Keep enough space between groups to see the shelf itself. If every object has a different bright color, repeat one neutral material such as wood or cream ceramic to tie the display together. Remove one object when the shelf starts to feel crowded.
Give very small pieces a boundary
A shallow tray, tiny dish or small riser can make miniature pieces feel like one intentional group. Use a dish you already own rather than buying a special organizer. Keep the group low enough that the pieces behind it remain visible.
For keepsakes that cannot stand upright, lean them against a stable frame or use an appropriate display stand. Avoid balancing heavy objects on rounded bases. A decorative arrangement should stay secure when someone walks past or opens a nearby door.
Match the shelf to the collection
A narrow ledge works for small frames and thin objects. A deeper shelf can hold a compact ceramic group, while a cubby shelf gives each miniature its own space. Measure the actual object depth and shelf clearance before deciding on placement.
Follow the shelf maker's mounting and weight instructions, using fittings appropriate to your wall. Keep breakables away from the front edge and avoid mounting displays where children or pets can easily pull them down. Do not estimate load capacity from the photograph.
Keep a simple reset routine
Dust with a method suitable for each material. Take a phone photo before removing the objects so you can rebuild the grouping quickly. Use a soft brush for intricate shapes where appropriate, and keep moisture away from paper keepsakes.
Try three themes over time: pale ceramics with one botanical print, travel souvenirs grouped by trip, or a color-focused mix of unrelated pieces. The original AI image is a composition example; your own objects should determine the shelf's story.
Frequently Asked Questions
How many objects should I display?
Start with three loose groups and leave visible space between them. The right number depends on shelf size and object scale.
Can I mix materials?
Yes. Repeat a color or shape to connect wood, glass, ceramic and paper pieces.
How do I make it easier to clean?
Keep groups small, use a shallow tray for tiny items and rotate the collection instead of overcrowding the shelf.
 Warm Lighting Ideas for a Cozy Burrowcore Home
 6 Small Gaming Room Setup Ideas for a Calm, Organized Space
 Pressed Flower Frame DIY: Dry and Arrange a Botanical Display