 by Ecrin Labs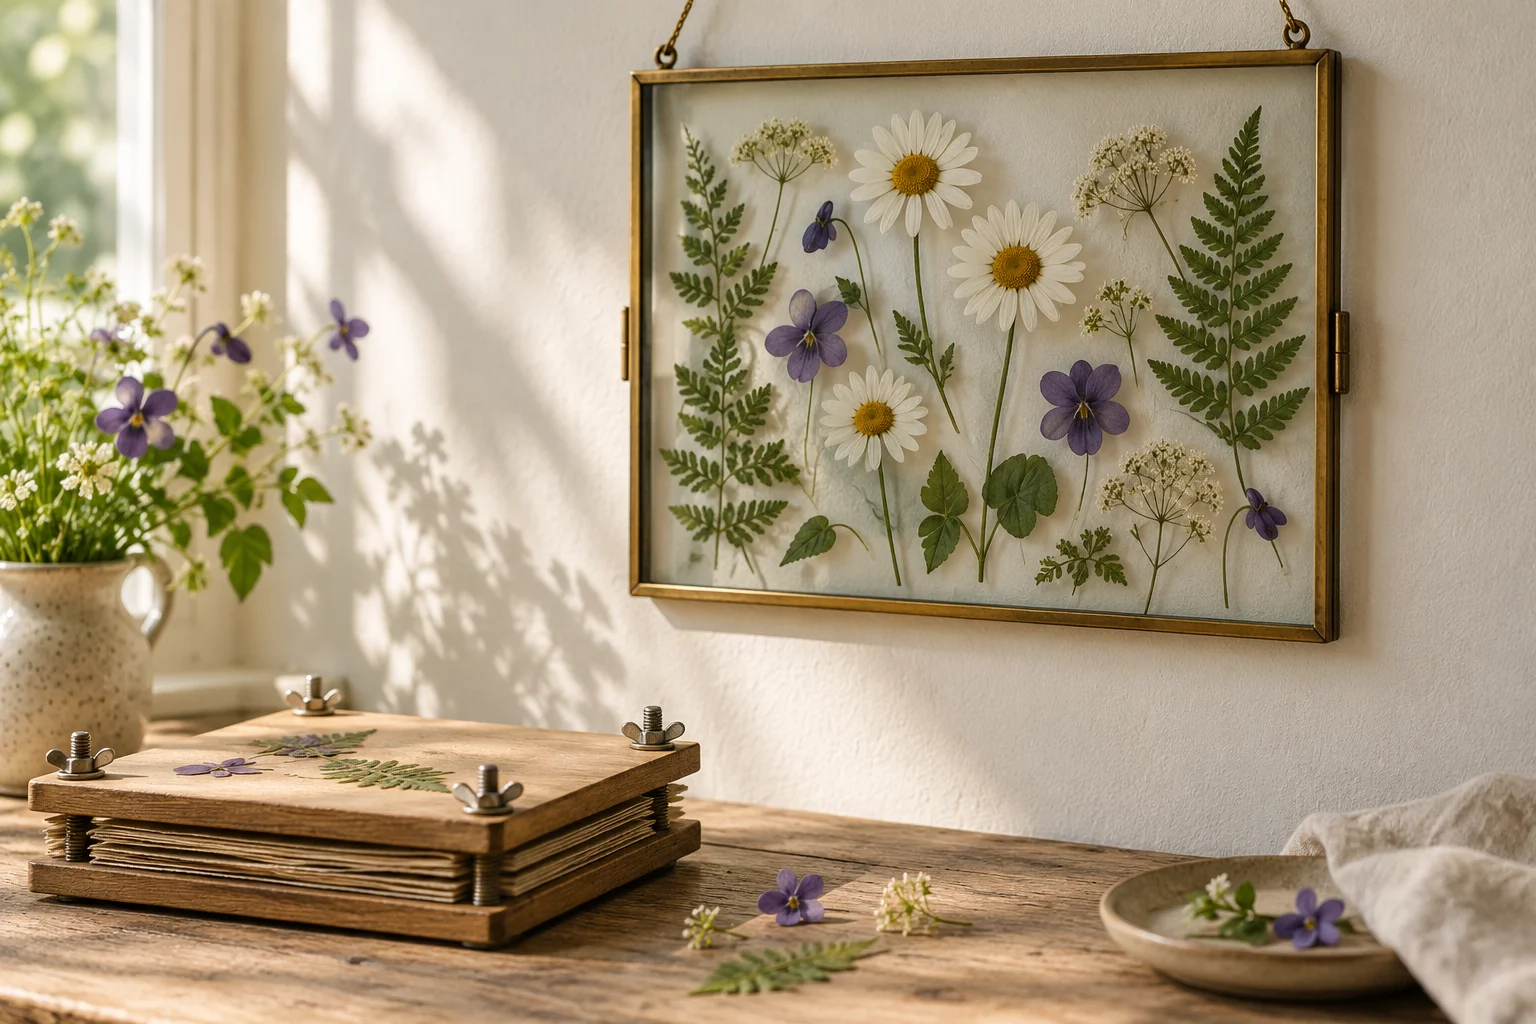
Pressed flowers make a quiet botanical display when the petals are fully dry and the arrangement leaves room for their shapes. A first project is easiest with thin flowers and leaves rather than thick fleshy blooms. Collect only plants you can safely identify and are allowed to pick.
Choose flowers for a first press
Small daisies, violets and fine leaves are practical starting shapes. Gather clean, dry material after surface moisture has gone, and avoid damaged or moldy petals. Do not collect unknown plants or flowers from places treated with substances you cannot identify.
Use your own garden flowers or permission-based clippings. Keep the collection modest and avoid protected plants. Thick roses and succulent leaves need different handling, so begin with flatter material that can dry more evenly.
Press between absorbent sheets
Place each flower between clean absorbent paper sheets with space around it. Put the sheets inside a flower press or a heavy book protected by additional paper. Arrange petals carefully now because a folded edge may remain in the finished flower.
Apply even pressure and keep the press in a dry place. Check periodically and replace damp paper carefully. Pressing may take one to several weeks depending on the plant and conditions; judge the material rather than treating a fixed date as proof of dryness.
Check before framing
The flowers should feel papery and dry, with no cool damp center. If a stem or thick center still holds moisture, return it to the press. Discard material that shows mold instead of sealing it inside a frame.
Use tweezers or clean dry fingers and handle each flower close to its supported area. Petals can be brittle, so slide paper beneath them rather than lifting by a single petal. Make a few extras in case a delicate flower breaks.
Arrange with breathing room
Lay the frame size on a piece of scrap paper and build your arrangement inside that boundary. Try one tall stem, a lower flower cluster and a few small leaves. Keep the focal flowers separated enough to read their outlines.
For a paper-backed frame, use small amounts of an adhesive intended for botanical or paper craft, testing first for staining. For a glass sandwich frame, follow its assembly directions and avoid forcing bulky stems between the panes.
Display and preserve gently
Close the frame only when every component is dry. Hang it away from strong direct sun, steamy bathrooms and damp walls. Natural flower colors can fade or shift over time even with careful placement.
A single stem makes a restrained display; a small garden mix gives a loose meadow effect; a circle of tiny petals works as a more graphic arrangement. The AI illustration is a composition reference, and a handmade frame will reflect the flowers you actually press.
Frequently Asked Questions
How long does pressing take?
It can take one to several weeks. The plant thickness, moisture and conditions matter more than a fixed deadline.
Can I frame flowers while they are still slightly damp?
No. Keep pressing until they are dry and papery; trapped moisture can damage the display.
Will the colors stay exactly the same?
No. Natural flowers may fade or change color, especially in strong sunlight or humidity.
 Ribbon Rosette DIY: Fold a Simple Award Ribbon
 Birthday Magazine Ideas: Plan a Personal Keepsake
 Sashiko-Inspired Denim Mending for Beginners