 by Ecrin Labs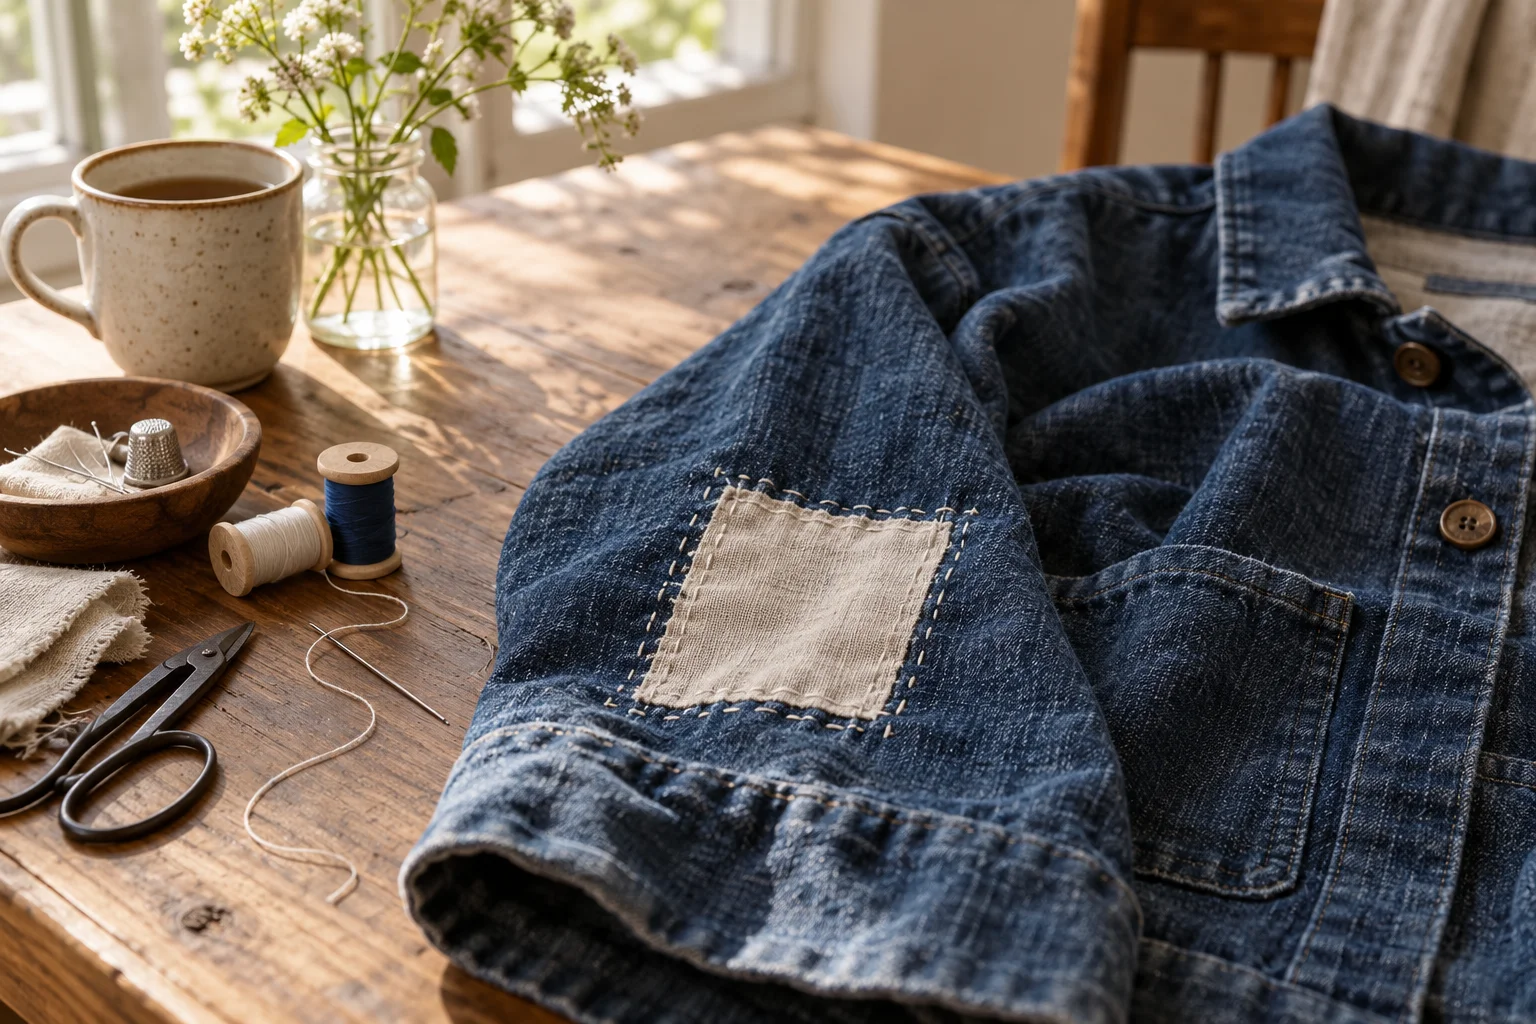
Sashiko is a Japanese stitching tradition with several styles and histories. This beginner repair uses simple running-stitch rows inspired by sashiko for a visible denim patch. It does not attempt to teach every traditional pattern. Begin on a fabric scrap so you can judge needle resistance and stitch spacing.
Choose a repairable area
A small worn patch on a knee, pocket area or jacket panel is a useful first project. Trim loose threads without enlarging the hole. If the surrounding denim is weak, make the backing patch large enough to reach sound fabric on every side.
Use a woven cotton patch, cotton thread and a needle that passes through the denim comfortably. Sashiko thread and needles can help, but the first priority is a manageable fabric thickness. Avoid starting at a thick folded seam.
Position the backing patch
Cut a patch that extends about 2–3 cm beyond the damaged area. Round its corners and place it behind the hole. Baste around the edge or use clips to keep both layers aligned. Reach inside the leg or sleeve so you do not accidentally stitch its front and back together.
Choose a pale backing for a visible contrast or similar denim for a quieter repair. Check the garment from the outside before sewing. The patch should sit flat without stretching the worn fabric into an unnatural shape.
Mark simple rows
Draw parallel lines with a removable fabric marker, following the marker instructions and testing it on a hidden scrap first. Begin with rows about 8–10 mm apart. Straight lines are easier to keep consistent than a dense geometric pattern on your first repair.
Mark beyond the hole and across the sound fabric that holds the backing. The stitching needs to secure the patch, not only decorate the open area. Avoid marking so densely that the finished repair becomes stiff.
Stitch without pulling tight
Work a running stitch along one row, taking small alternating bites through both layers. Aim for a consistent rhythm rather than perfect measurements. After several stitches, lay the fabric flat and ease the thread so it does not gather the denim.
Turn at the end of a row with a small slack loop on the underside instead of pulling a tight corner. Secure thread ends neatly on the back. If the needle is difficult to push, use a thimble and take fewer stitches at a time.
Finish and care for the repair
Remove basting and any washable marks as directed. Check the patch edge and add a few securing stitches if it lifts. Wear the garment briefly to make sure the repair bends comfortably with the fabric.
Follow the garment's care label and check the repair after washing. A contrasting patch with horizontal rows, a tonal patch with vertical rows, or two small separate patches all use the same basic method. The AI illustration is a visual reference, not a stitch-by-stitch chart.
Frequently Asked Questions
Is any running stitch sashiko?
No. This project is described as sashiko-inspired visible mending; sashiko includes distinct Japanese traditions and techniques.
Why does my repair pucker?
The thread may be too tight. Lay the fabric flat and redistribute the tension before securing the ends.
Can I mend stretch jeans?
A rigid patch can restrict stretch. Begin with a low-stretch area or use a patch that is compatible with the garment fabric.
 Ribbon Rosette DIY: Fold a Simple Award Ribbon
 Birthday Magazine Ideas: Plan a Personal Keepsake
 Clay Bag Charms DIY: Make Lightweight Accessories