 by Ecrin Labs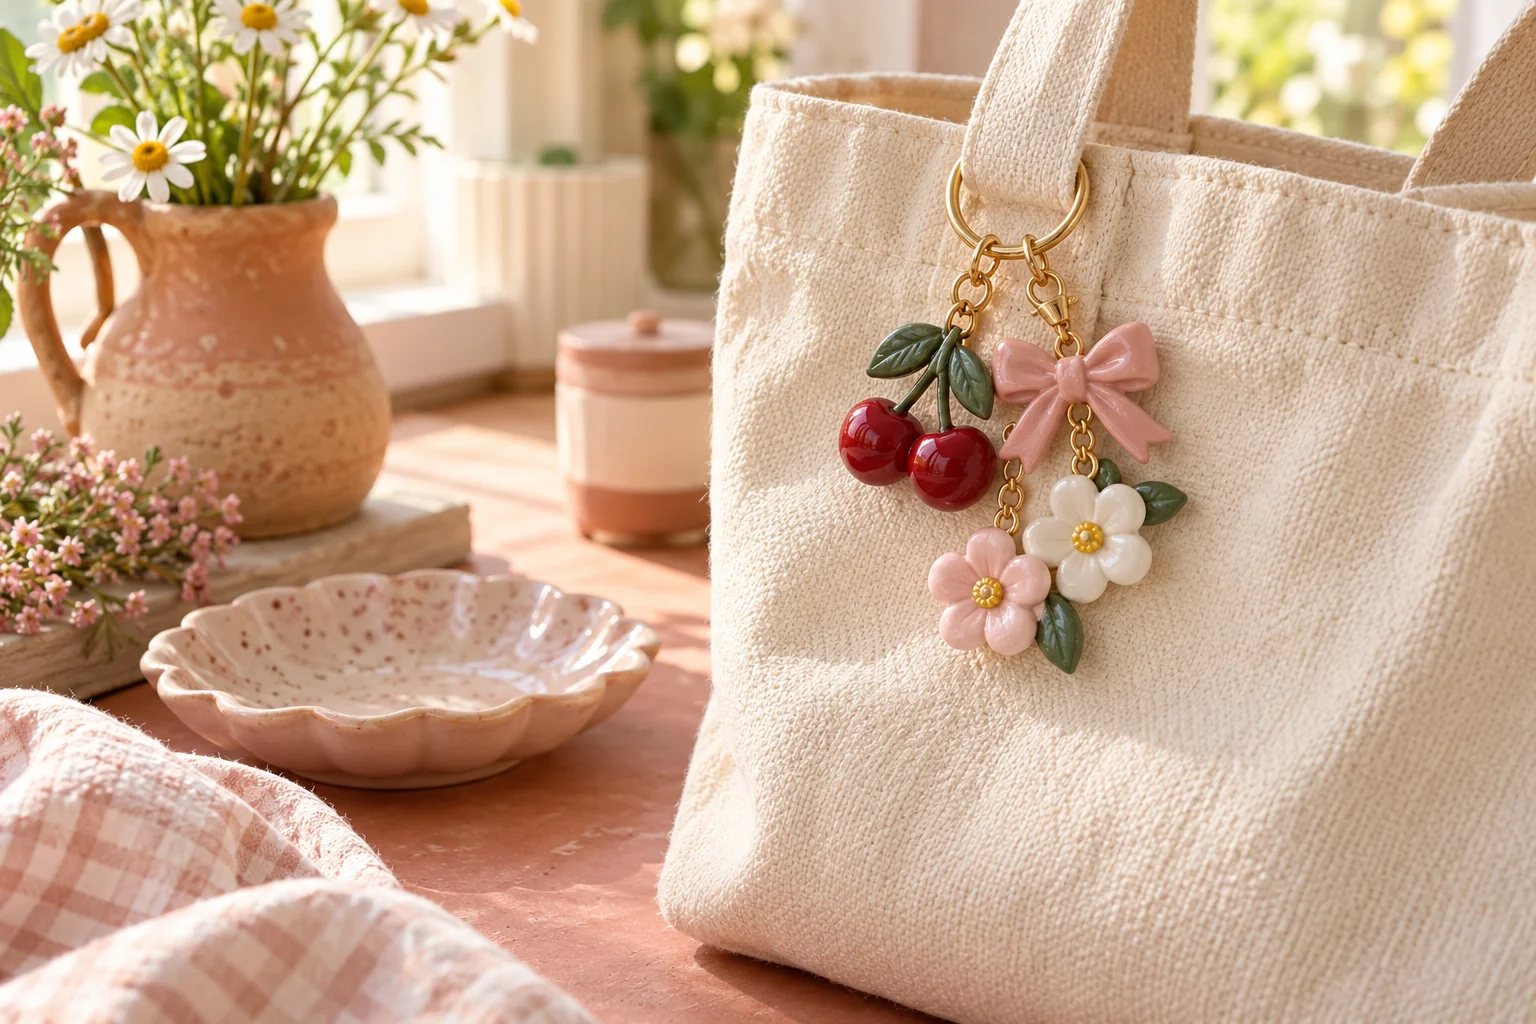
Small polymer clay charms can give an everyday bag a personal detail without adding a large dangling ornament. This project uses oven-bake polymer clay, which behaves differently from air-dry clay. Follow the exact clay brand's baking instructions and make a lightweight sample before building a full set.
Gather clay and hardware
Use oven-bake polymer clay, a smooth work surface, a roller, a small cutter or craft blade, an oven thermometer and metal eye pins suitable for the project. You will also need jump rings and a small bag clip after baking. Keep your craft tools separate from food preparation tools.
Begin with two colors and one simple shape. A flat flower, rounded heart or tiny bow is easier to keep light than a large sculpted figure. Check that hardware placed in the oven can tolerate the clay's specified curing temperature.
Shape a small charm
Condition the clay in your hands until it feels workable. Roll it to an even thickness around 3–4 mm, unless your clay maker recommends otherwise for your design. Cut a small shape and soften sharp edges with your fingers.
For a cherry pair, make two small flattened rounds and a simple connecting stem shape. For a flower, use a flat cutter shape instead of thin projecting petals. Thin extensions can break when a charm knocks against a bag.
Make an attachment point
Before baking, create a clean hole near the top with enough clay around it to resist tearing. Alternatively, use an eye pin with a bent or curled embedded end rather than a straight shaft that can slide out. Keep the loop visible and away from the front design.
A hole and jump ring is a straightforward first attachment method. Test the placement by gently lifting the unbaked charm without bending it. If the hole is too close to the edge, reshape it now rather than relying on glue later.
Cure according to the label
Place the pieces on the baking surface recommended by the clay maker. Use the labeled temperature and time for the actual thickness; there is no universal baking setting for all polymer clay. An oven thermometer helps detect temperature differences.
Let the charms cool fully before handling or attaching hardware. Do not microwave polymer clay. Work with normal ventilation and follow the manufacturer's use directions. A brittle cooled piece may need a design change or a review of the curing instructions.
Assemble and wear gently
Open a jump ring by twisting its ends sideways, feed it through the charm and clip, then close it flush. Pull gently to check the join. Keep the whole charm short enough that it does not snag on a door handle or brush the ground.
Start with one flower on a canvas tote, two tiny fruit shapes on a pouch, or a simple initial-free bow on a backpack. Avoid hanging fragile pieces beside keys. This decorative accessory is not a toy; small parts should be kept away from young children.
Frequently Asked Questions
Can I use air-dry clay instead?
Air-dry clay is often more vulnerable to moisture and impacts. This bag accessory project is designed for correctly cured polymer clay.
What temperature should I use?
Use the temperature and timing printed by your exact clay manufacturer, matched to the thickness of your piece.
Why did my charm break?
Thin projecting parts, a hole near the edge or incorrect curing can weaken it. Try a flatter, smaller design and check the brand instructions.
 Ribbon Rosette DIY: Fold a Simple Award Ribbon
 Birthday Magazine Ideas: Plan a Personal Keepsake
 Sashiko-Inspired Denim Mending for Beginners