 by Ecrin Labs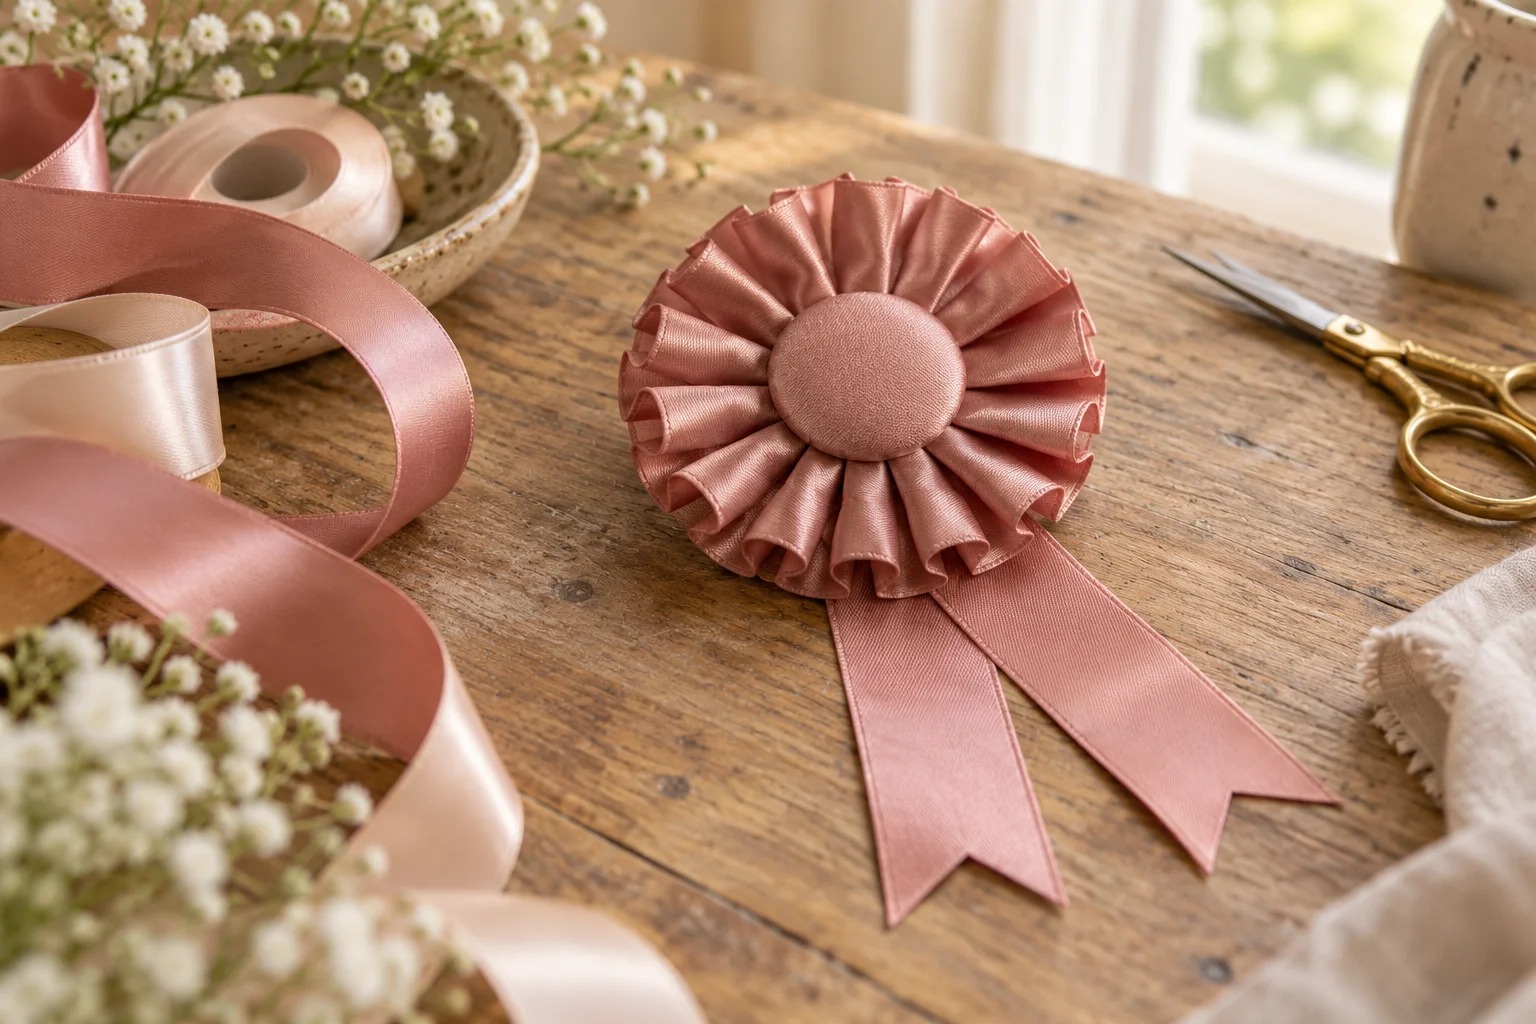
A ribbon rosette turns a short length of ribbon into a keepsake for a birthday, gift wrap or place setting. The easiest first version uses a folded ribbon ring on a card backing, with two tails underneath. Make a paper sample before cutting your favorite ribbon.
Gather your materials
For a rosette about 7–9 cm across, start with roughly 60–80 cm of ribbon that is 2.5 cm wide, two 15 cm pieces for tails, a sturdy card circle, scissors and a needle with matching thread. Ribbon stiffness affects how much you need, so keep a little extra available.
Choose grosgrain for folds that hold their shape or soft satin for a smoother finish. A printed paper circle can cover the center. A ribbon award can say Birthday Star or simply show a small illustration instead of a name.
Fold a pleated ring
Fold one short end of the long ribbon inward. Form repeating accordion pleats along the ribbon, about 1 cm deep, holding or clipping them as you go. Run a line of small stitches along the same lower edge through every pleat.
Gently gather the stitched edge until the ribbon curves into a circle. Overlap the two ends and stitch them together. Before tightening the thread completely, spread the pleats so the outer edge looks even and the center gap is small enough to cover.
Build the backing
Cut a card circle slightly smaller than the ribbon ring. Place the ring on the circle and attach it with a small amount of craft adhesive suitable for both materials, following its instructions. Keep the glue behind the pleats rather than spreading it across the visible ribbon.
Add the two ribbon tails to the back, angling them slightly apart. Cut a shallow V into each tail end if you like the award-ribbon shape. Cover the attachment points with another card circle to make a neat back.
Finish the center and attachment
Place your decorative paper circle over the gathered center. Keep text short and large enough to read. A small photo or initial can work well, but use a copy rather than an irreplaceable original.
For gift wrap, attach the back with tape. For a reusable decoration, add a ribbon hanging loop. If using a pin back, fasten it securely and keep sharp hardware away from young children; a loop is often easier for a party table.
Use the same method three ways
A blush satin version works as a birthday keepsake. A cream grosgrain rosette with a handwritten initial can mark a place setting. A bright two-tail version can decorate a wrapped gift without needing extra ornaments.
Let the adhesive dry fully before stacking or packing rosettes. Store them flat in a shallow box so the pleats remain shaped. If the ring puckers, loosen the gathered stitches slightly and redistribute the folds before gluing.
Frequently Asked Questions
Can I make it without sewing?
You can secure folded ribbon with suitable craft adhesive, but stitched pleats are easier to adjust before the backing is attached.
How much ribbon do I need?
Start with 60–80 cm for a small rosette and make a paper test; ribbon width and pleat depth change the amount.
Can I reuse it?
Yes. Use a sturdy backing and a hanging loop, and store it flat rather than crushing the pleats.
 Birthday Magazine Ideas: Plan a Personal Keepsake
 Sashiko-Inspired Denim Mending for Beginners
 Clay Bag Charms DIY: Make Lightweight Accessories