 by Ecrin Labs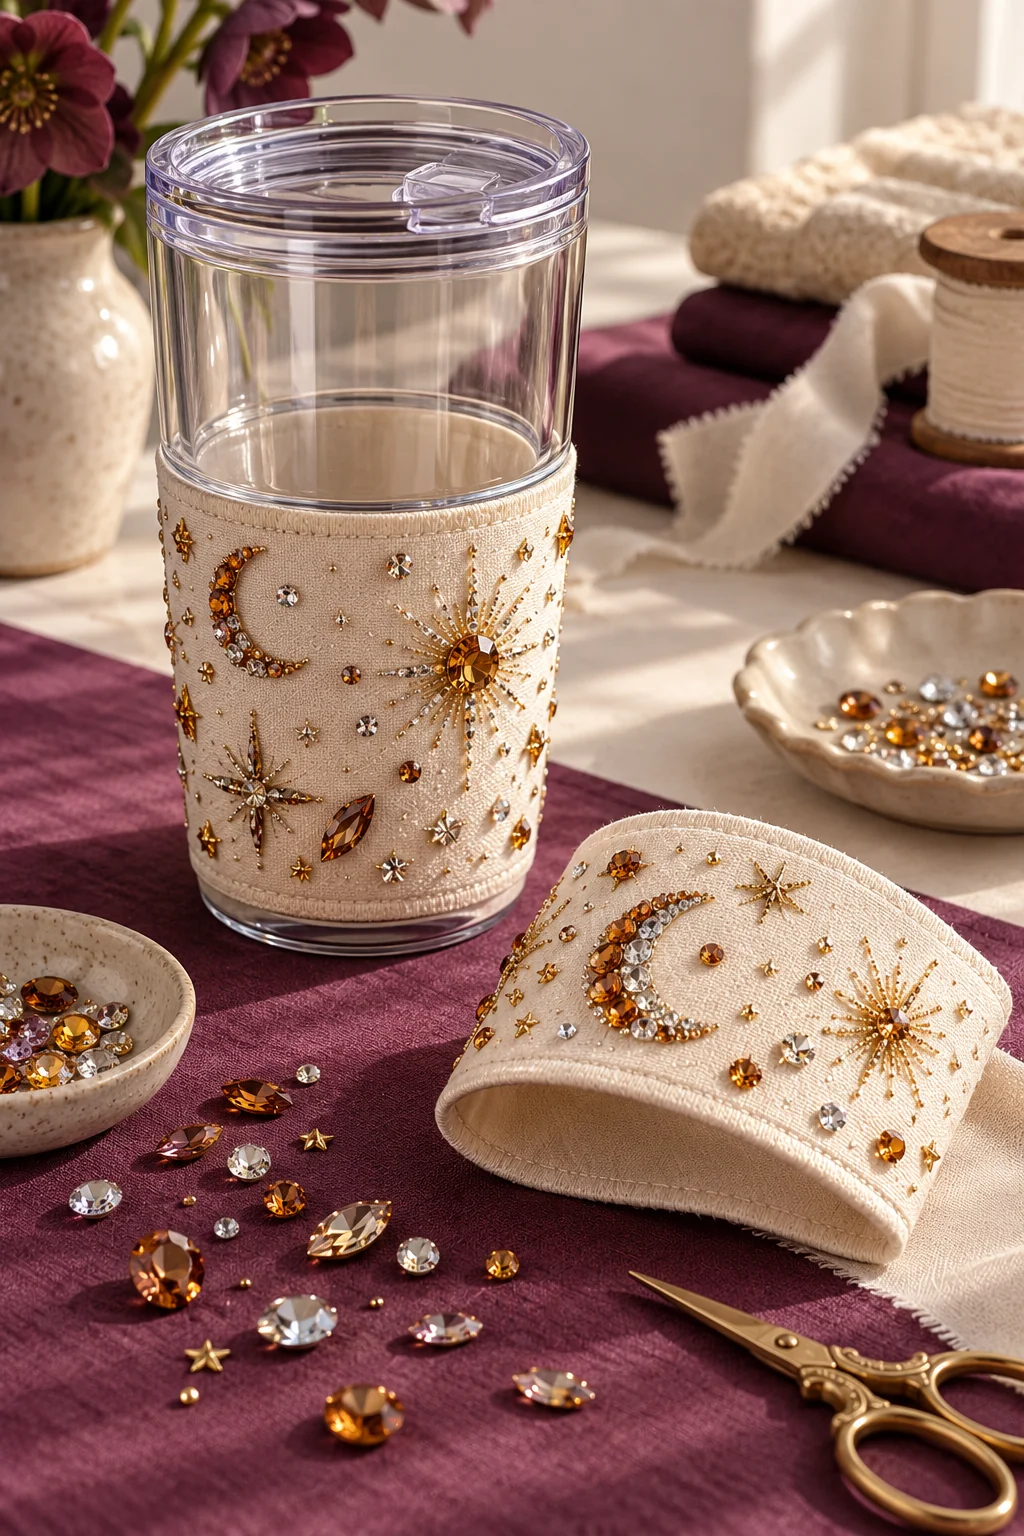
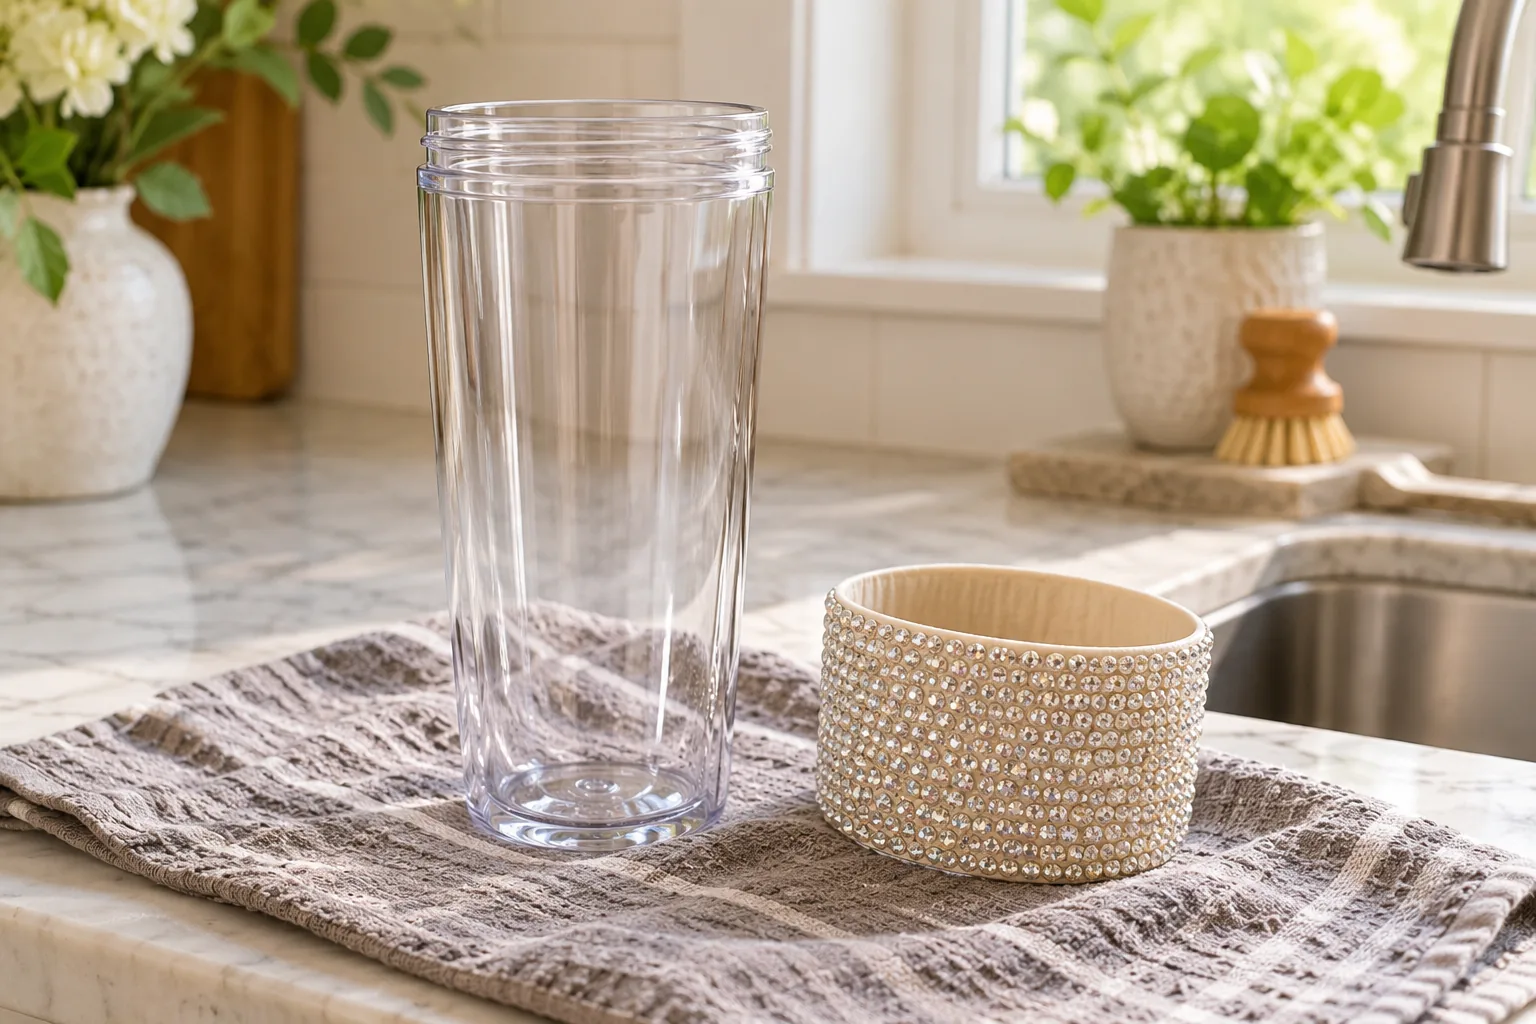
A removable sleeve is a convenient canvas for a sparkling cup decoration. You can plan the pattern flat, take the sleeve off before washing the cup and replace it when you want another color. The designs below focus on the lower exterior sleeve; they do not require gluing stones to a drinking rim or inside a container.
Make the sleeve the project
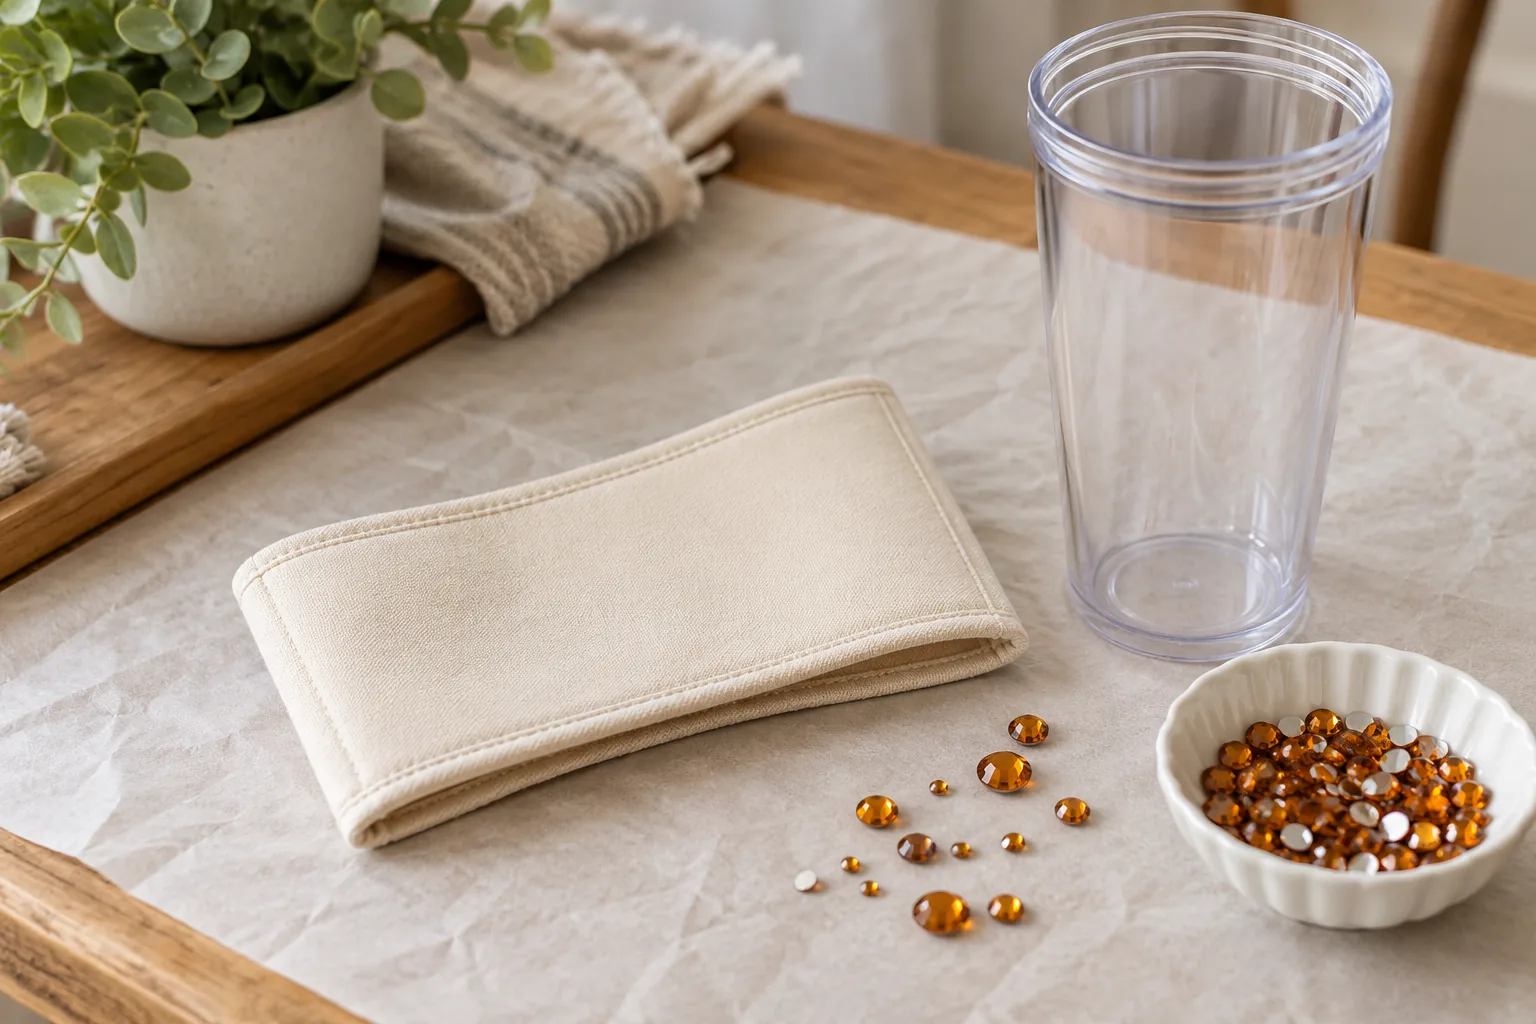
Choose a sleeve that fits your cup securely without interfering with the lid, handle or grip. Gather flat-back rhinestones, a pencil, a paper template, tweezers and an adhesive explicitly suitable for the sleeve material. Read its instructions, ventilation requirements and curing time before starting.
Remove the sleeve from the cup and lay it on a protected work surface. If you make your own sleeve, test the unembellished fit first. Leave seams, closures and flexible areas clear. The adhesive is for the decorative sleeve, not for any food-contact surface.
Ten patterns with a clear focal point
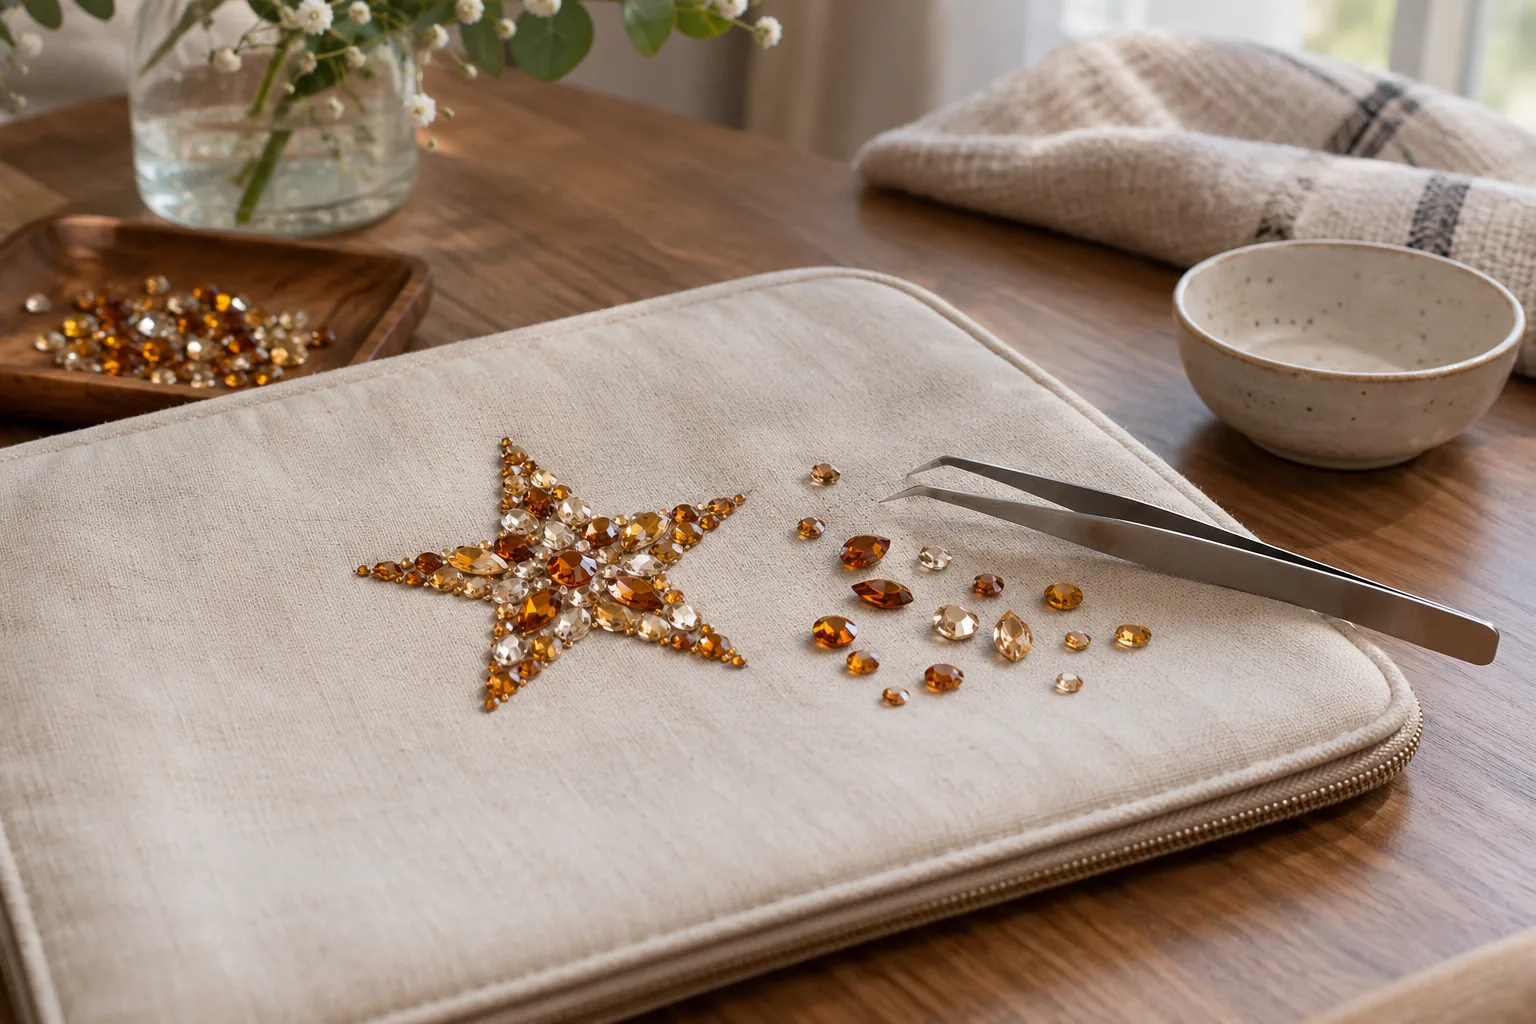
1. Single star: draw one broad star and outline it with stones. Leave the rest of the sleeve mostly plain.
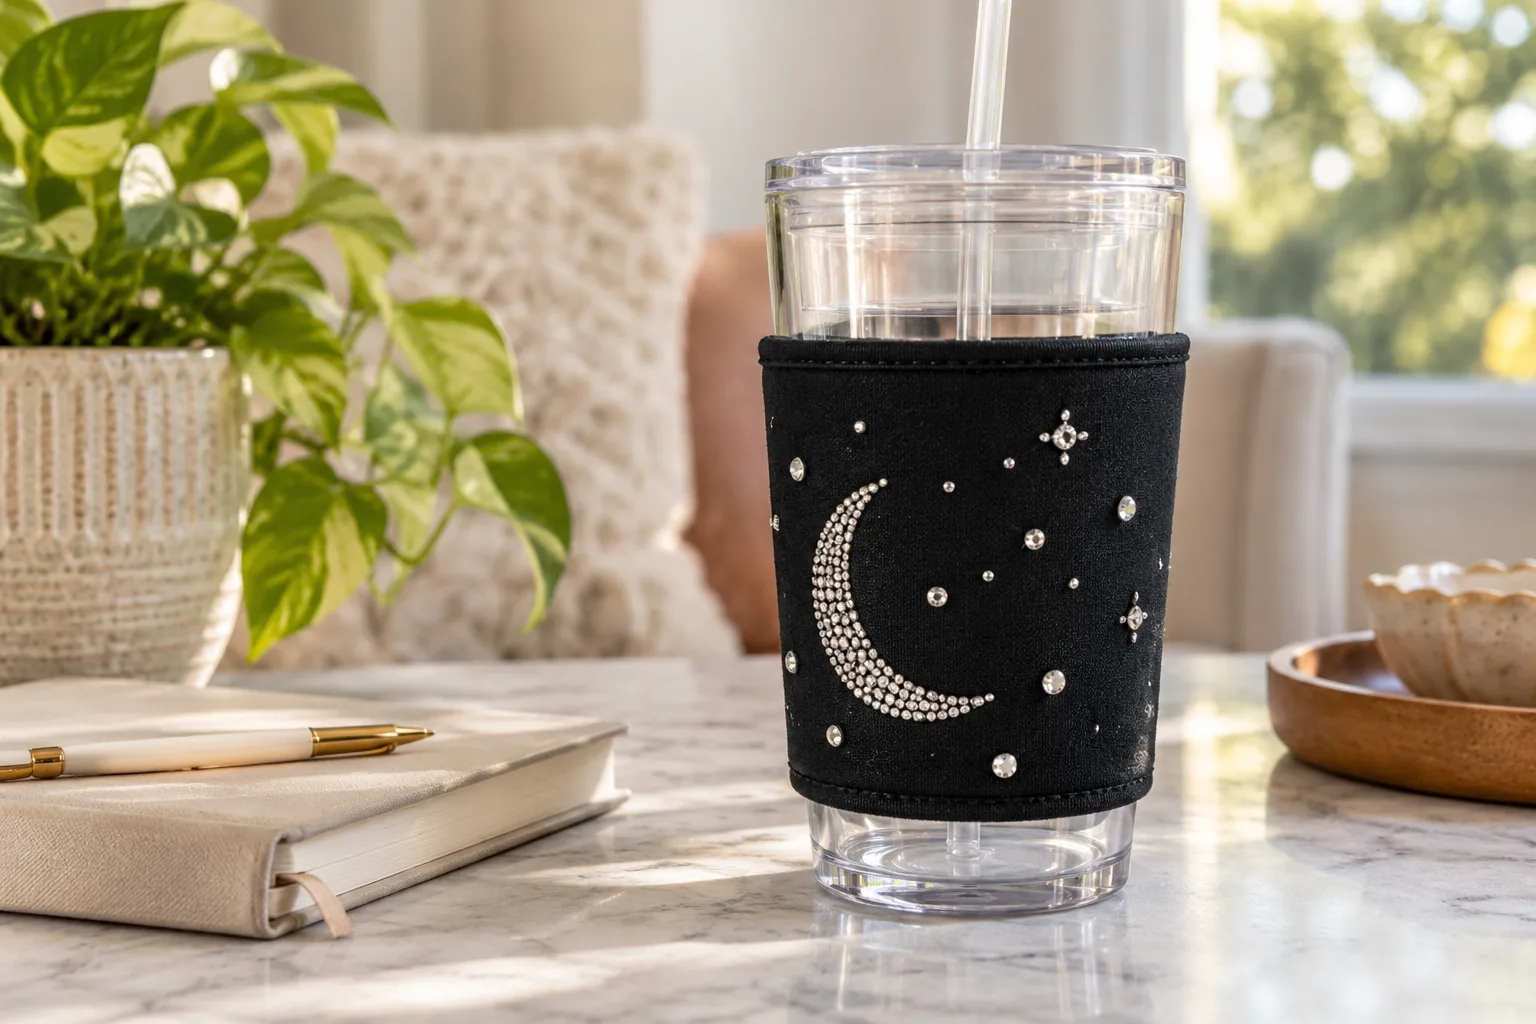
2. Crescent and dots: use a small crescent with a loose scatter of tiny stones. Reduce the density toward the edges.
3. Amber gradient: arrange pale stones near the top of the sleeve and deeper amber near the bottom. Keep the transition gradual.
4. Initial panel: mark one simple initial on a central patch. Check the shape on paper before committing to glue.
5. Slim border: add a narrow line near the sleeve edge, leaving room for the fabric to bend. A full rigid band may prevent a good fit.
6. Mini flower cluster: group a few small blossoms on one side. Alternate clear and warm-colored centers.
7. Scattered constellation: connect a handful of stones visually with open space. Avoid drawing a real astronomical claim into the decorative pattern.
8. Checker accents: make a few small blocks of color rather than covering the entire sleeve. Keep the blocks separated by plain fabric.
9. Soft wave: follow one curved pencil line with stones of similar size. Leave the closure area undecorated.
10. Quiet sparkle: use a few clear stones around a small original fabric motif. The background remains the main color.
Dry-fit, attach and inspect
Arrange the stones without adhesive first and photograph the layout so you can rebuild it. Test the chosen adhesive on an inconspicuous sleeve area according to its directions. Work in short sections, using only the amount specified by the manufacturer.
Allow the full stated cure time before handling or fitting the sleeve. Check for loose stones and rough edges. If the stones make the grip uncomfortable or the sleeve unstable, revise the pattern instead of using it as-is. Keep small stones and uncured adhesive away from children and pets.
Separate decoration from cleaning
Remove the sleeve before washing the cup and follow the cup maker’s cleaning instructions. Clean the decorated sleeve only in a way permitted by its materials and adhesive; this guide makes no dishwasher or heat-resistance claim.
Inspect the sleeve regularly and stop using it if stones loosen. Photograph the finished project with an empty cup on a plain surface. Keep decoration clear of the rim, lid seal and interior every time you refit it.
Frequently Asked Questions
Can I decorate the drinking rim?
Keep the decoration on a removable exterior sleeve, away from the rim, interior and lid seal.
Is any craft glue suitable?
No. Choose an adhesive specified for the sleeve material and follow its directions.
Can the decorated sleeve go in the dishwasher?
Do not assume so. Remove it and follow the relevant material and adhesive instructions.
 12 Minimal Habit Tracker Ideas for a Bullet Journal
 9 Handmade Ceramic Serving Platter Ideas
 10 Paper Blind Bag Ideas to Make at Home