 by Ecrin Labs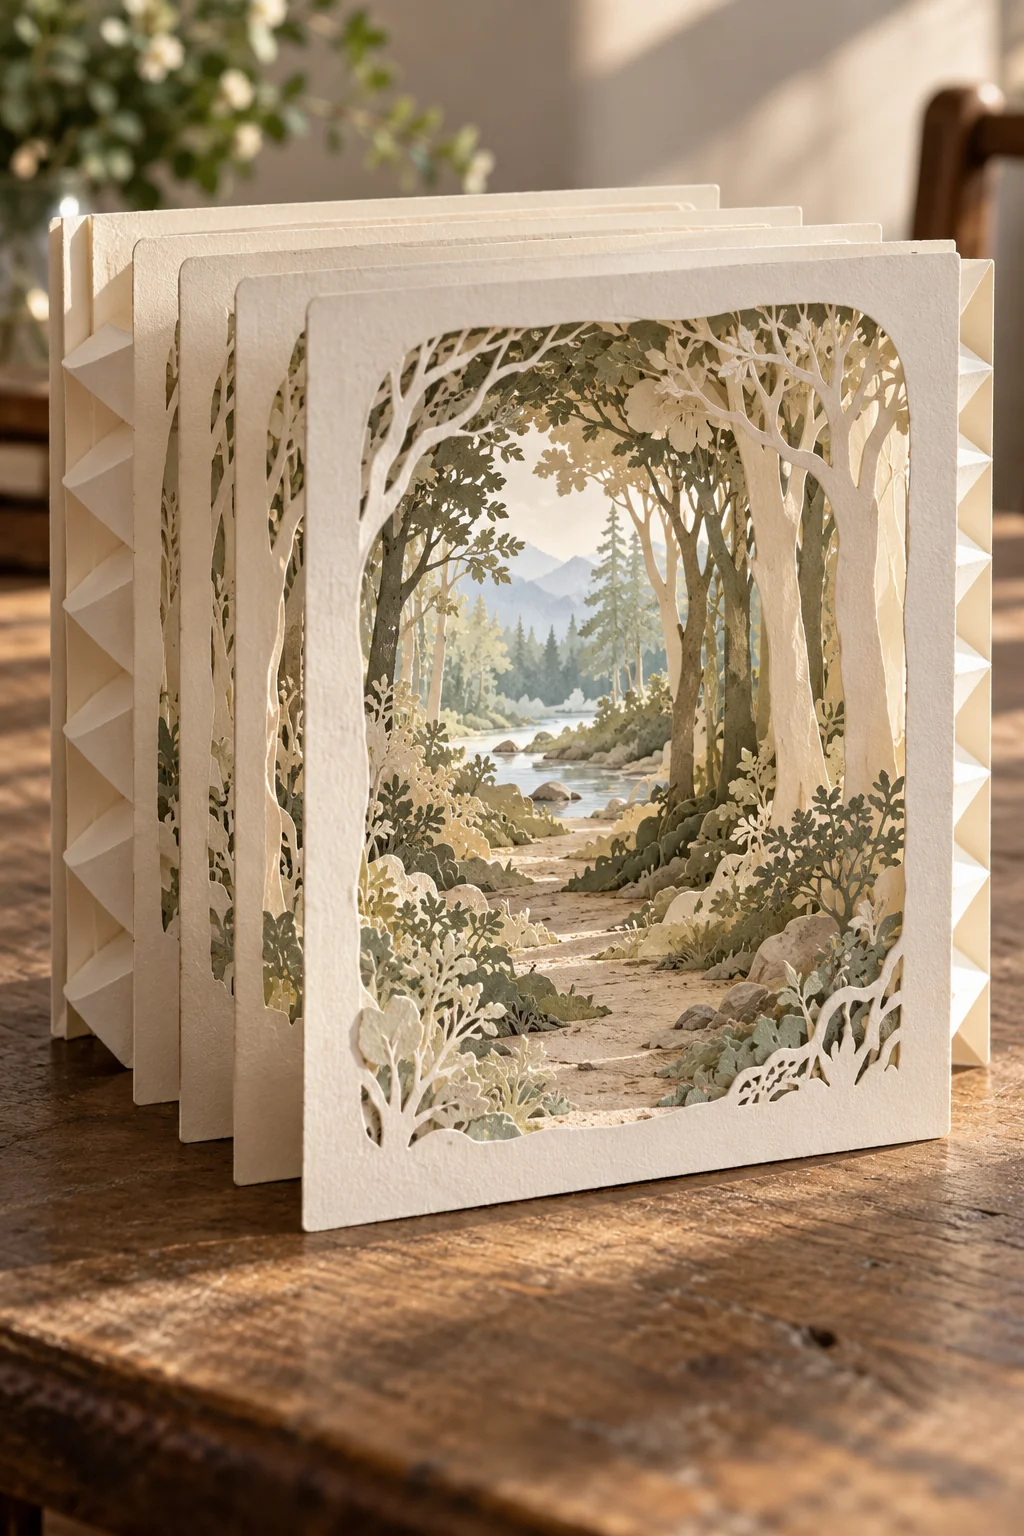
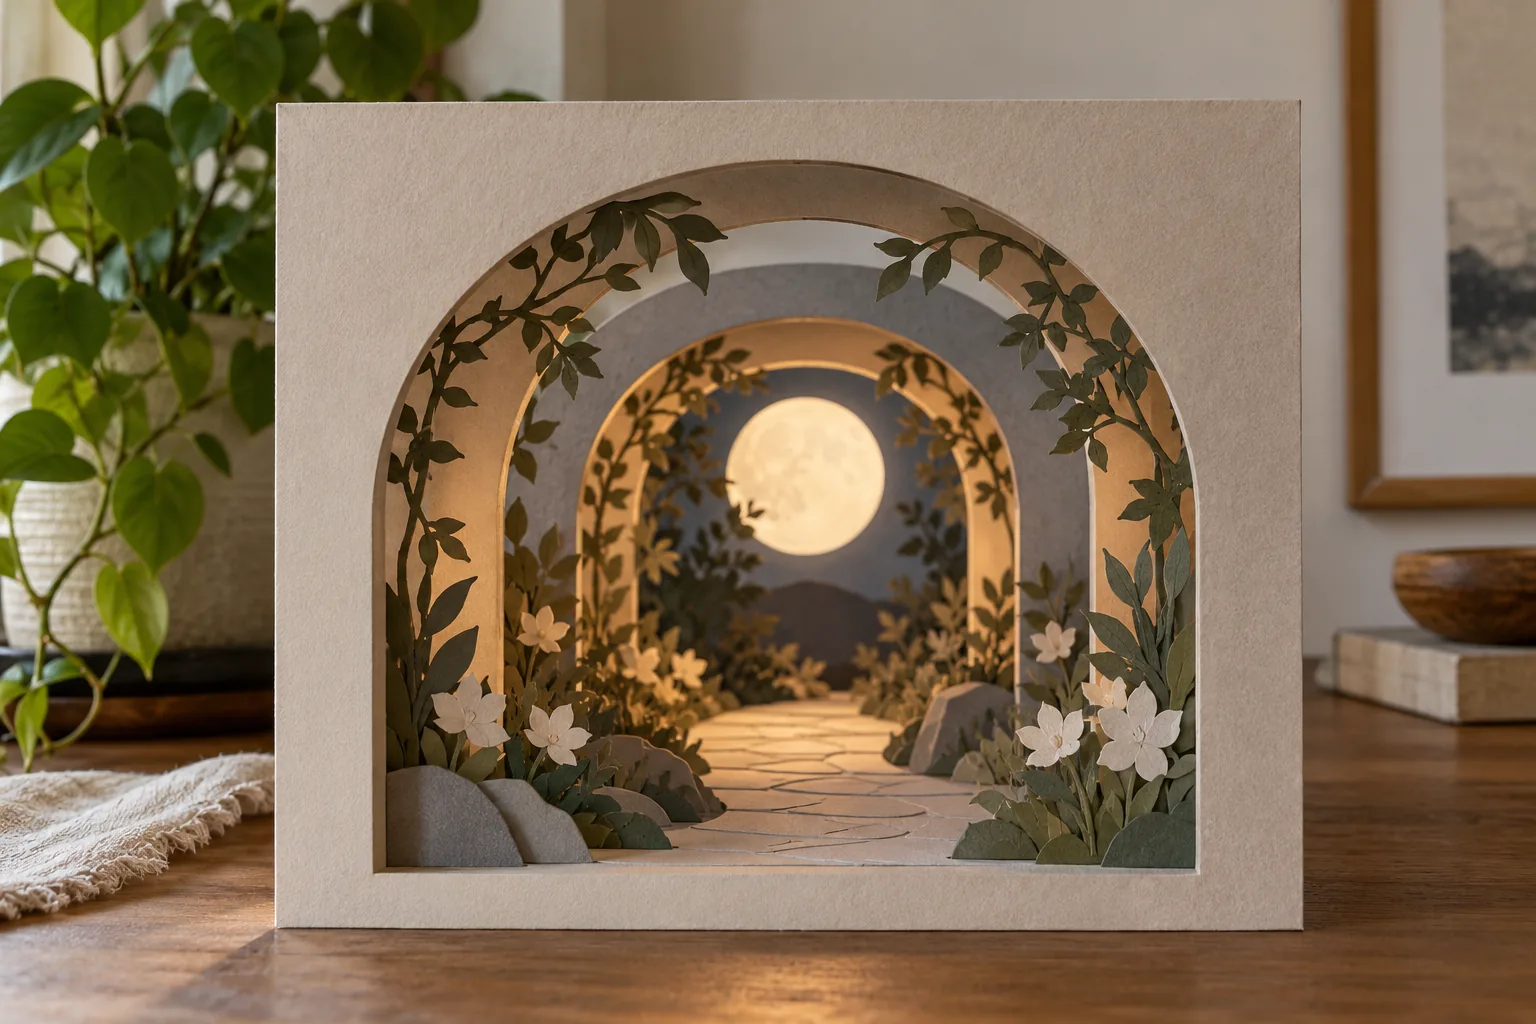
A tunnel book uses several paper frames to turn a flat drawing into a small scene with depth. You look through the front opening and see each layer in turn. Start with three or four layers so the cutting and alignment stay manageable. The finished piece is a display craft rather than a conventional book of turning pages.
Plan the view before cutting
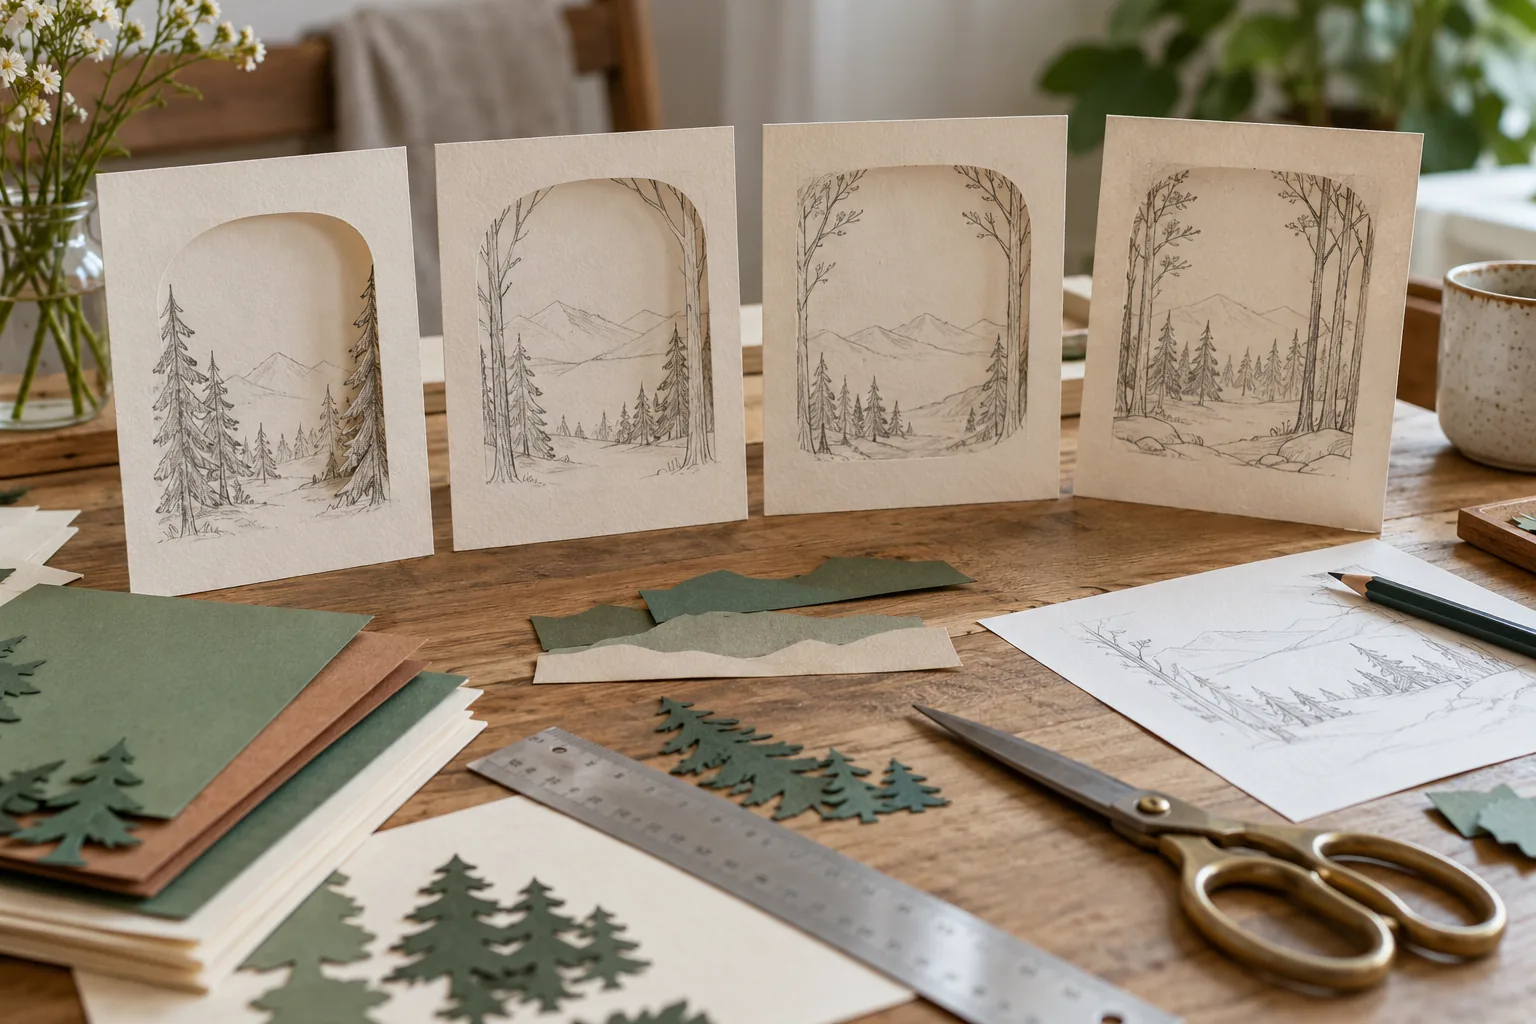
Gather sturdy card, pencil, ruler, scissors, paper glue and a scrap sheet for testing folds. Draw identical outer rectangles for every layer. Leave a broad border around each opening so the frame will remain strong. Keep the first version small enough to support itself without heavy decorations.
Sketch the background first, then decide which shapes belong in the middle and foreground. The front opening should reveal the main subject rather than hide it. Lay the uncut drawings over one another to check the view. An adult should handle any craft knife work.
Seven scenes to try
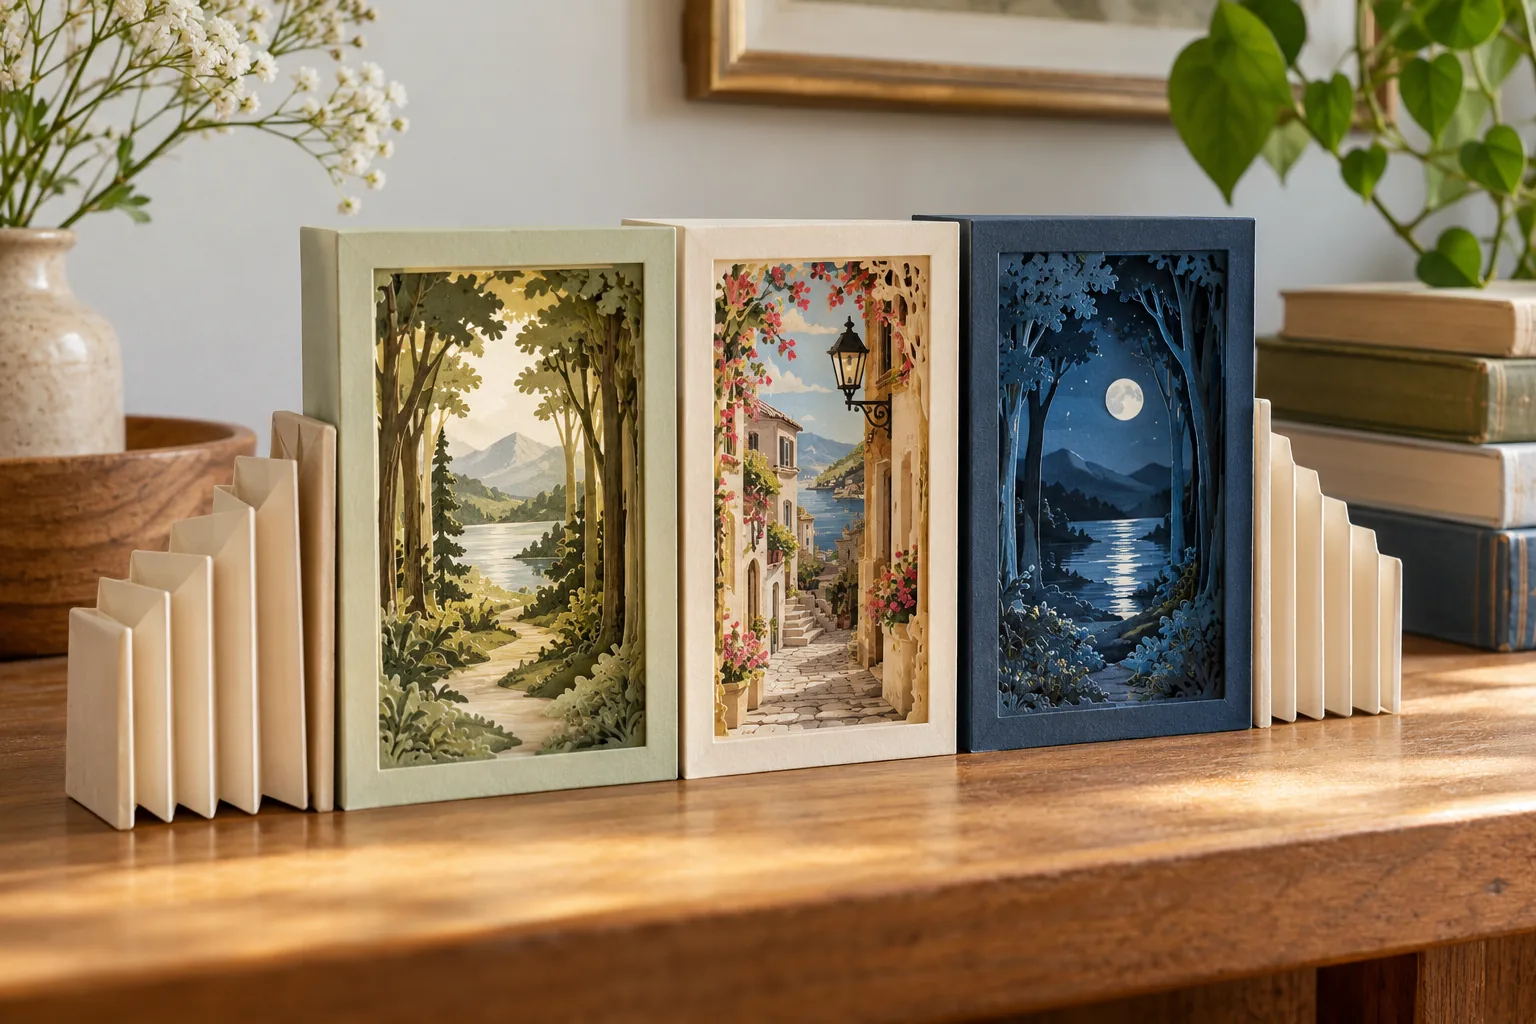
1. Woodland path: place tree trunks at the sides of the front frame, shrubs in the middle and a pale path behind them. Keep the center open.
2. Moon garden: use flowers in front, an arch in the middle and a large moon on the back panel. Let the moon remain fully visible.
3. Underwater scene: arrange seaweed along the edges, fish across the middle and a soft blue background. Use wide connections for narrow leaves.
4. Cozy window: make the front layer a window frame, the next a curtain edge and the back an imaginary garden. Avoid tiny separate curtain strands.
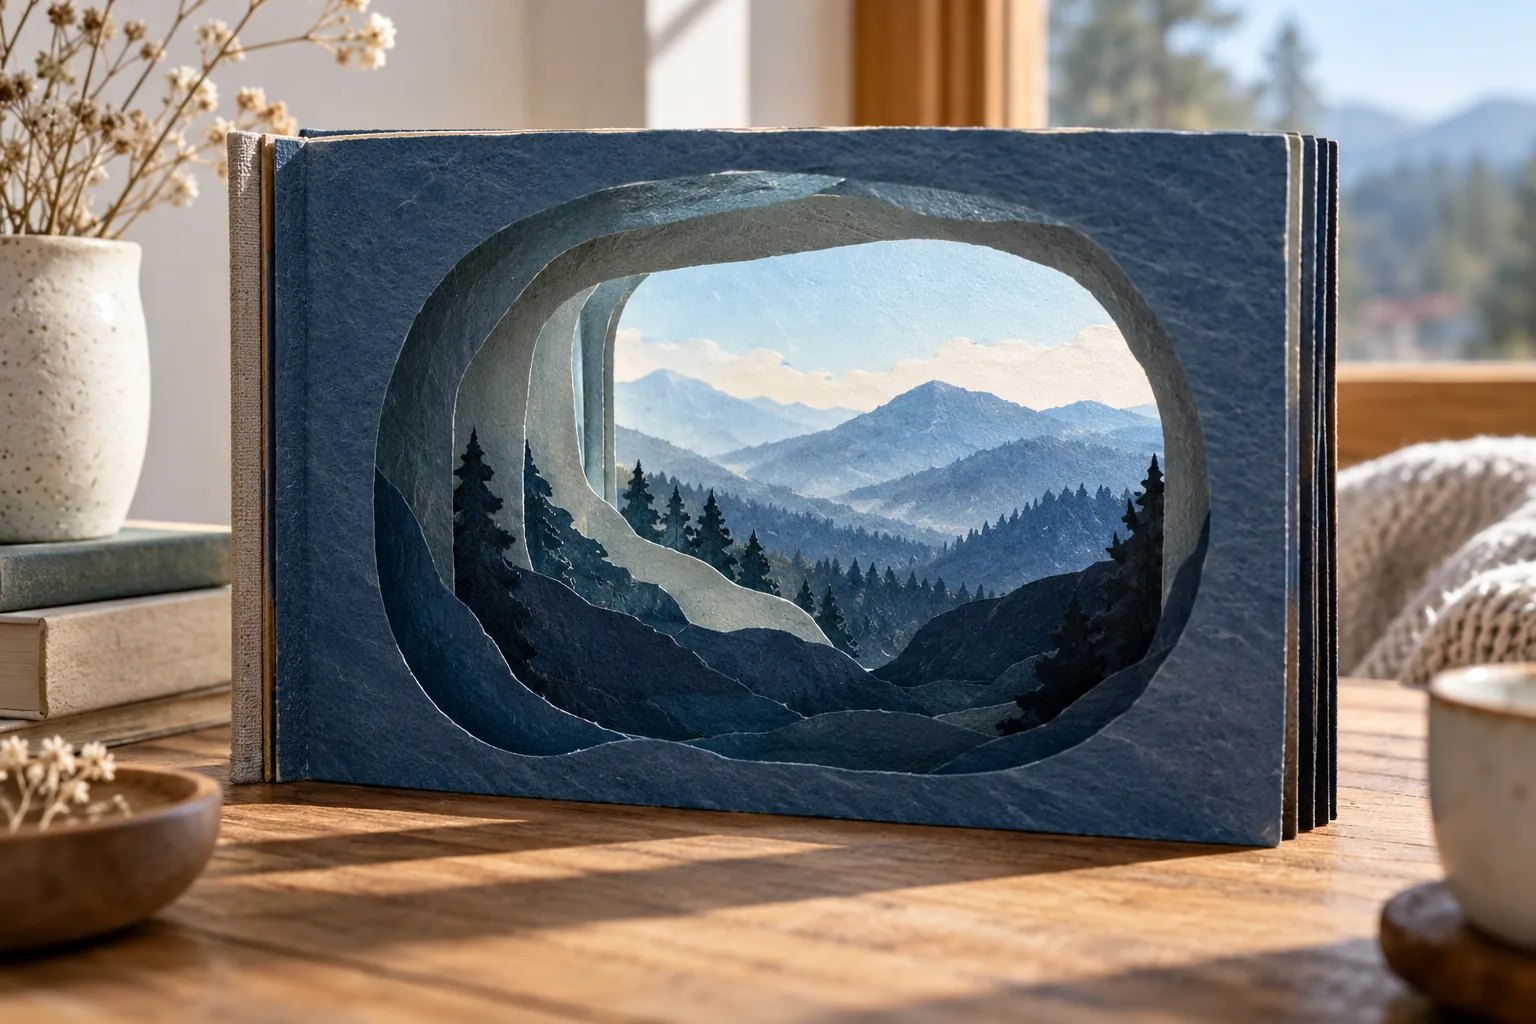
5. Mountain valley: overlap progressively lighter ridges. A broad sky on the background makes the layers easy to read.
6. Mini theater: place a simple stage opening in front and two decorative scenery panels behind it. Use an original backdrop rather than copying a production.
7. Abstract color tunnel: cut rounded openings in related colors. Shift each opening slightly while keeping a clear view through the center.
Make the supports and assemble
Cut two matching strips for the sides and fold each into an accordion. Test the folds with spare paper first. Their valleys should hold the edges of successive frames at even distances; the number of folds depends on the number of layers.
Dry-fit the layers from back to front on a level table. Check that each frame stands straight and that the main subject is visible. Glue one side at a time with a thin application, supporting the frames while the joints dry. Do not add a new layer until the previous joint holds its position.
Solve common alignment problems
If a frame sags, widen its border or replace it with firmer card. If the scene feels crowded, remove a middle layer or enlarge an opening before final assembly. If the side folds pull crookedly, remake the two strips as a matching pair.
Keep the finished tunnel dry and out of direct sunlight. Photograph it from the front at the height of its central opening. A slightly angled second photo can show how the folded supports create the depth.
Frequently Asked Questions
How many layers should a beginner use?
Three or four layers are easier to align than a deep tunnel.
Does it fold completely flat?
That depends on the fold spacing and decorations. This first version is intended as a freestanding display.
Can I use thin paper?
Thin paper works for decorative details, but sturdy card is more useful for the structural frames.
 12 Minimal Habit Tracker Ideas for a Bullet Journal
 9 Handmade Ceramic Serving Platter Ideas
 10 Paper Blind Bag Ideas to Make at Home