 by Ecrin Labs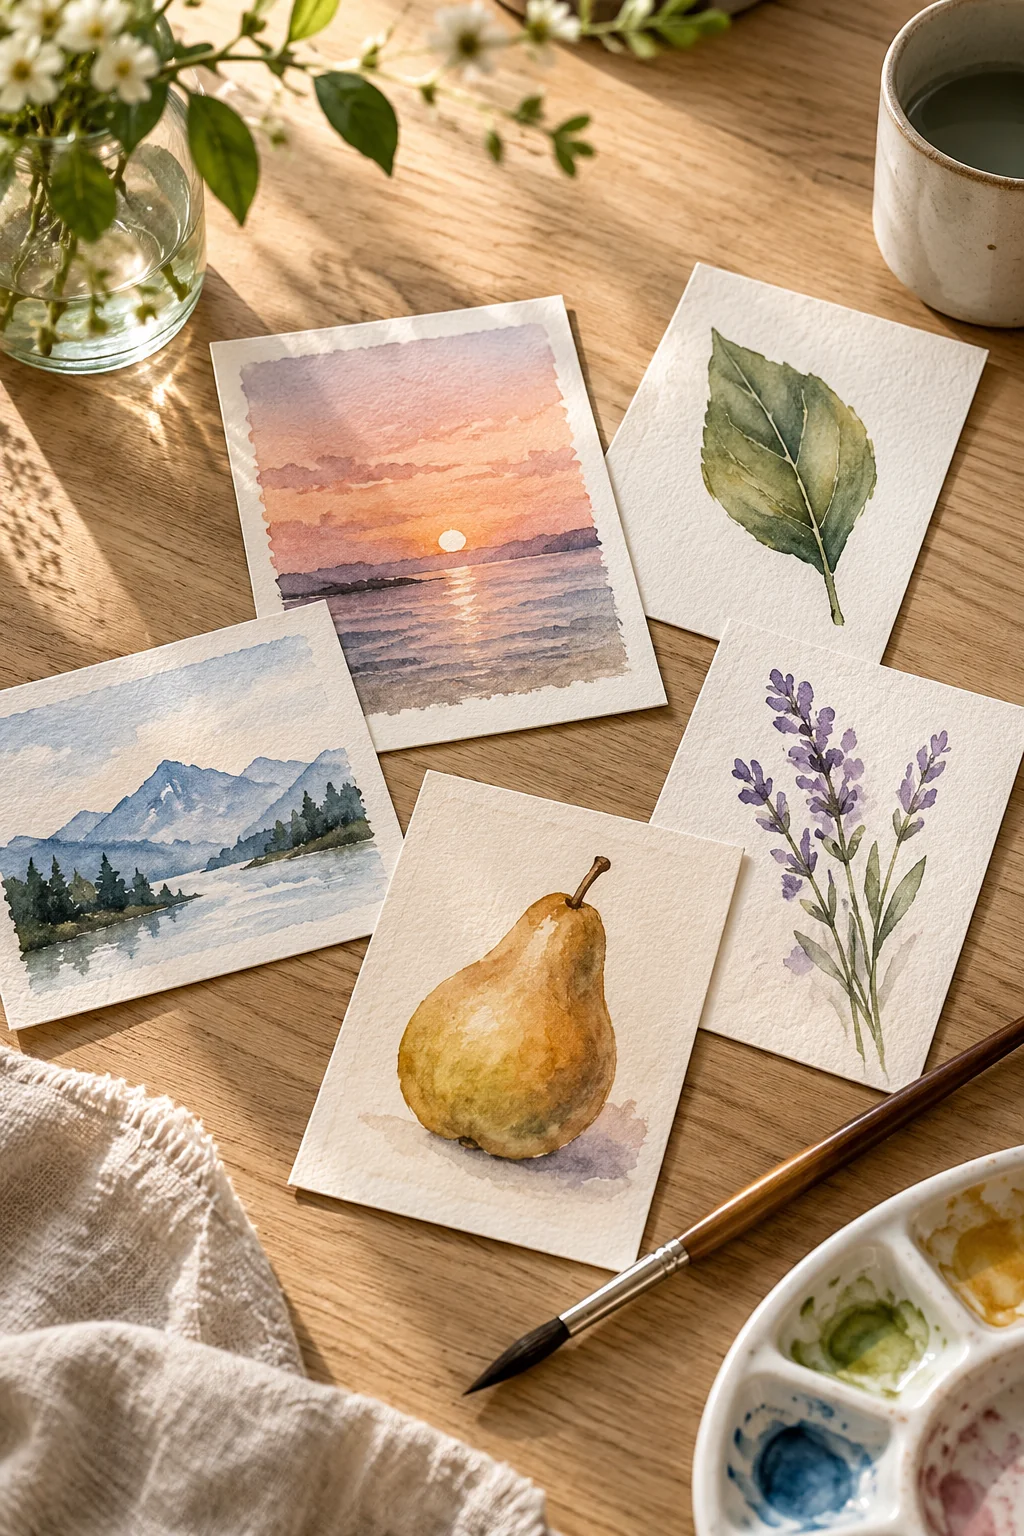
A small painting gives you room to practice one thing at a time: a soft edge, a pale wash or a confident brushstroke. These subjects fit on postcard-size watercolor paper and need only a few colors. Treat each piece as a study rather than trying to make fifteen matching masterpieces.
Prepare a small painting station
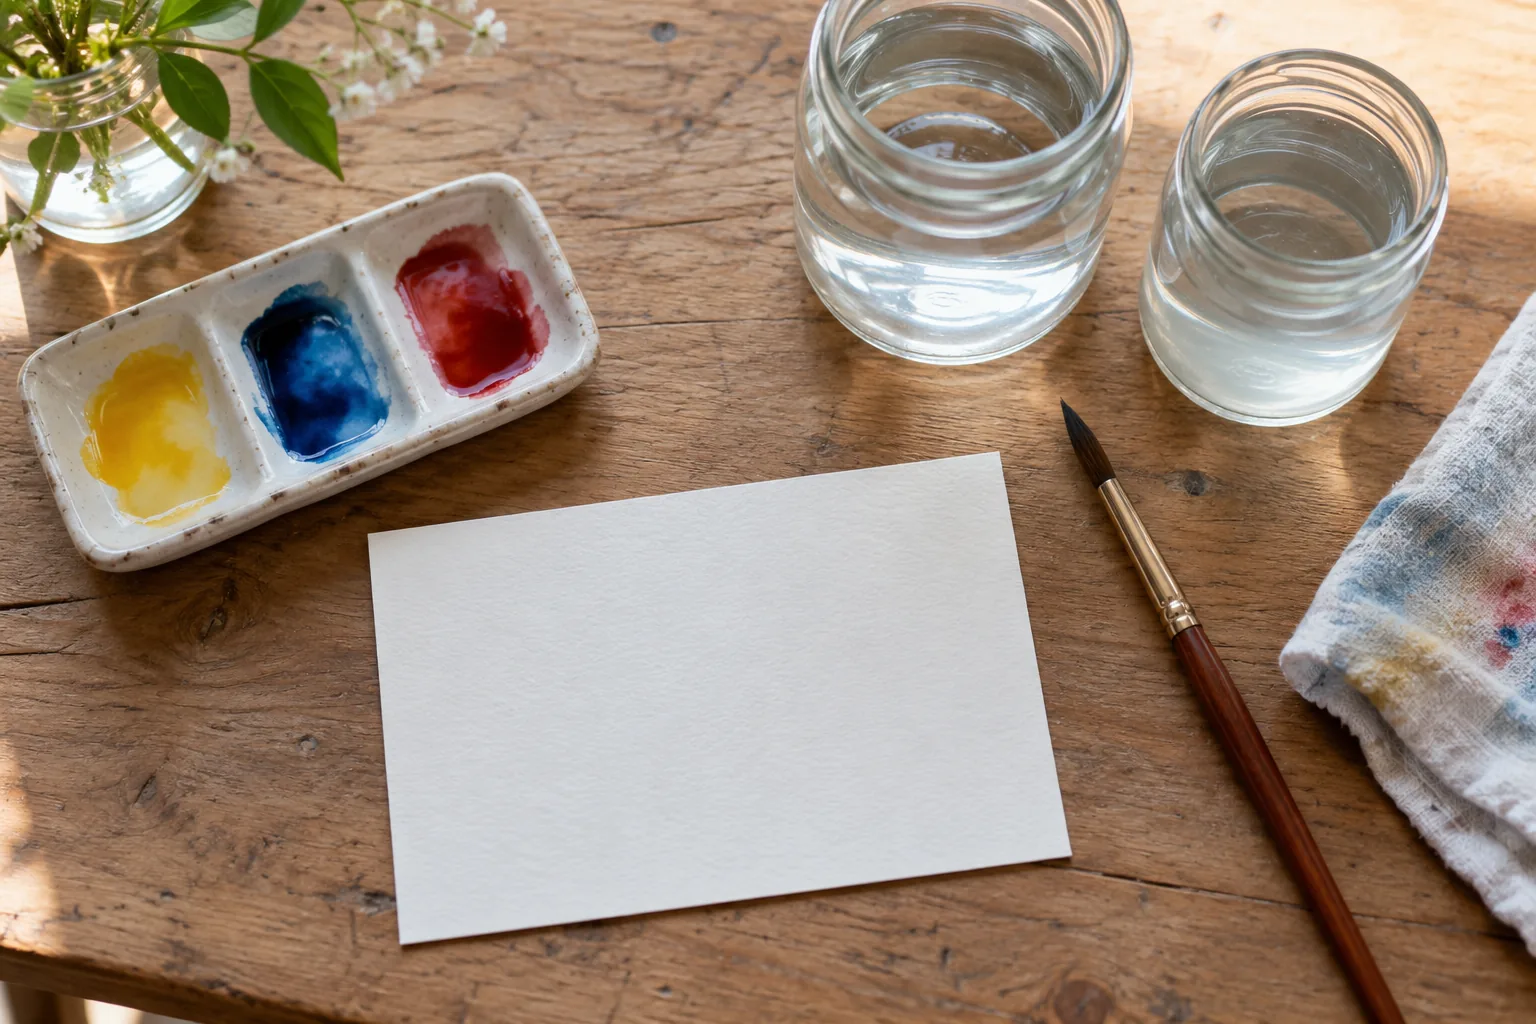
Use watercolor paper, a round brush, a pencil, a mixing palette, two water jars and a cloth. Divide a larger sheet into small rectangles with pencil marks, leaving a border between them. Test your colors on a scrap before filling the first rectangle.
Choose three colors that mix well together. Start with diluted paint and add darker marks after the first wash dries. Keep the paper flat and let it dry naturally; moving a wet sheet can send a wash into an unintended corner.
Fifteen subjects with one clear exercise each
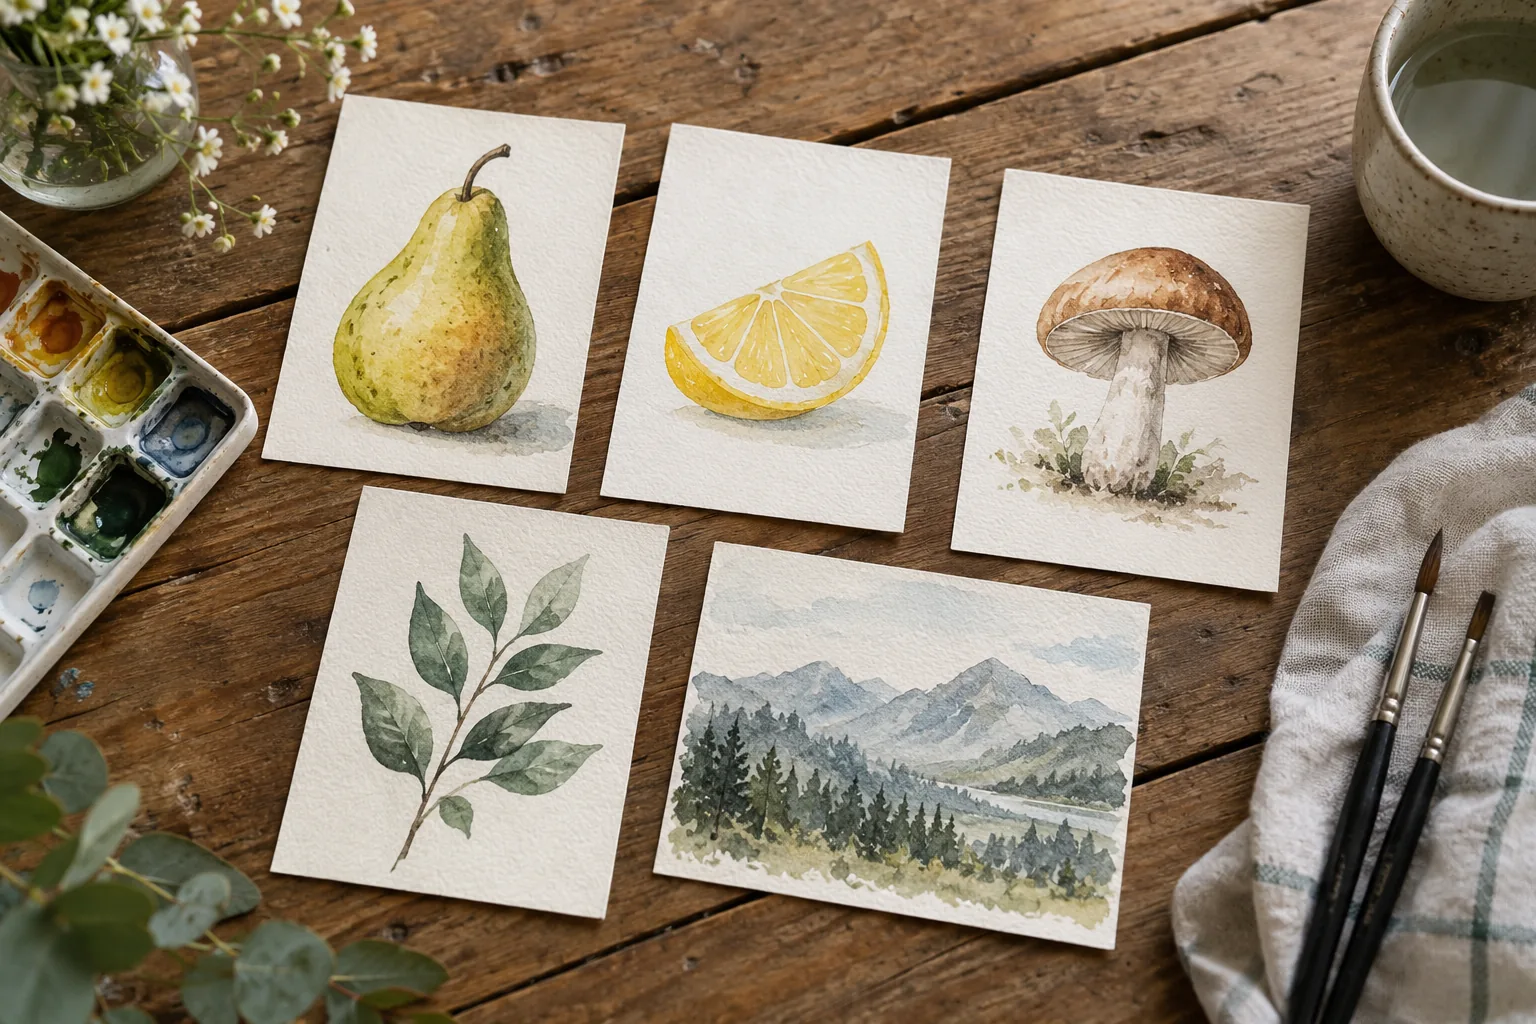
1. Single pear: paint a pale silhouette, then deepen one side while damp. Leave a small unpainted highlight.
2. Lemon slice: draw a loose circle and suggest the segments with uneven yellow wedges. Let the gaps do the work.
3. Three pebbles: use gray washes of different strengths. Add a shadow beneath each shape only after it dries.
4. Leaf sprig: paint a thin stem and several simple leaves. Change the direction of each leaf slightly.
5. Tiny mountain: layer a pale ridge behind a darker one. Keep the far ridge softer and lighter.
6. Cloud study: wet a small sky area and paint around a cloud shape. Avoid outlining the cloud in a dark line.
7. Terracotta pot: practice a warm rectangle with a rounded base. A single leaf above it is enough.
8. Cup silhouette: leave the handle mostly white. Use one curved shadow to suggest its hollow center.
9. Evening window: paint a dark rectangle around a warm, pale center. Keep the frame simple.
10. Mushroom pair: make two rounded caps and narrow stems. Add a few marks when the caps are dry.
11. Loose flower: place separate petal strokes around an open center. Stop before every gap disappears.
12. Coastal stripe: paint sky, sea and sand as three gentle horizontal bands. Let each band dry before the next.
13. Crescent moon: paint a dark sky around a reserved pale crescent. A few tiny unpainted dots suggest stars.
14. Berry branch: combine small round washes with a thin stem. Leave some berries lighter than others.
15. Abstract color grid: fill six small squares with related mixtures. Label the colors on the back for later practice.
Choose what to keep and repeat
When everything is dry, compare the studies in daylight. Pick one successful edge or color mixture from each, even if the whole picture feels unfinished. Repeat the subject that taught you the most on another small sheet.
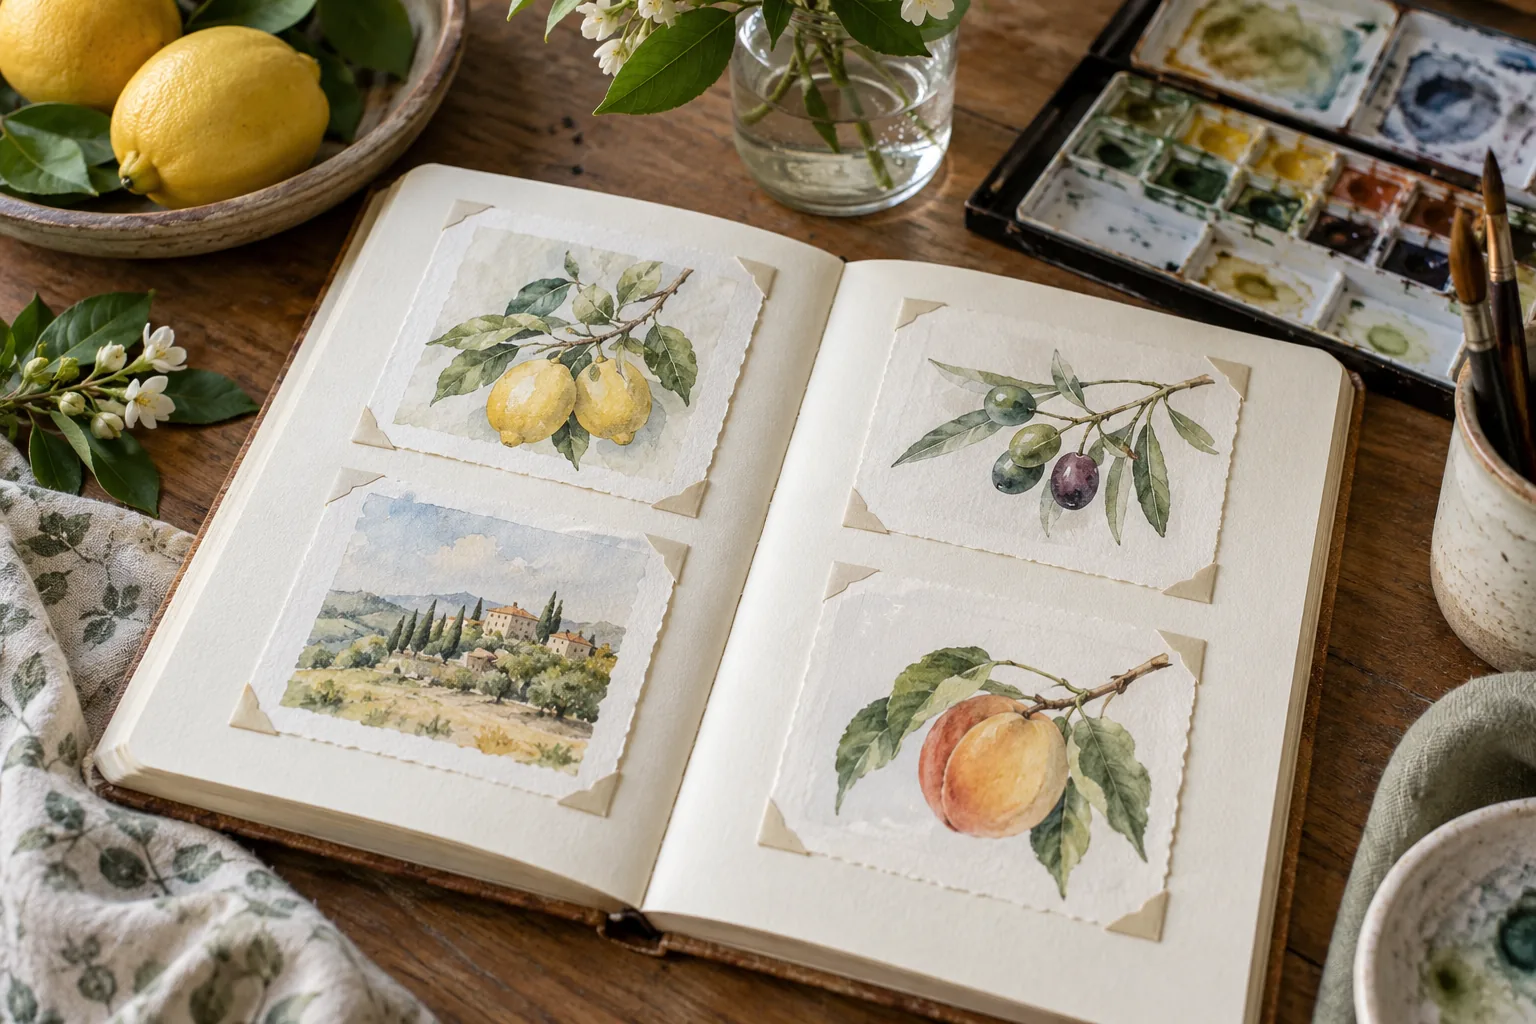
Mount finished studies with photo corners, tuck them into a journal or photograph them on a plain background. Let the paper dry fully before stacking it. If it curls, store the dry paintings beneath a clean, flat board rather than rubbing or ironing the painted surface.
Frequently Asked Questions
Do I need many paint colors?
A small palette is enough; the exercises focus on water, edges and value.
Can I use printer paper?
Watercolor paper handles wet washes better. Printer paper tends to buckle and absorb unevenly.
How long should each study take?
Work at your own pace and allow drying time between layers rather than rushing to a fixed timer.
 12 Minimal Habit Tracker Ideas for a Bullet Journal
 9 Handmade Ceramic Serving Platter Ideas
 10 Paper Blind Bag Ideas to Make at Home