 by Ecrin Labs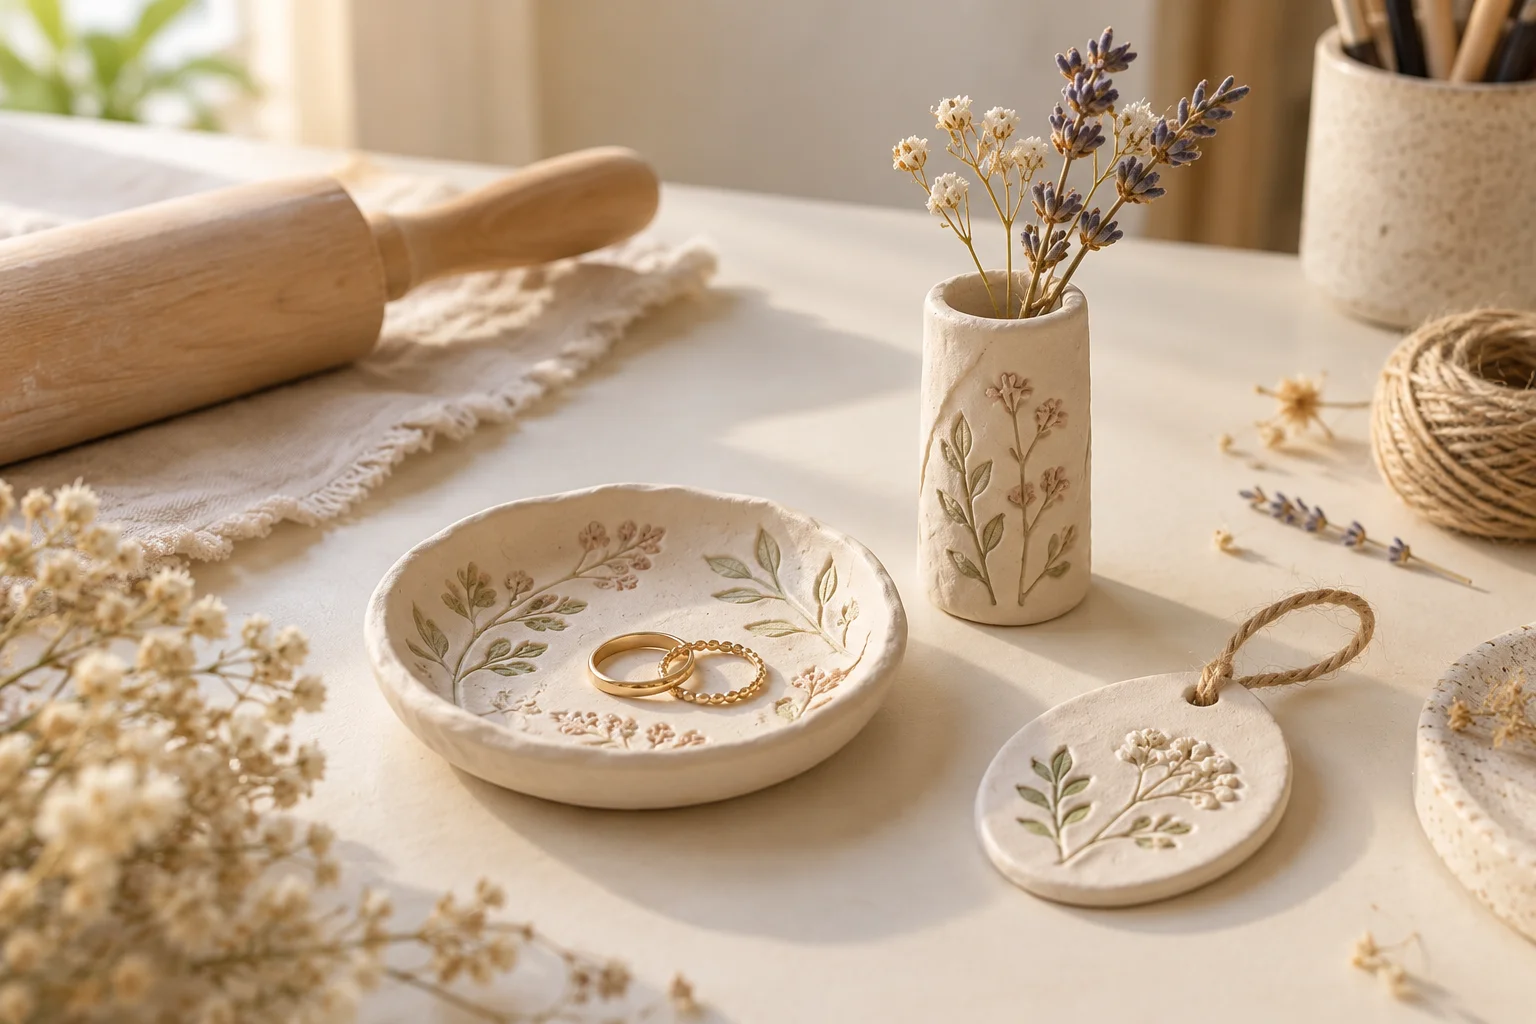
Air-dry clay is useful for small decorative objects that do not need to hold food, water or heat. It dries by losing moisture rather than by kiln firing. Start with a shallow dish or flat tag, keep thickness consistent and follow your clay maker's drying directions.
Set up and manage drying
Gather air-dry clay, a roller, a smooth surface, a small cutting tool and a little water for smoothing. Roll a test piece to an even thickness of about 5–7 mm, unless the brand recommends another range. Thin edges and thick centers often dry at different rates.
Place projects where air can circulate and turn them gently once firm enough if the maker recommends it. Drying time depends on thickness and humidity, so do not assume every piece is ready after one night. Avoid speeding the process with heat unless the product specifically permits it.
Ring dish and flat gift tag
For a ring dish, cut a small oval or circle and lift the rim gently with your fingers. Use only a modest curve so the clay is easy to release from its shaping surface. It is a decorative tray for dry jewelry, not a food bowl.
For a gift tag, cut a flat shape, smooth its edges and make the hanging hole before drying. Stamp a simple initial or texture while the clay is workable. Make the hole generous enough to remain useful after the clay changes as it dries.
Photo stand and tiny sculpture
A small photo stand can be a squat clay block with a narrow slot pressed into its top. Keep the base broad so a light postcard does not tip it. Do not use it to hold a heavy frame or an irreplaceable original near moisture.
A pebble-shaped decorative sculpture is another easy project. Keep it solid and compact instead of adding thin legs or delicate projecting parts. Small asymmetries can look intentional, while a smooth underside helps the piece sit properly.
Vase sleeve and hanging ornament
Shape a decorative sleeve around a removable, protected form to fit around a separate glass vessel. The glass holds the water; the clay sleeve stays dry outside it. Leave clearance so the vessel can be removed for cleaning without forcing it.
For a hanging ornament, cut a flat botanical shape and make a hole near the top with enough clay around it to resist breaking. Add a cord only after the piece is fully dry. Avoid hanging heavy pieces overhead or where they may fall onto someone.
Finish without changing the use
Once completely dry, smooth rough spots as the product permits and wipe away dust. Paint with a compatible craft paint and let it cure. If using a sealer, follow both the clay and sealer instructions and test a scrap first.
Paint or sealer does not automatically make air-dry clay waterproof, food-safe or suitable for candles. Keep these six projects decorative and indoors. If a piece cracks, review its thickness and drying conditions before repeating it. The AI illustration suggests shapes rather than certifying a material's performance.
Frequently Asked Questions
Can I use an air-dry clay dish for snacks?
No. These projects are decorative; do not assume your clay, paint or sealer is safe for food contact.
Will sealing make it waterproof?
Not necessarily. Keep decorative air-dry clay away from standing water and follow the exact product instructions.
Why did my clay crack?
Uneven thickness, drying stress or product handling can contribute. Try a smaller even piece and dry it as the maker recommends.
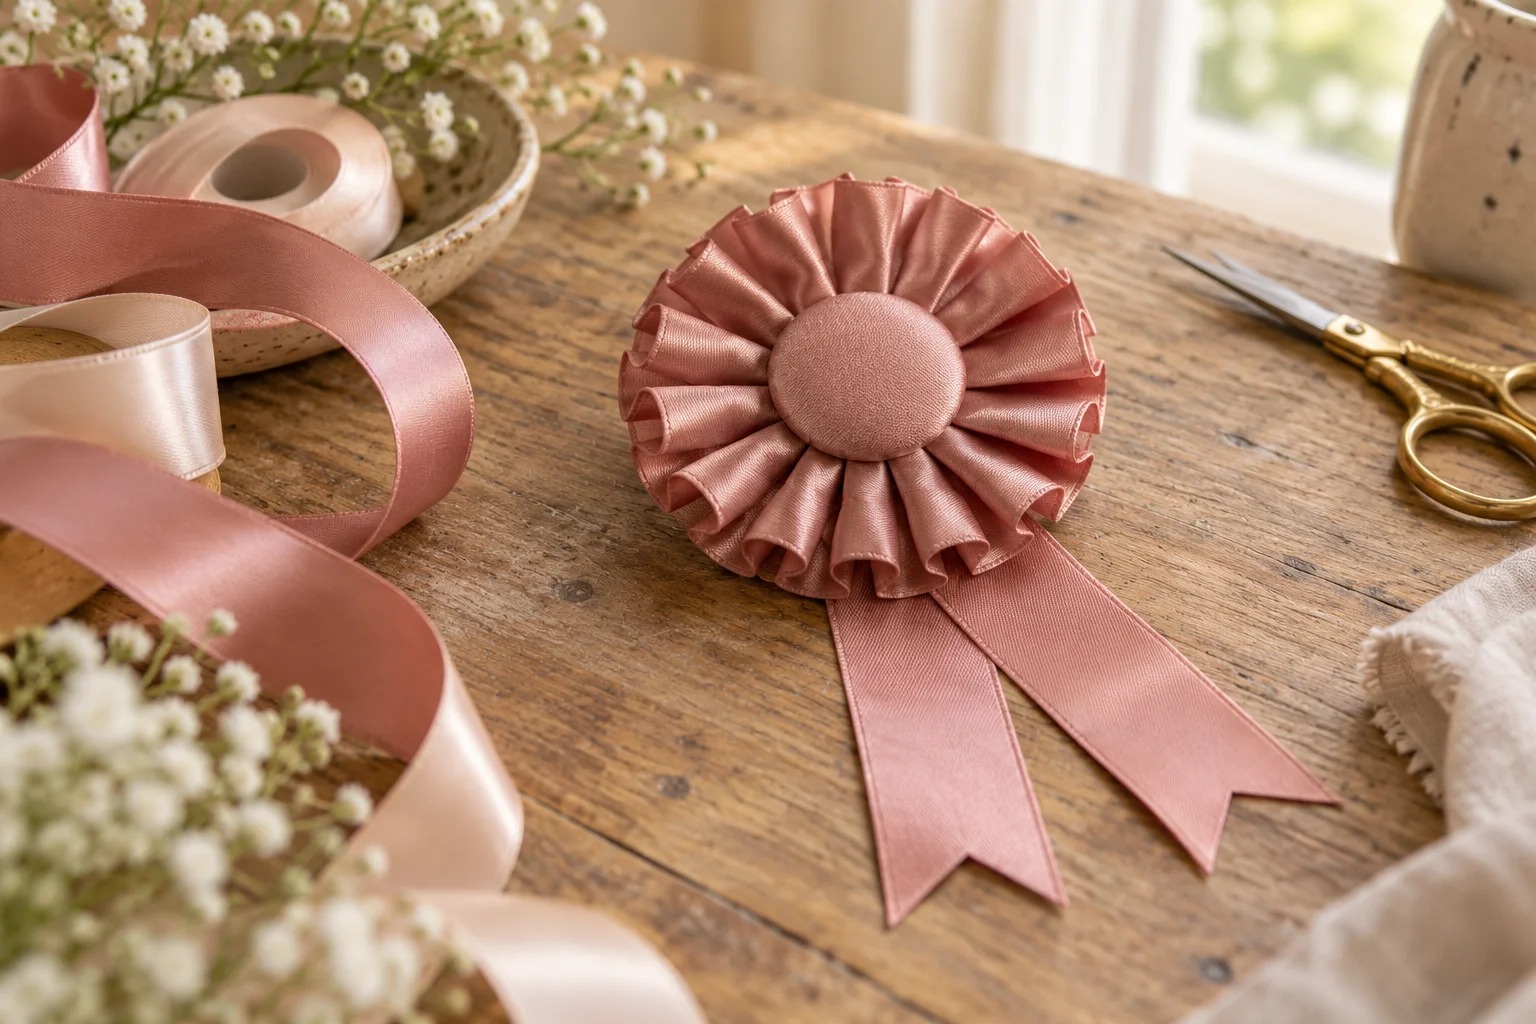 Ribbon Rosette DIY: Fold a Simple Award Ribbon
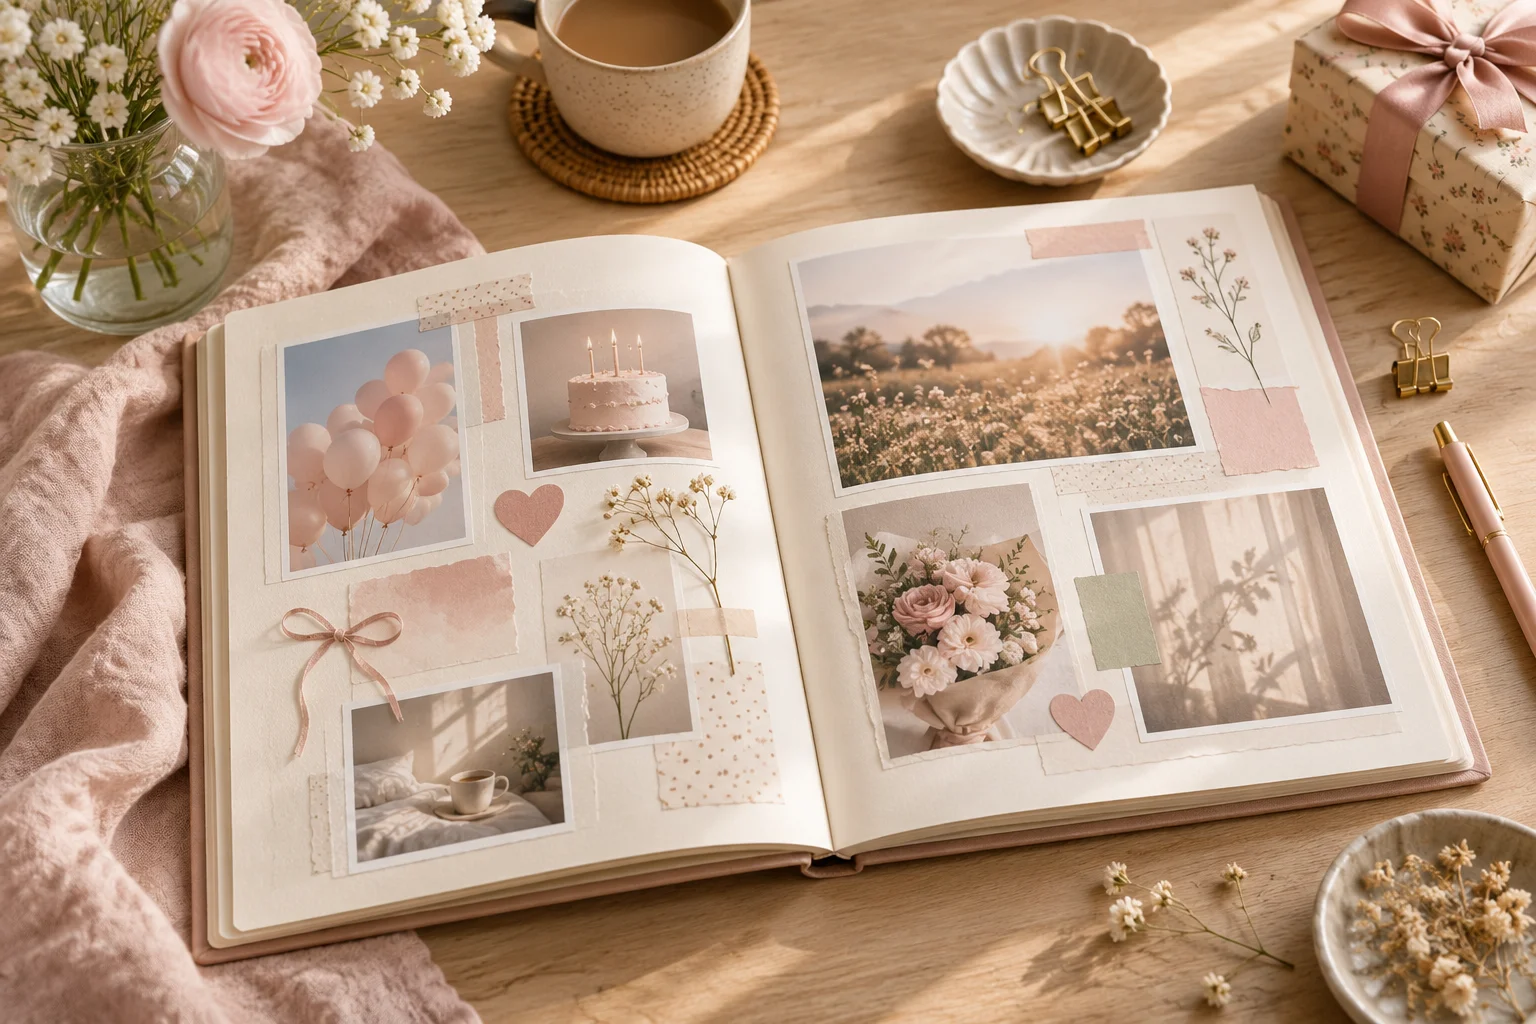 Birthday Magazine Ideas: Plan a Personal Keepsake
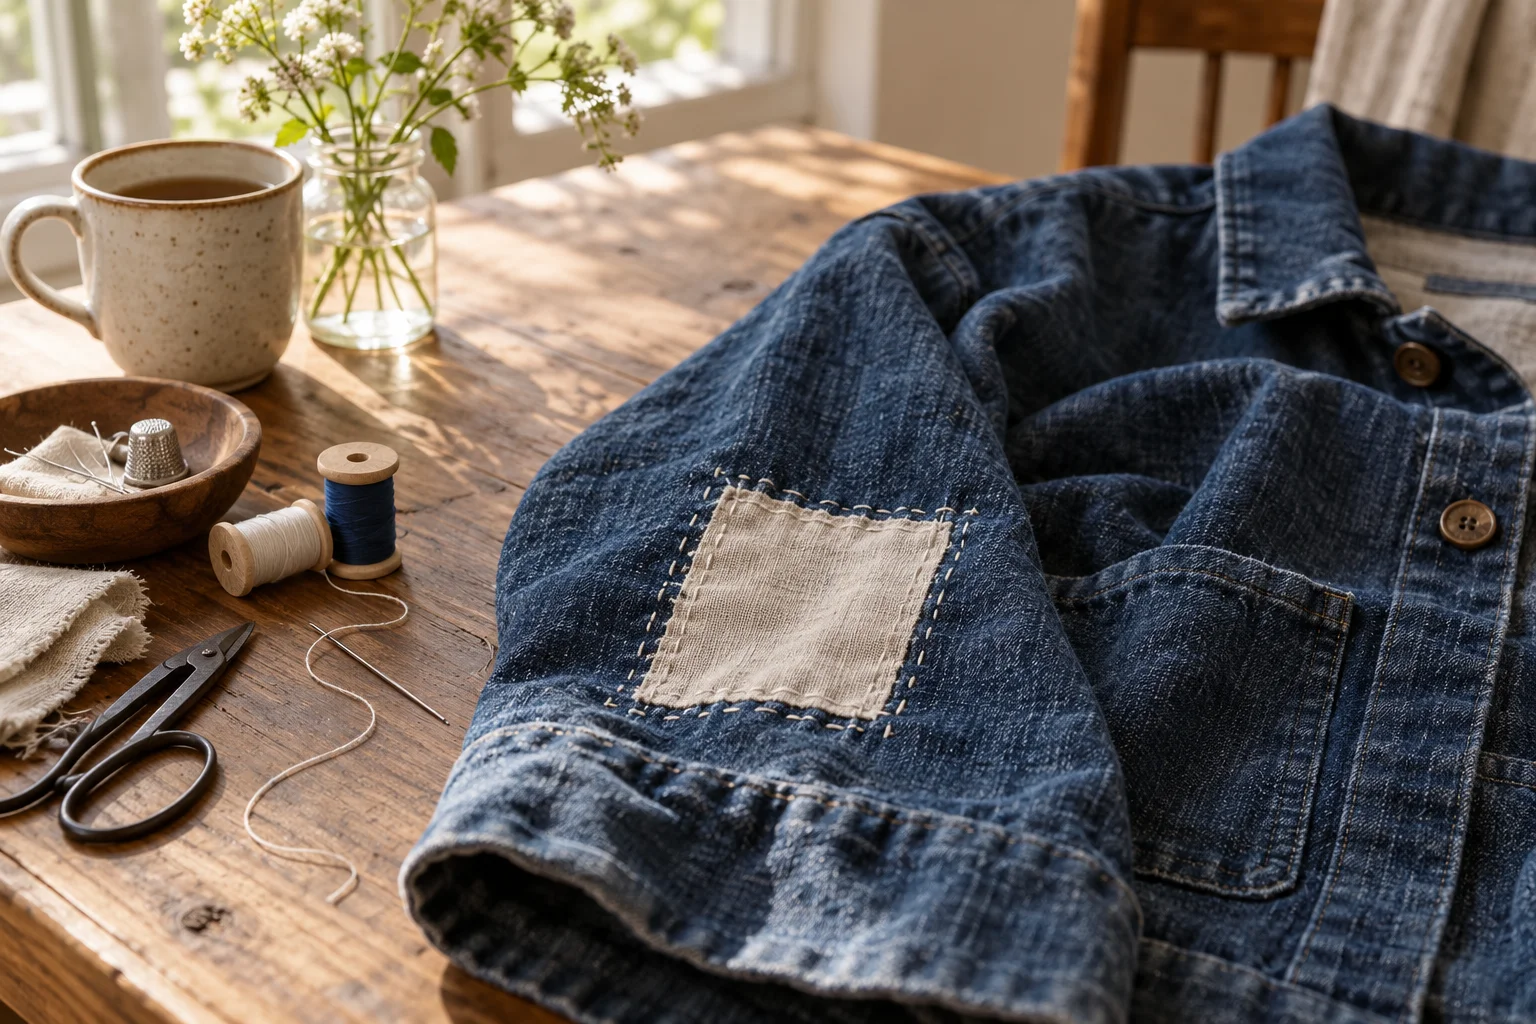 Sashiko-Inspired Denim Mending for Beginners