 by Ecrin Labs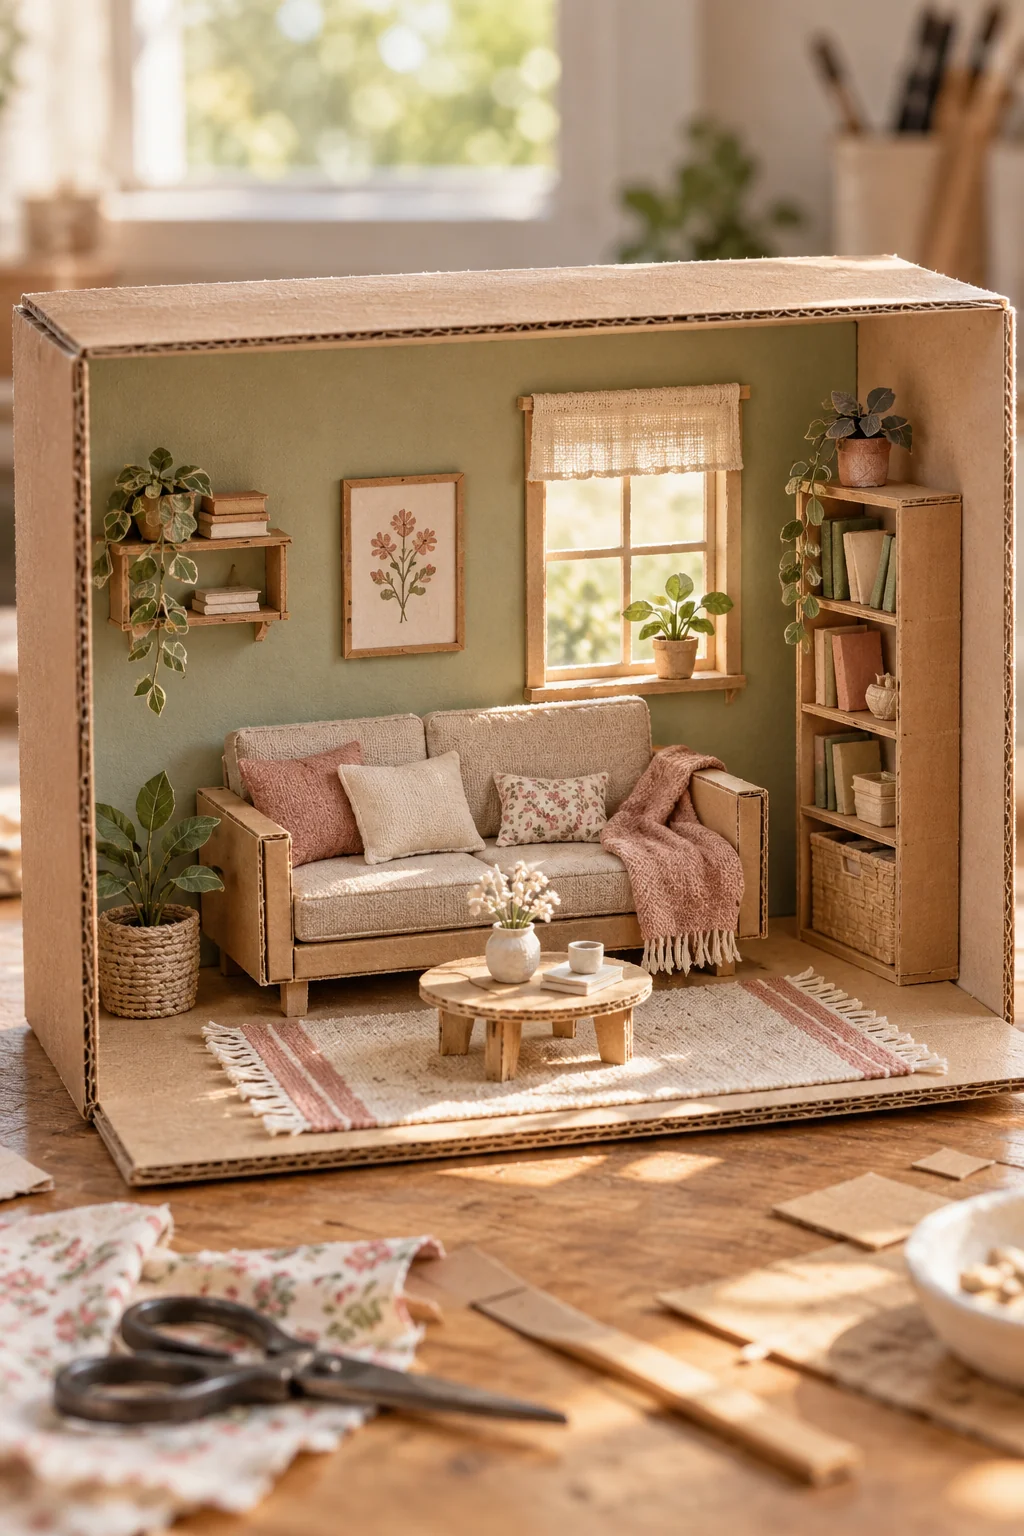
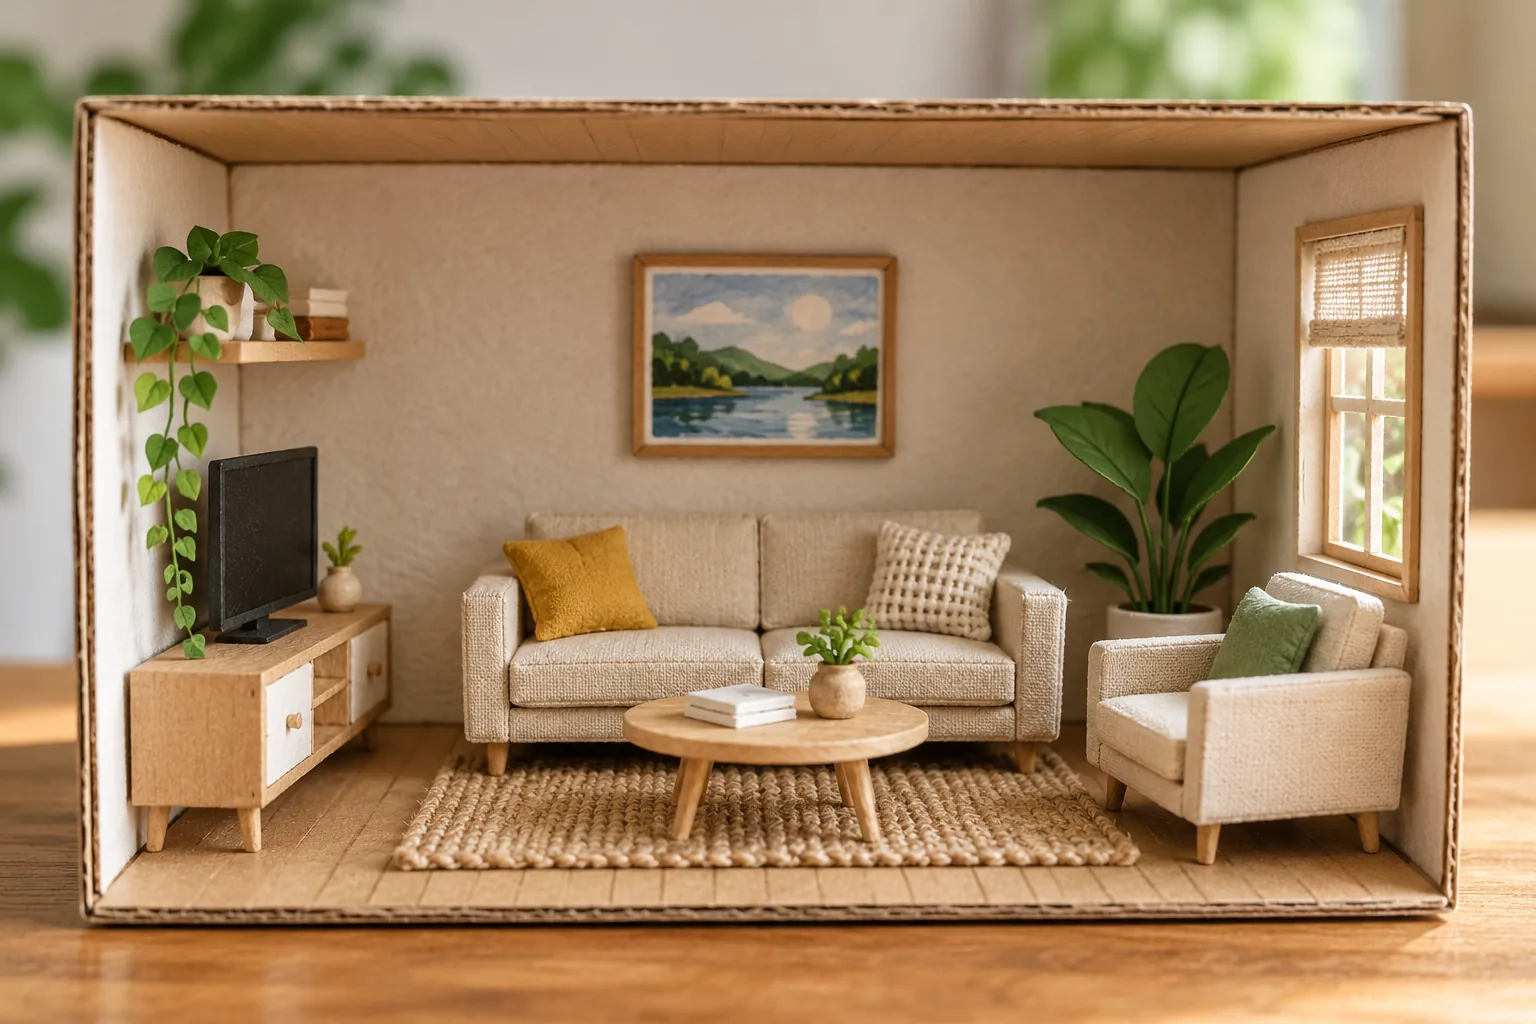
A shoebox room gives a craft project natural boundaries: one floor, a few walls and an open front. You can finish a satisfying scene without constructing a whole dollhouse. Choose one purpose for the room and let that decide the furniture.
The original image is an illustration of a finished concept. Your materials and dimensions will differ; test the layout with loose pieces before fixing everything in place.
Prepare the box and a simple plan
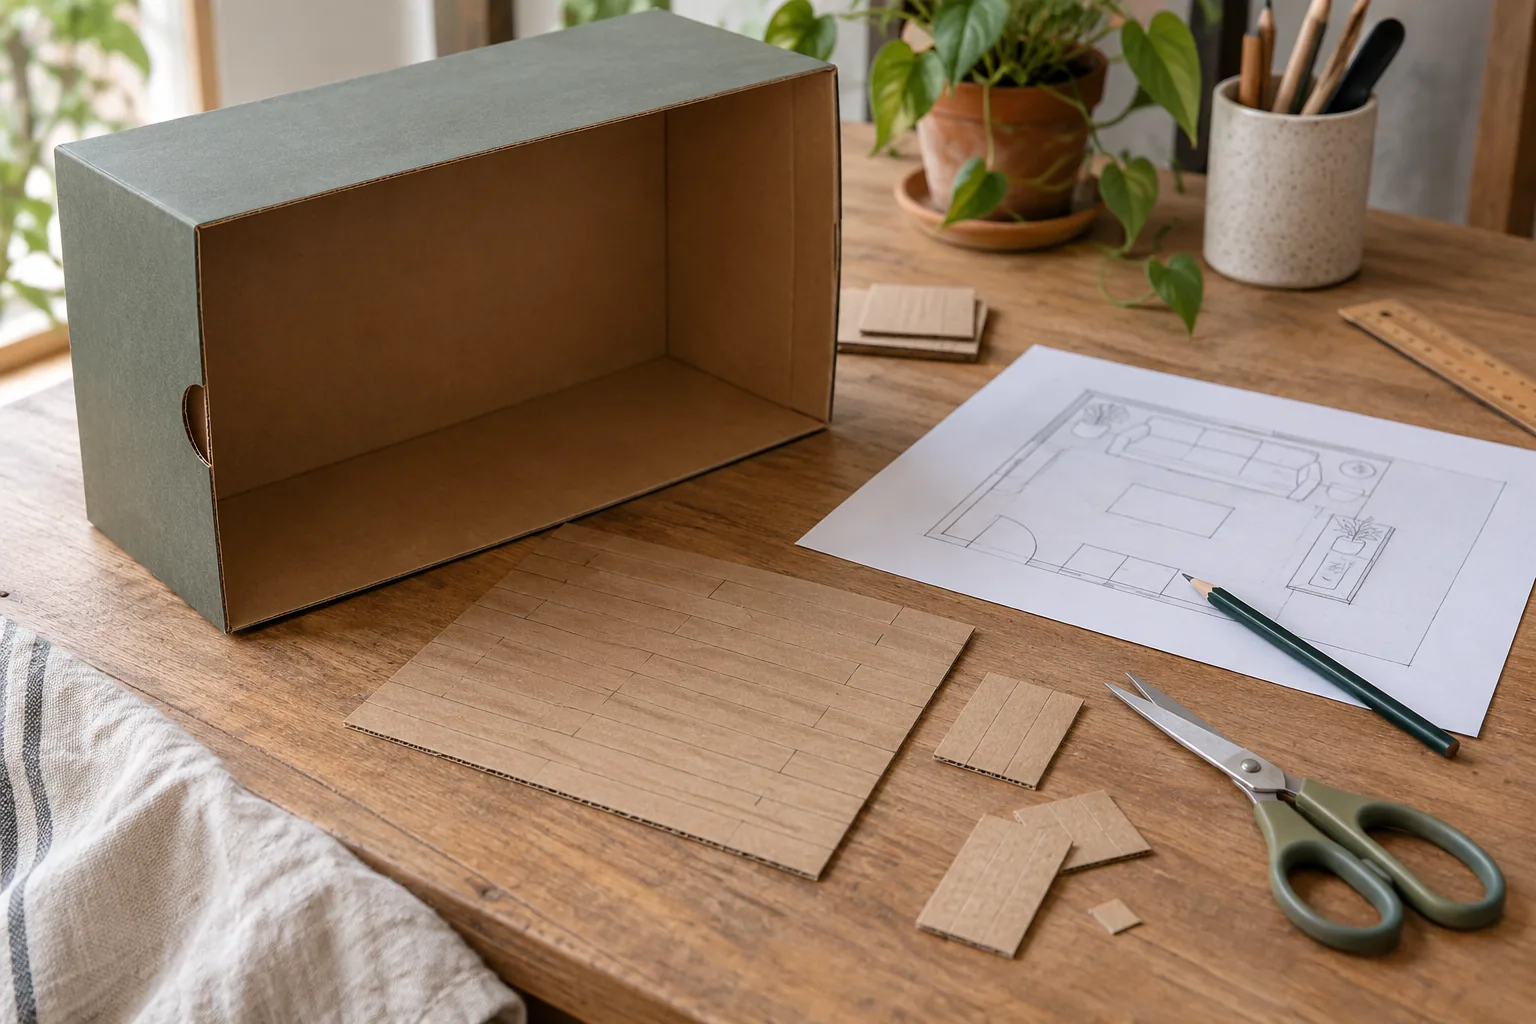
Choose a clean dry box with a firm base. Place it on its side and use the open front as your viewing area. Measure the usable floor, then sketch a furniture plan on a separate piece of paper. Keep the largest piece below the wall height.
Cover the floor before adding furniture, and decorate the walls while they are easy to reach. Paper, thin card and small fabric scraps are enough. Use compatible craft glue in light layers so paper does not buckle.
Eight room themes with a clear centerpiece
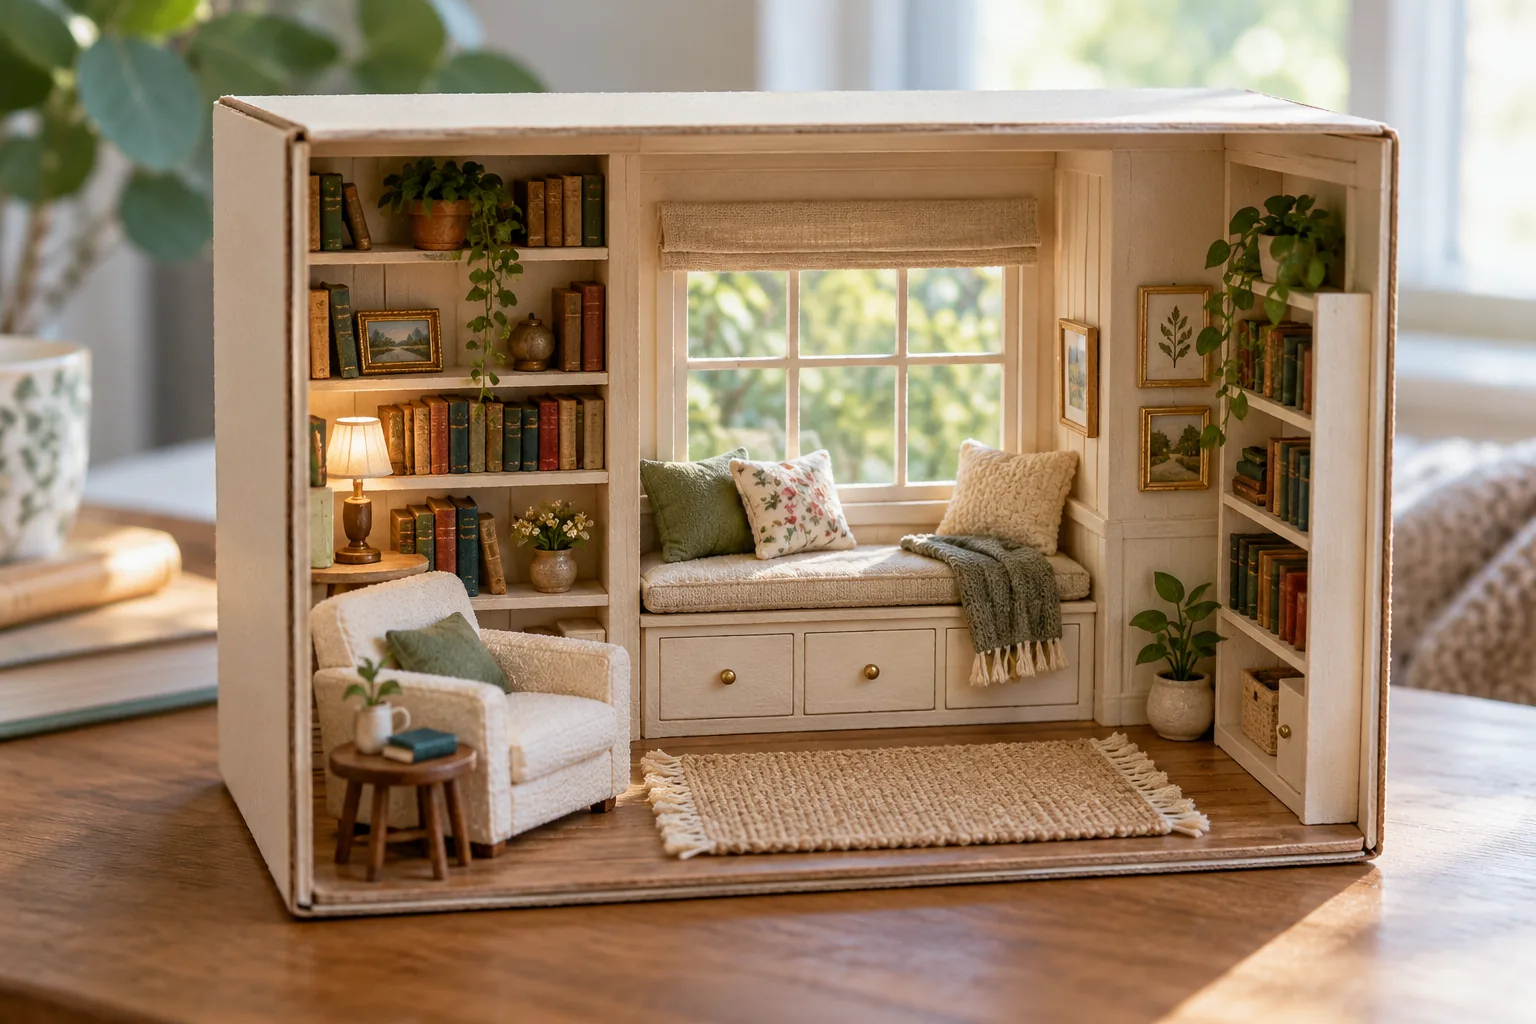
1. Reading nook: make one cardboard chair, a short shelf and a paper window. A folded fabric cushion provides the focal texture.
2. Tiny home café: build a counter with empty miniature paper cups. Keep it a pretend scene rather than adding liquids or food.
3. Craft studio: add a broad worktable and colored paper rolls. Hang a simple original drawing on the wall.
4. Quiet bedroom: fold a card bed and cover it with a fabric rectangle. Let one patterned pillow carry the color.
5. Plant room: use card planters with paper leaves. Vary their heights and leave room to see the floor.
6. Music corner: suggest a record shelf with small paper sleeves. Use fictional cover designs rather than reproducing album art.
7. Mini entryway: add a narrow bench, paper coat hooks and a small card basket. Keep the wall details flat for easy assembly.
8. Window seat: span a low bench across the rear wall. A drawn outdoor view behind the window gives the room depth.
Build furniture with folded supports
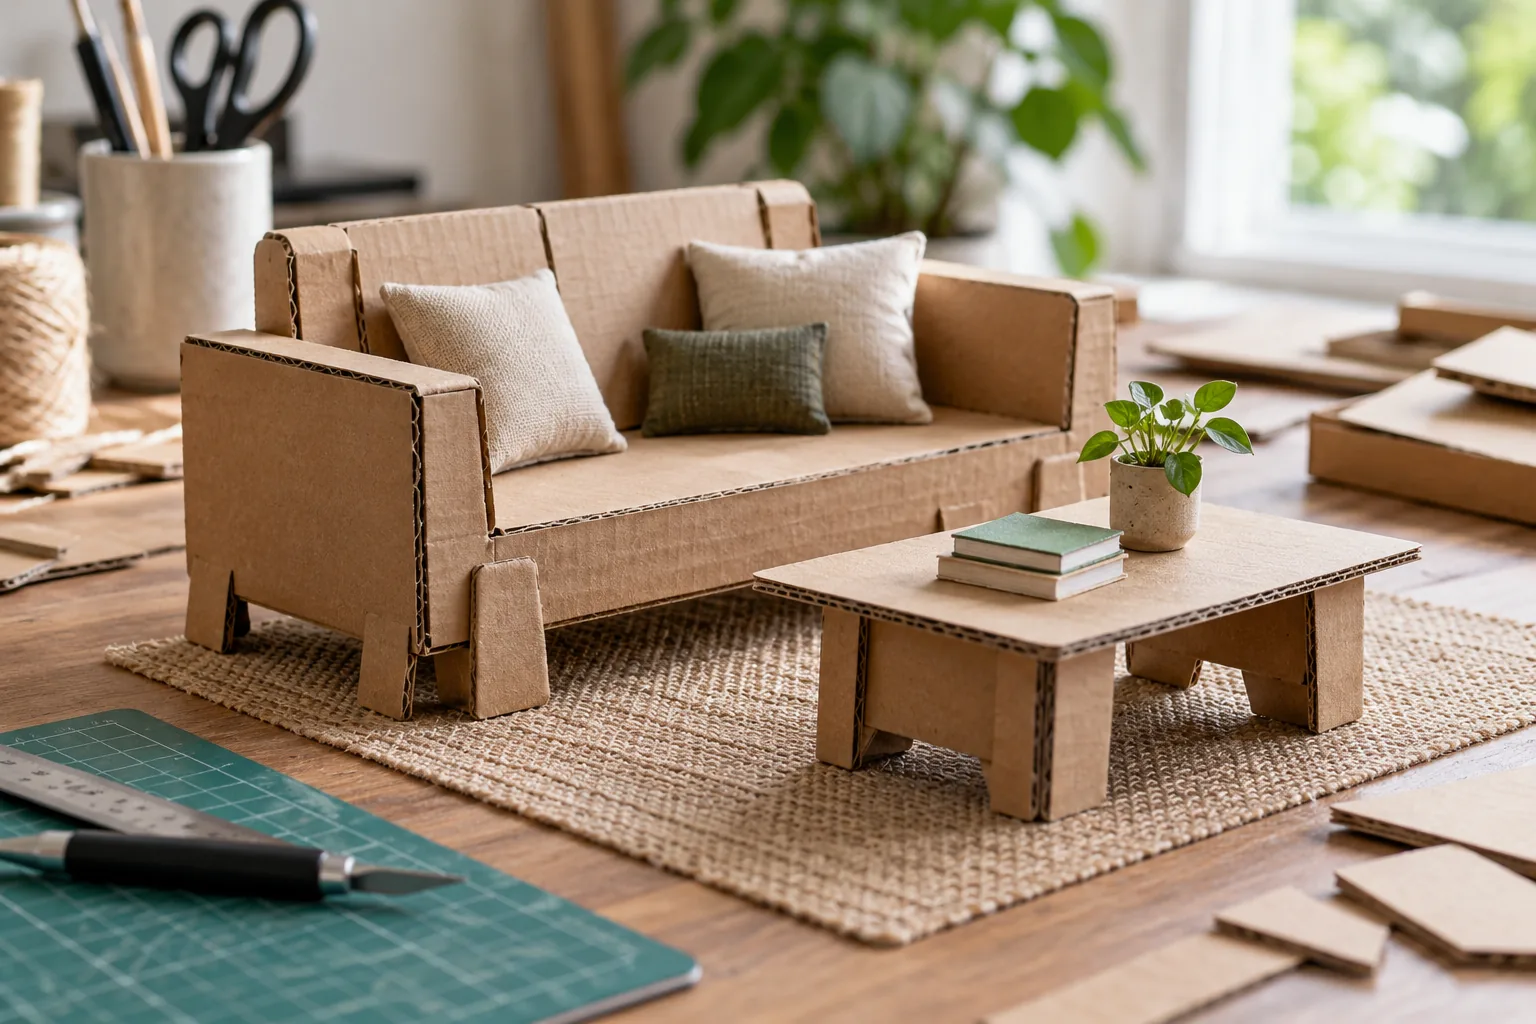
For a sofa, fold a long card strip into a seat and back, then add two folded side supports. Test it on the floor before covering the seat with fabric. For a table, attach a wide folded support under a flat card top; let the joint dry before placing anything on it.
Use the same reference height for related pieces. A table that reaches above a chair back will look accidental unless that is part of your theme. Dry-fit the biggest furniture first, then glue it only after the scene works from the front.
Finish with fewer, larger details
Add a rug, a picture and one small accessory before deciding whether anything else is needed. If the room looks crowded, remove a piece rather than shrinking everything. Photograph it near a window with a plain background that does not overpower the model.
This is a decorative craft with small parts. Keep it away from young children and pets, and have an adult handle any sharp cutting tools. Store it where the open front will not collect heavy objects or get crushed.
Frequently Asked Questions
Do I need an exact dollhouse scale?
No. A consistent relationship between the furniture pieces matters more for a first shoebox scene.
Can I use a real light?
The guide uses a decorative daylight window; it does not provide electrical lighting instructions.
What should I build first?
Finish the floor and walls, then make and dry-fit the largest furniture.
 12 Minimal Habit Tracker Ideas for a Bullet Journal
 9 Handmade Ceramic Serving Platter Ideas
 10 Paper Blind Bag Ideas to Make at Home