 by Ecrin Labs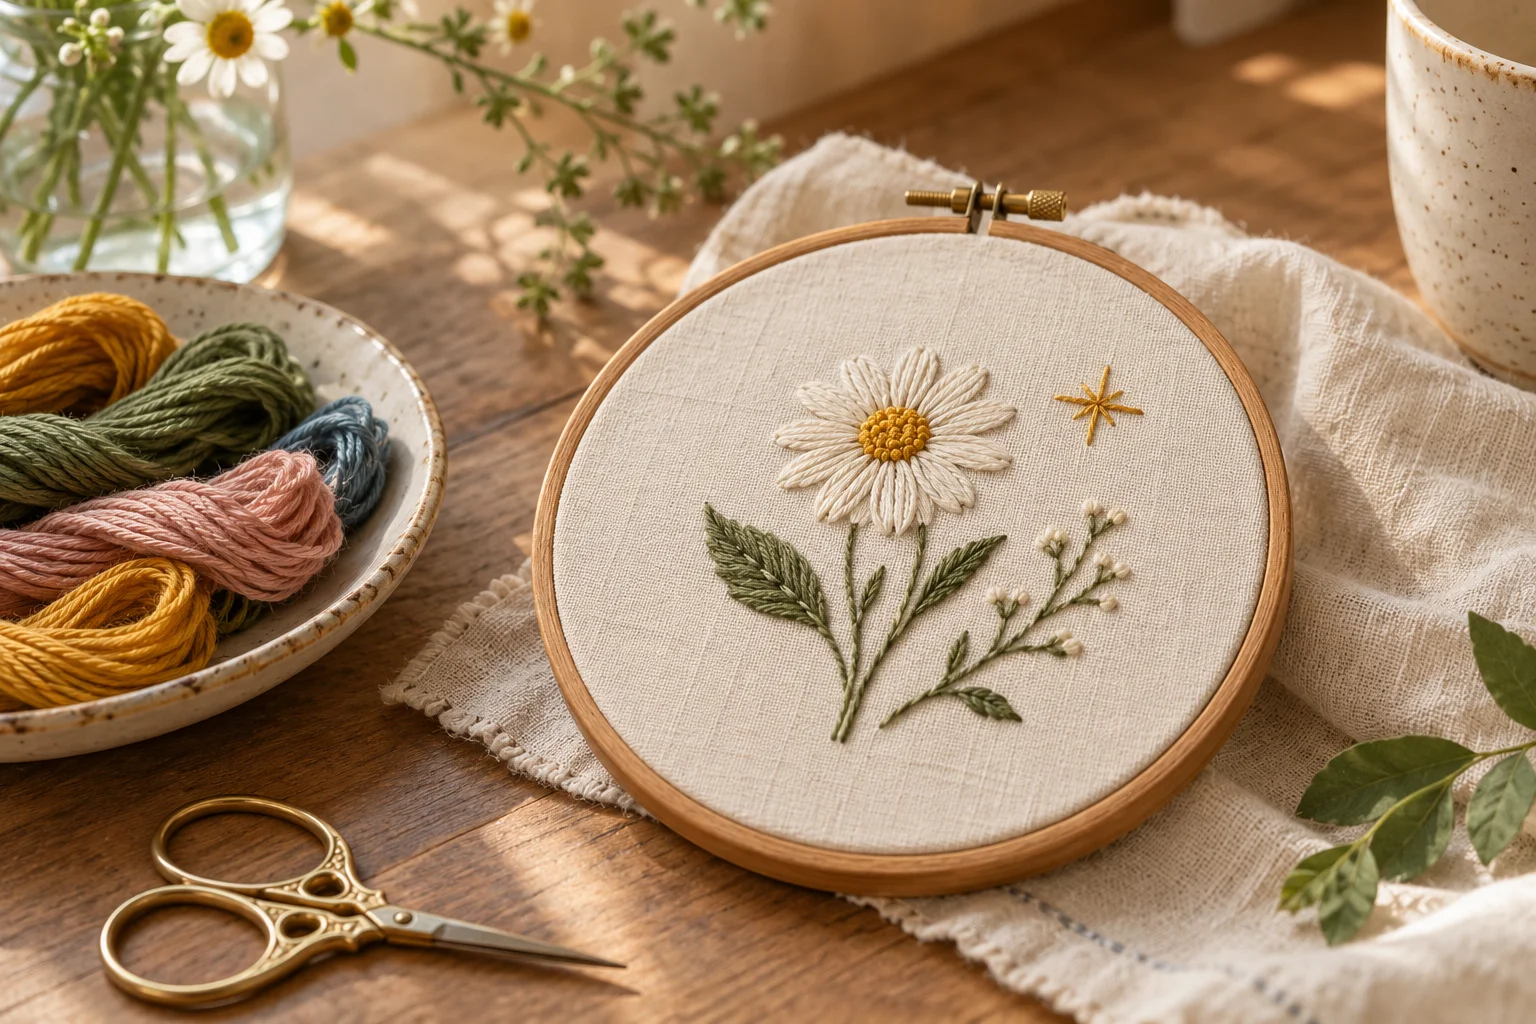
A small hoop is a forgiving place to learn hand embroidery: the project stays visible, and you can practice a few stitches without filling a large design. Start with a daisy, leaf and star sampler, then reuse those marks on a pouch or fabric patch.
Set up a simple hoop
Gather woven cotton or linen, a small embroidery hoop, embroidery floss, a suitable needle and scissors. Cut the fabric with several centimeters of extra material around the hoop. Separate two or three floss strands for a finer line rather than automatically using all six.
Place the fabric in the hoop so it is taut but not stretched out of shape. Draw six tiny motifs with a removable fabric marker that you have tested first. A 2–3 cm design is large enough to see clearly while remaining quick to fill.
Make a daisy and a leaf
For a daisy, bring the needle up at the center, insert it near that point and bring it up again at the petal tip while holding a loop of thread under the needle. Pull gently and tack the loop down with a short stitch just outside it. Repeat around the center.
For a leaf, use the same detached-chain stitch and add a short straight stem beneath it. Practice the loop on a scrap first: a tight pull produces a skinny line, while a gentler loop gives a fuller petal.
Add a star and a stitched heart
Make a small star with three or four crossing straight stitches. Keep the crossing point compact so the center does not build into a knot. This motif works well in a single color or one metallic accent strand designed for embroidery.
Draw a small heart outline and work short backstitches around it. Bring the needle up one stitch ahead, then return to the end of the previous stitch. Use shorter stitches around the curves and avoid trying to span a curve with one long line.
Try a berry branch and a mini rainbow
A berry branch combines a backstitched stem with small straight-stitch leaves. Add round berry shapes with a few tiny straight stitches arranged in a cluster if French knots feel frustrating. You can learn knots later without blocking the project now.
For a rainbow, draw three curved bands and trace each with backstitch in a different color. Leave space between the bands. These six motifs use a limited stitch set, letting you practice tension while changing the shape.
Finish the back neatly
Secure thread ends under several existing stitches on the back instead of leaving long loose tails. If displaying the hoop, trim the extra fabric to a generous circle and gather it with a running stitch behind the hoop.
If the embroidery will go on clothing, test whether the floss is colorfast and follow the fabric's care instructions. Avoid placing dense stitching where a stretchy fabric needs to move. The illustrated sampler is AI-generated inspiration, so your hand stitches will have their own character.
Frequently Asked Questions
How many floss strands should I use?
Two or three strands are a manageable starting point for small motifs; change the amount to suit your fabric and desired line thickness.
Do I need to learn French knots?
No. Small straight-stitch clusters can stand in for berry dots while you practice the basic stitches.
Why is my fabric wrinkling?
Your tension may be too tight or the hoop may be stretching the fabric. Ease the stitches and keep the fabric flat.
 Ribbon Rosette DIY: Fold a Simple Award Ribbon
 Birthday Magazine Ideas: Plan a Personal Keepsake
 Sashiko-Inspired Denim Mending for Beginners