 by Ecrin Labs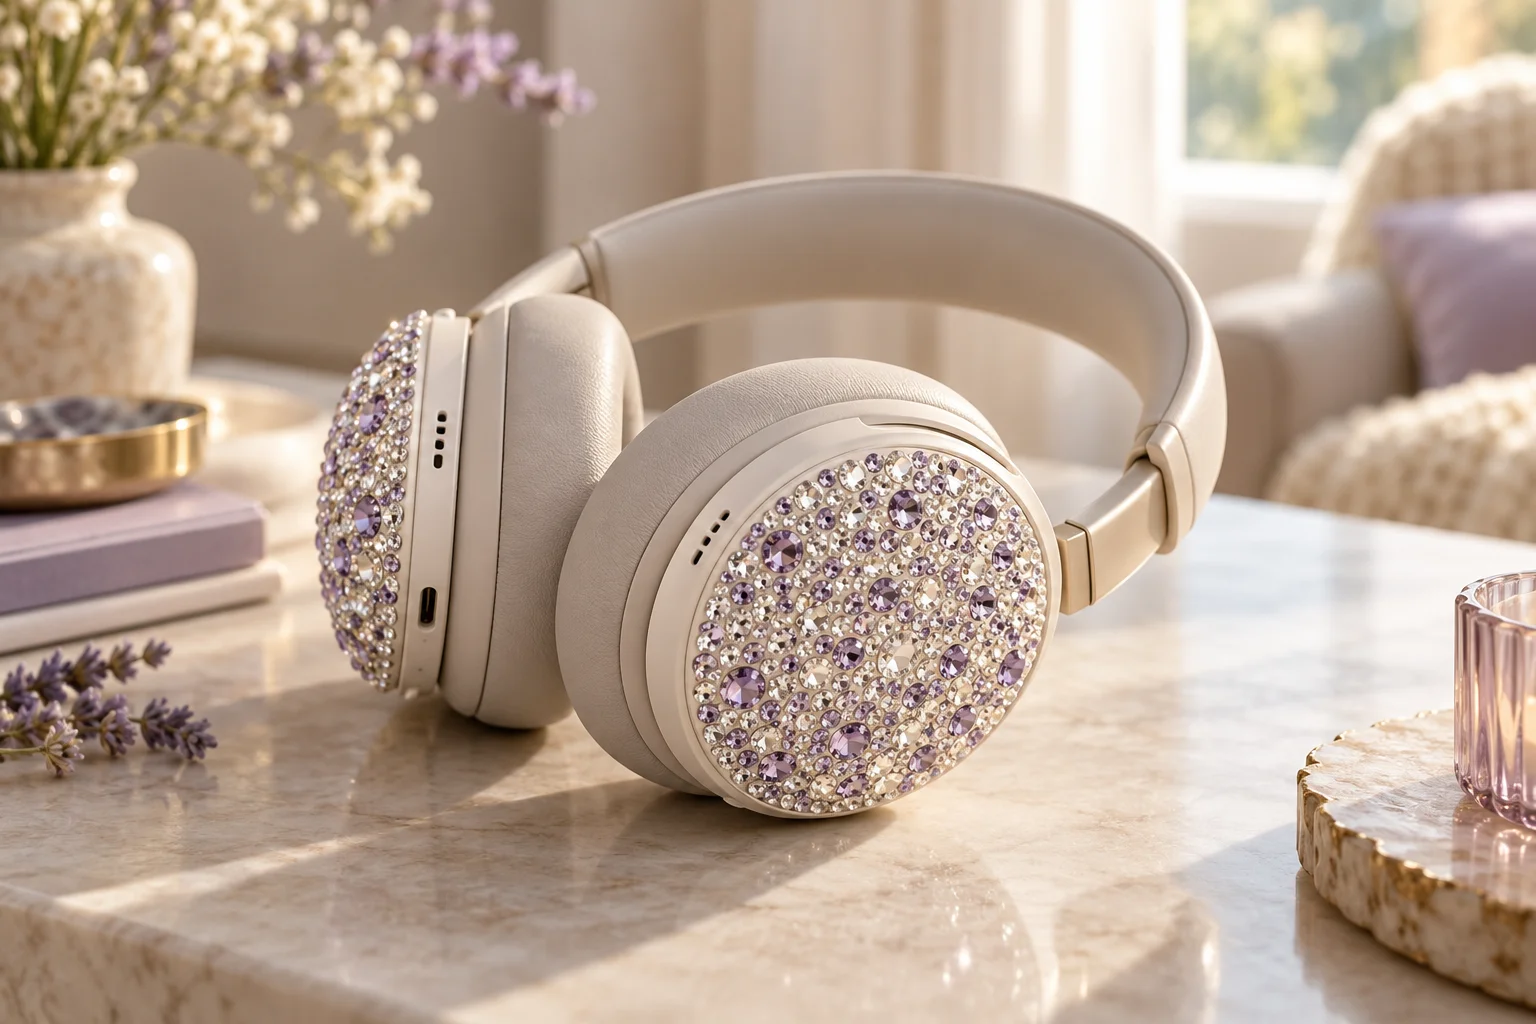
The most manageable way to add sparkle to headphones is to decorate compatible removable outer covers, then fit them back on the headphones. Keep embellishments away from vents, hinges, ports and ear cushions. If your model has no suitable removable covers, a separate decorated storage case is a better project.
Check the cover before decorating
Use covers made for your headphone model and check whether they block any vents, microphones, touch controls or buttons. Lay the bare cover beside the headphone to understand which edges need to stay clear. Do not assume a smooth-looking area has no functional role.
Avoid opening the headphone housing or gluing directly over its seams. Decoration can affect fit and may conflict with warranty terms. Work on the detached accessory so glue, dust and loose stones stay away from the electronics.
Plan a light pattern
Use small flat-back rhinestones and a craft adhesive compatible with the cover material. Follow the adhesive label, including ventilation and curing directions. Test on a spare or hidden area of the cover because some plastics and coatings react poorly to glue.
Start with a small crescent, a thin border or scattered dots rather than a thick full surface. Leave comfortable gaps around functional areas. A lighter pattern is easier to check for clearance and adds less weight.
Lay out the stones dry
Arrange the rhinestones without glue and photograph the layout for reference. Keep stones on the flat outer face, away from the edge that clips onto the headphone. Rotate the cover to check whether larger stones stick out where they could catch hair.
Use a pencil-sized wax pickup tool or tweezers to move stones individually. Keep the palette to clear plus one accent color. Lavender, pale pink or champagne can look deliberate without needing many different sizes.
Attach and allow a full cure
Apply tiny amounts of adhesive to the detached cover, using the product's recommended method. Place each stone and remove excess before it cures, following the adhesive directions. Do not decorate while the headphones are charging or wearing the cover.
Let the finished cover cure for the full labeled time before fitting it. Check every stone gently over a work tray. If a stone shifts or the adhesive stays tacky, give the product more time or review compatibility rather than installing the cover immediately.
Fit and inspect the accessory
Reattach the cover without forcing it. Check access to every button, port, hinge and microphone. If the headphone feels heavier, rattles or loses comfortable movement, remove the decorated cover. Keep all embellishments away from the padded surfaces that touch your skin.
Clean the removable cover gently as its material permits; do not soak the headphones. Check for loosening stones regularly. Rhinestones and small parts should stay away from children and pets. The AI image is a decorative concept, not evidence that a cover fits a particular model.
Frequently Asked Questions
Can I glue stones directly onto my headphones?
This guide uses detached, compatible outer covers. Direct gluing may block functions, damage finishes or affect warranty coverage.
Can I cover ventilation holes?
No. Keep all vents, microphones, ports, controls, seams and moving parts clear.
What if no removable covers are available?
Decorate a separate storage case rather than modifying the headphone housing.
 Ribbon Rosette DIY: Fold a Simple Award Ribbon
 Birthday Magazine Ideas: Plan a Personal Keepsake
 Sashiko-Inspired Denim Mending for Beginners