 by Ecrin Labs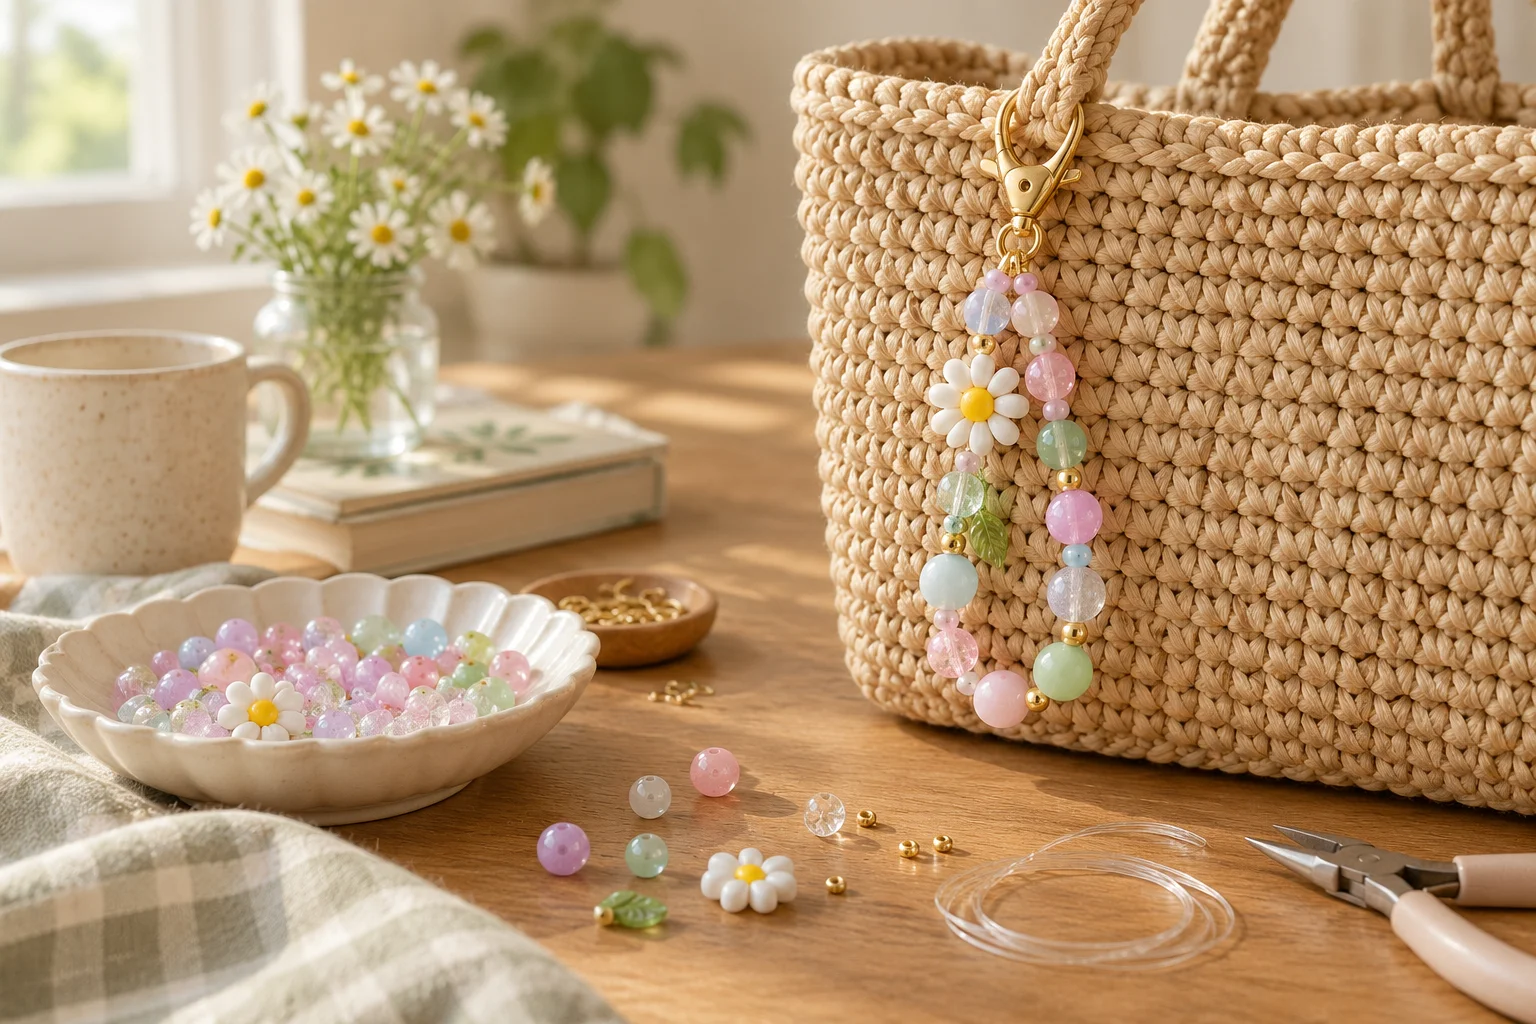
A beaded bag charm can be a short loop, a single strand or a small cluster, but a simple loop is the easiest version to assemble and check. This project uses beading wire and crimp hardware, so the beads stay on a defined structure rather than relying on a loose decorative knot.
Choose compatible supplies
Gather flexible beading wire, beads with holes that fit it, matching crimp beads or tubes, a small clasp, wire cutters and the crimping tool recommended for your hardware. The wire and crimp sizes must be compatible; follow the hardware maker's pairing instructions.
Use lightweight acrylic, wood or small glass beads. A few large beads can look good, but too much weight makes a bag charm swing and knock against the bag. Small parts and cut wire ends should be kept away from children.
Arrange a short color sequence
Lay the beads on a folded towel so they do not roll. Try a simple repeating pattern: two small neutral beads, one accent bead, then repeat. Keep one larger flower or shaped bead near the bottom of the loop as a focal point.
Measure the finished drop against your bag before cutting wire. A 6–10 cm hanging drop is a reasonable design starting point, not a fixed rule. Shorten it if it would hit the floor, brush your clothing or snag when you carry the bag.
Secure the first end
Cut the wire with extra length for both terminations. Slide on a crimp, pass the wire through the clasp attachment ring and back through the crimp. Leave a small loop that moves freely rather than binding tightly against the hardware.
Crimp using the correct tool and the maker's instructions, then tuck the short tail through the first few beads. Keep the cut end fully enclosed. A decorative cover can hide a finished crimp, but it does not replace a properly secured connection.
String and close the loop
Add your beads in the planned sequence. Bring the remaining wire end back to the clasp ring, using another crimp to close the beaded loop. Leave slight flexibility so the strand bends naturally; tightly packed beads can stress the wire.
Before trimming the tail, pull gently on the connection and inspect both crimps. Make sure the clasp opens and closes fully. If a join slips, remake that end with fresh compatible hardware rather than hiding it beneath extra beads.
Attach and maintain it
Clip the charm to a secure bag loop or zipper pull that can accept the added weight. Avoid attaching it where it can jam the zipper teeth. A pastel loop suits a woven tote; black and cream beads can complement a dark bag; wood beads give a lighter natural look.
Check the crimps and wire for wear periodically and remove the charm before washing the bag. This is decorative, not load-bearing hardware: do not use it as a handle or key restraint. The AI image is an example of styling, not a tested hardware assembly.
Frequently Asked Questions
Can I use elastic cord?
Elastic creates a different construction. This guide uses beading wire with correctly matched crimps and tools.
Why is my charm stiff?
The beads may be packed too tightly. Leave a little flexibility before crimping the second end.
Can I use it as a bag handle?
No. It is a decorative accessory and is not designed to carry the bag or support weight.
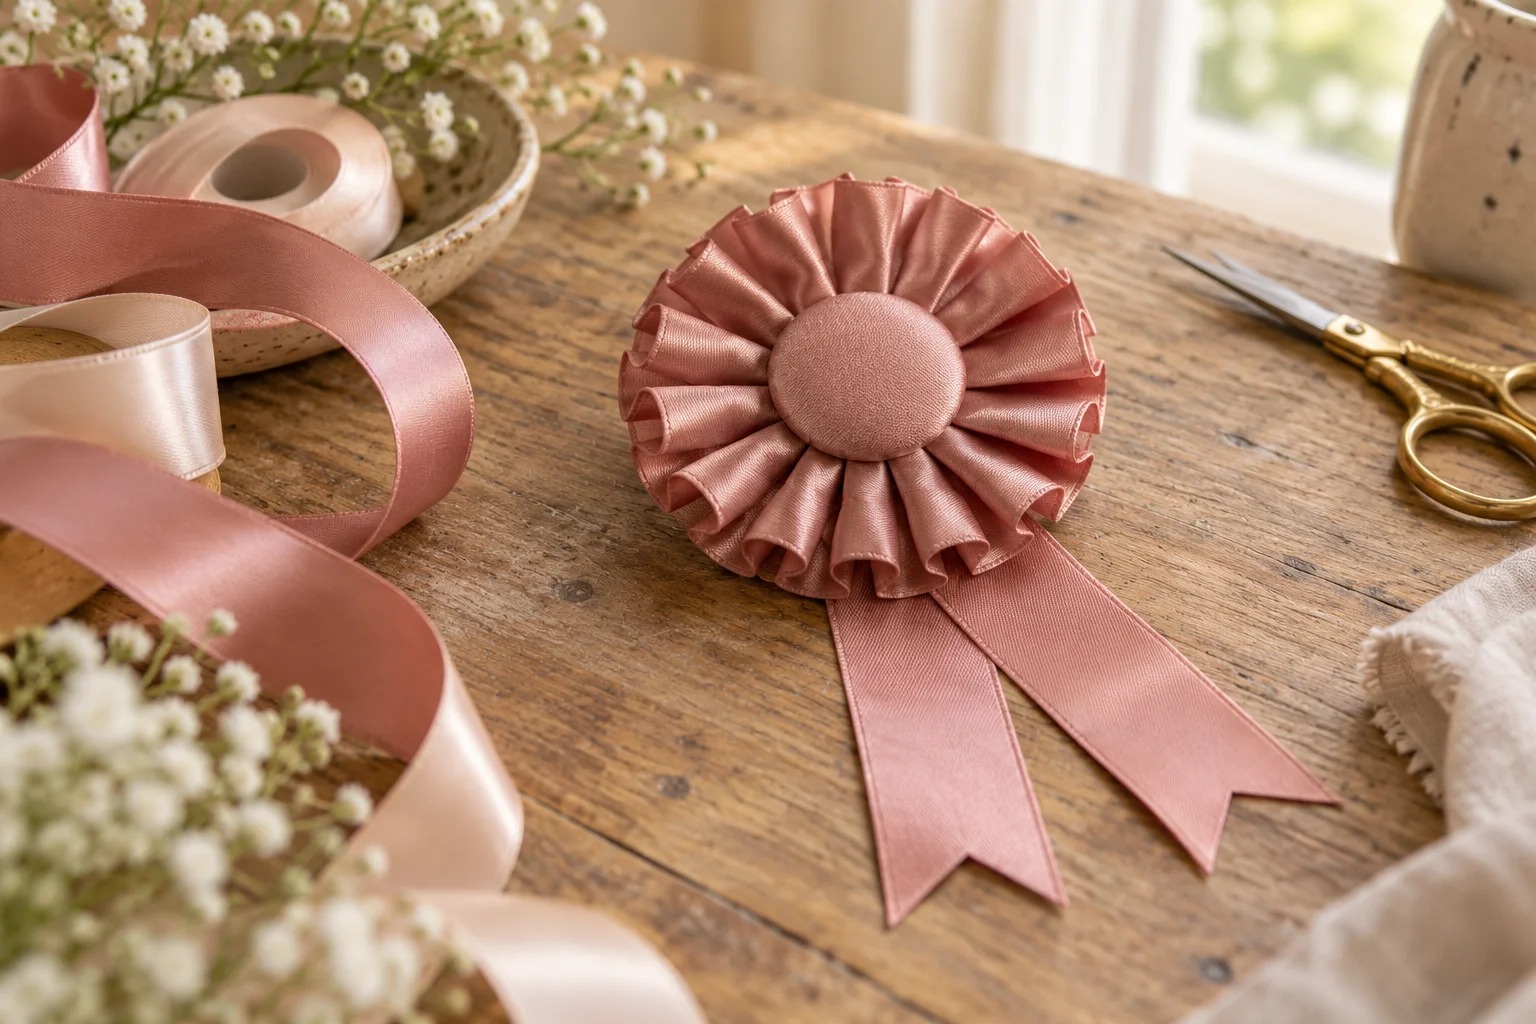 Ribbon Rosette DIY: Fold a Simple Award Ribbon
 Birthday Magazine Ideas: Plan a Personal Keepsake
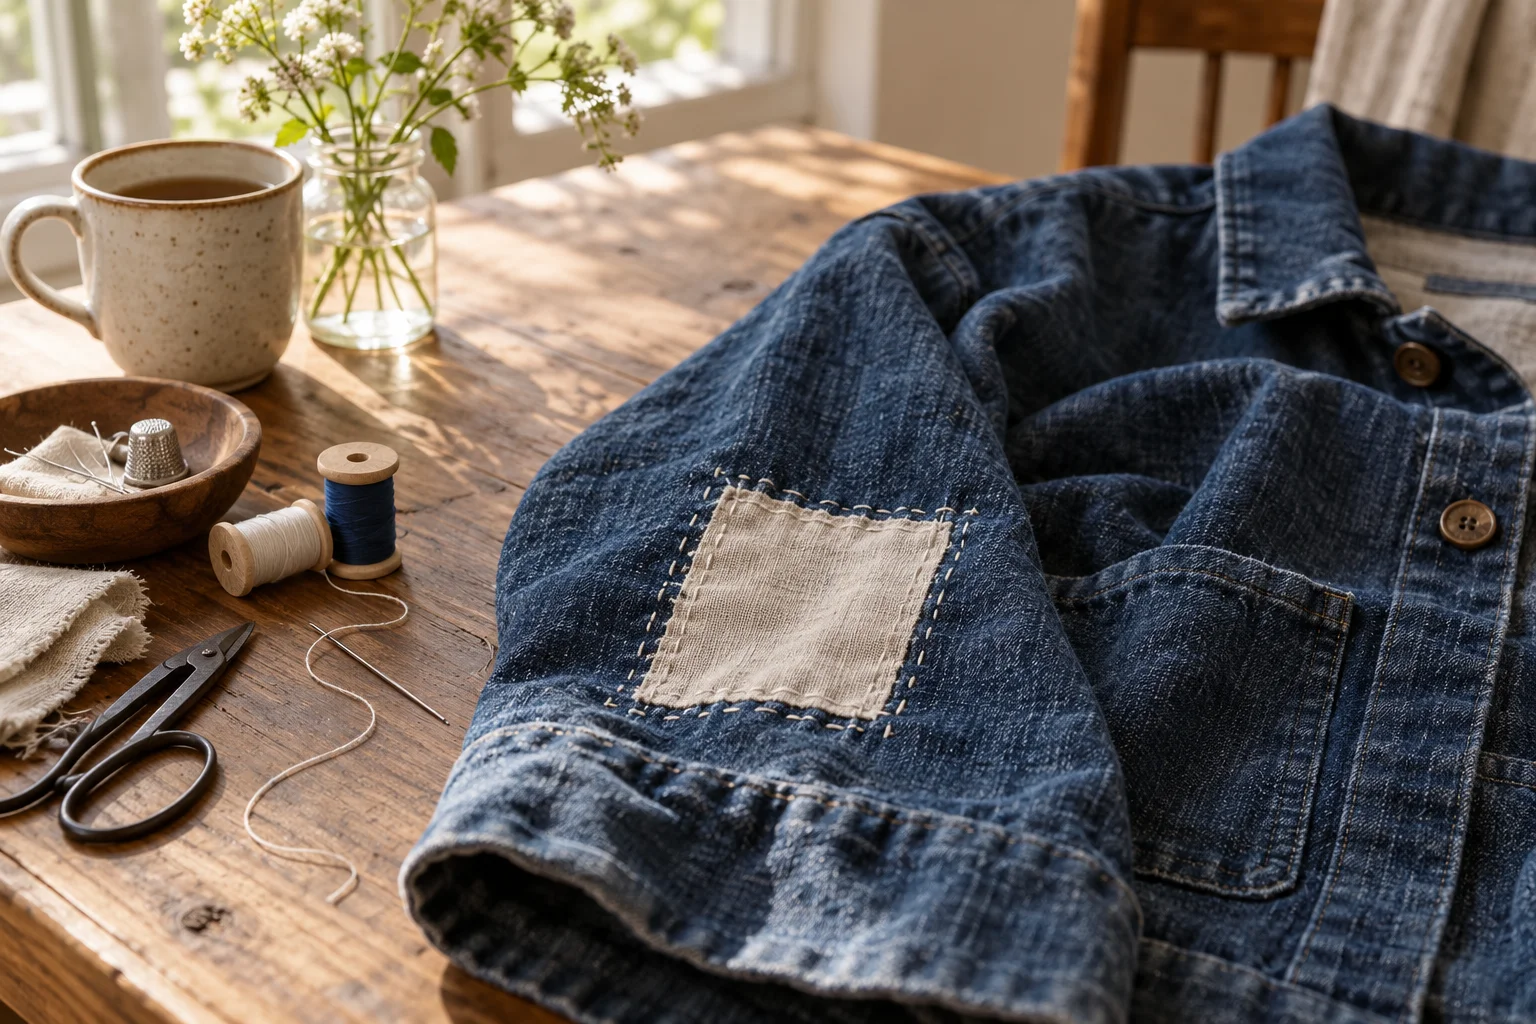 Sashiko-Inspired Denim Mending for Beginners